
Testing in web development is a highly overlooked but crucial aspect of the web development process. It ensures an application’s reliability and functionality by detecting and removing bugs and unexpected behavior. It also increases user satisfaction and confidence in the application. This article will teach you all about integration testing so you can ensure the quality of your app.

Discover how at OpenReplay.com.
Integration testing in React refers to testing the interactions between the different components in a React application, i.e., how these components work together to create a specific functionality or workflow. Components are the foundation of the user interface in React applications, and they frequently interact with one another to create different workflows. Integration tests ensure that these components function properly when combined to form the desired functionality. In this guide, we will delve deep into the complexities of integration testing, giving you the skills to build React applications confidently and dependably in every component’s interaction.
Writing Your First Integration Test
To perform integration testing in React, you’ll need the following two major tools:
- React Testing Library (RTL)
- Jest
RTL is a React library designed for testing React components. Jest is a JavaScript testing framework used for testing JavaScript codebases. Let’s create and configure a new React project called “testing” using create-react-app.
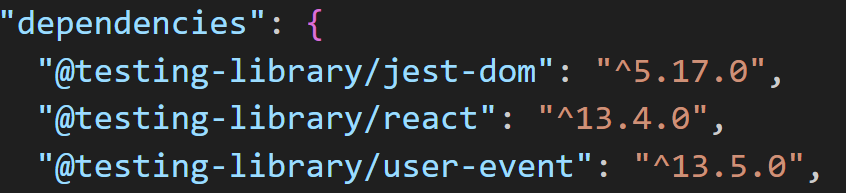
npx create-react-app testingWhen you create a new React project using create-react-app, RTL and some of its dependencies are automatically installed, as shown below:
If that is not the case, you can simply install them manually using the following commands:
npm install --save-dev @testing-library/react
npm install --save-dev @testing-library/jest-dom
npm install --save-dev @testing-library/user-event
Now that we’re all set up, let’s start testing!
We’ll create two components that interact with each other: a Parent component called MainBody.js, which renders a Child component called ChangeMainBody.js.
//ParentComponent called MainBody.js
import React, { useState } from "react";
import ChangeMainBody from "./ChangeMainBody";

function MainBody() {
  const [mainBody, setMainBody] = useState("Initial Text");

  return (
    <div>
      <h1>{mainBody}</h1>
      <ChangeMainBody setMainBody={setMainBody} />
    </div>
  );
}

export default MainBody;
//ChildComponent called ChangeMainBody.js
import React, { useState } from "react";
function ChangeMainBody({ setMainBody }) {
const [ChangeMainBody, setChangeMainBody] = useState("Changed Text");
function handleClick() {
setChangeMainBody("New Text");
setMainBody("New Text");
}
return (
<div>
<div>{ChangeMainBody}</div>
<button onClick={handleClick}>Change Main Body</button>
</div>
);
}
export default ChangeMainBody;The two components above interact with each other via props such that when the button in the ChangeMainBody component is clicked, the h1 text in the MainBody component is updated to “New Text” using the setMainBody function passed as a prop to the ChangeMainBody component.

Let’s write an integration test for this interaction using Jest and React Testing Library. To accomplish this, we will test the Parent Component(MainBody.js in this example), which houses the Child Component. Create a file named MainBody.test.js in your test folder and type in the following code to implement your first integration test.
//MainBody.test.js
import { render, screen, fireEvent } from "@testing-library/react";
import "@testing-library/jest-dom";
import MainBody from "../MainBody";

test("Button Click should change MainBody h1 text", () => {
  render(<MainBody />);
  const buttonElement = screen.getByText(/change main body/i);
  fireEvent.click(buttonElement);
  const headingElement = screen.getByRole("heading", { name: /new text/i }); //Check to see that h1 has been updated after click
  expect(headingElement).toBeInTheDocument();
});
Let’s break down the code sample above:
In this case, we use the render method to mount the component for testing, which is the MainBody component. We then get the button from the ChangeMainBody component using the screen.getByText method. We simulate a user clicking this button using fireEvent.click and then use the expect method to check that the h1 in the MainBody component has been updated following the button click.
After completing this test suite, type the following command in your terminal:
npm run testEverything being equal, you should get the following output indicating the test has passed:
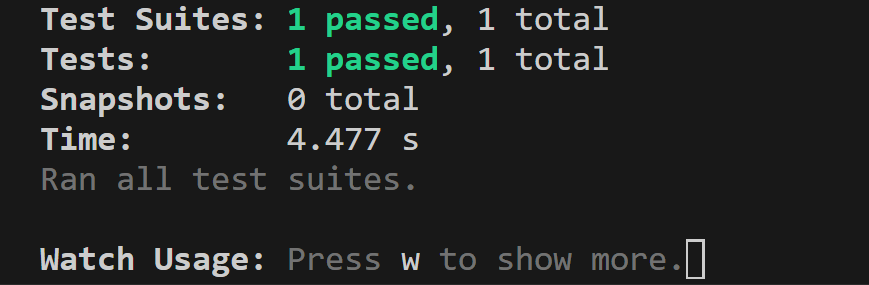
Congratulations!! You have completed your first integration test! You realize that you could simulate the interactions between the MainBody and ChangeMainBody components to test the h1 text update functionality without having to manually perform the actions yourself. This is the core of integration testing in React.
Mocking Dependencies
Mocking is often an essential aspect of testing in React. It is defined as the practice of substituting parts of your application with simulated or controlled versions during the testing process.
Integration testing involves checking if the different components of your application work well together. Some of these components often rely on external resources, such as functions, services, or APIs, to function properly. These external resources are referred to as dependencies. Mocking enables you to simulate the behaviors of these dependencies, allowing you to test solely your component interactions without making actual calls to or relying on these dependencies.
Now you might wonder, “Isn’t it a better idea to test our components without mocking these dependencies? We’ll be testing both our frontend and backend functionalities”. However, the following points will explain why this is a very bad idea and highlight the importance of mocking in your tests.
- Some external dependencies, such as external API services, begin charging per usage after a certain number of requests. If you are developing a large React application, you will be running tests repeatedly, and if you have components that make API requests to these charged services, you’ll make these requests every single time a test is run. Eventually, you will start being charged for each request, which is something you want to avoid. With mocks, you’ll be able to simulate the behavior and response of these external API services without making actual calls to them and as such, avoid charges for requests.
- Real API calls may require a network request, which can be time-consuming and result in slow test execution. This means that if you have a React application with many tests, you may have to wait for extended periods for all of them to run. This may discourage you from running your tests as frequently as you should. Mocking helps speed up these test executions by providing immediate responses, allowing you to run your tests more frequently and efficiently.
- Testing components that require external services without mocking implies you’re relying on the availability and correctness of those services during testing. If, for some reason, the external service is unavailable or returns unexpected data, your tests will fail. Whereas with mocks, you can isolate the components being tested from their dependencies by using mock versions of the services, allowing you to focus on testing only the components’ behavior and interactions with other components without worrying about the service’s availability or correctness.
Now that you understand the need for mocks in your tests let’s start mocking our dependencies. In this guide, we will mock all of our dependencies using Jest Mocks.
Mocking React Components
We’ll start by mocking React components. Suppose you have a component, AboutComponent that renders some text and an image.
import React from "react";

function AboutComponent() {
  return (
    <div>
      <h1>About</h1>
      <p>This is the about page</p>
      <img src="/image_path" alt="about_image"></img>
    </div>
  );
}

export default AboutComponent;
Fetching and displaying images will typically slow down your tests. You should mock this component to only test that it renders correctly. To mock a React component with Jest mocks, you use the jest.mock function to mock the path to the module that exports the component and return a mocked component with its custom implementation.
In your test file, type the following code:
import {render} from '@testing-library/react';
import '@testing-library/jest-dom';
import AboutComponent from './AboutComponent'  //Specify your own path

//Mock path to module
jest.mock("./AboutComponent", () => {
  return () => {
    return (
      <div>
        <mock-image data-testid="about-image" alt="mock_image" />
      </div>
    );
  };
});

test("Mocked About page is visible", async () => {
  render(<AboutComponent />);

  const fullImage = screen.getByTestId(/about-image/i);
  expect(fullImage).toBeInTheDocument();

  const aboutPage = await screen.findByAltText(/mocked_image/i);
  expect(aboutPage).toBeInTheDocument();
});
Let’s understand the code above.
We import the component we want to mock, AboutComponent into our test file. We mock this component by calling the jest.mock function. We pass as arguments to this function the path to the module containing the component and a factory function that returns the mocked component along with the mocked image.
In our test suite, we render the AboutComponent for testing. We then use the screen.findByTestId to find an element with a data-testid attribute of “about-image” and assert that it exists in the document. We also use the screen.findByAltText to find the alt text of this element and assert that its value is “mocked-image”.
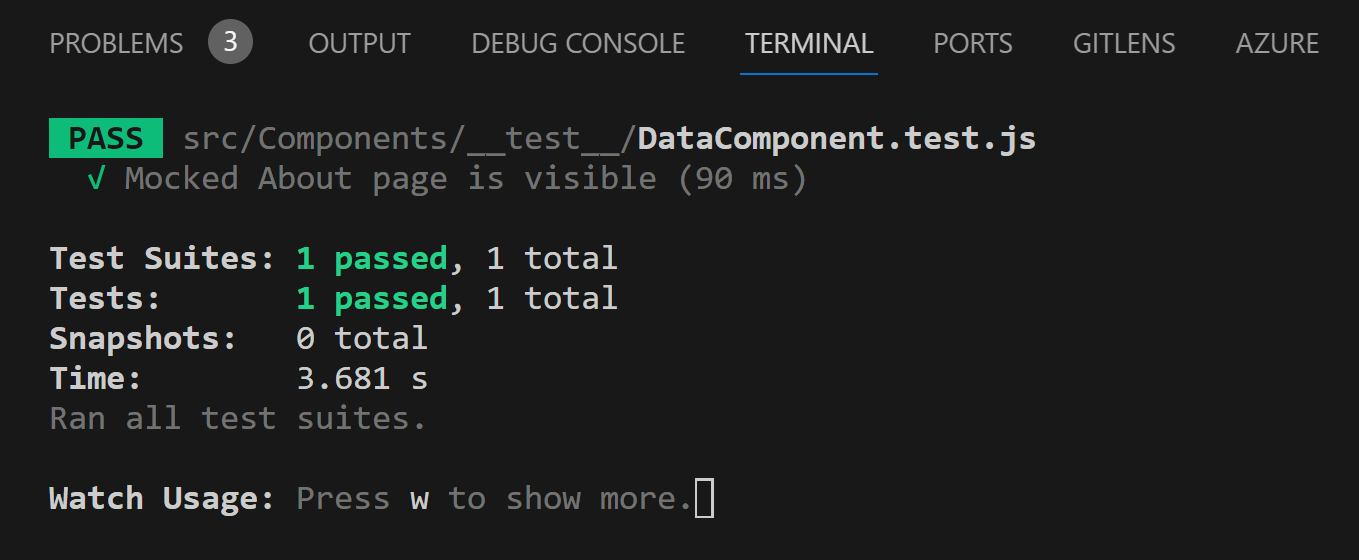
When you run the test, Jest replaces the original AboutComponent with the mocked component returned by the jest.mock factory function. This causes the test to pass, as seen below:
Mocking External Modules and APIs
API interactions are a common feature of React applications. In this guide, we will mock API requests made with the Axios library. We will also use Jest for the API mocking. Let’s look at a simple example.
Suppose you have a file, apitest.js in which you make an axios GET request to an external server. This file contains a function fetchTodos, which handles the request like so:
import axios from "axios";

const fetchTodos = async () => {
  const res = await axios.get("https://jsonplaceholder.typicode.com/todos/1");
  if (res && res.data) {
    console.log(res.data);
    return res.data.title;
  }
};

export default fetchTodos;
In your main component, you import the fetchTodos function and use it like so:
//Main Component
import React, { useEffect } from "react";
import fetchTodos from "./apitest";

function DataComponent() {
  useEffect(() => {
    fetchTodos();
  }, []);
}

export default DataComponent;
To mock this request, you must mock axios, the external module that handles the request. In your test file, type the following code:
//DataComponent.test.js
import "@testing-library/jest-dom";
import fetchTodos from "../apitest";
import axios from "axios";

jest.mock("axios", () => {
  return {
    get: jest.fn().mockResolvedValue({ data: { title: "mocked data" } }),
  };
});

test("Testing with mocked axios", async () => {
  const result = await fetchTodos();
  expect(result).toEqual("mocked data");
});
From the code above, we import the fetchTodos function that handles the request, andaxios. We then mock axios using the jest.mock function by specifying its path and the factory function as arguments to the jest.mock function. The factory function returns an object containing a mocked implementation of the actual API call in the fetchTodos. In this mocked implementation, we replace the get method with a Jest mock function, jest.fn(), and chain with mockResolvedValue to return a resolved value called mocked-data. This means whenever axios.get is called, it returns the value “mocked-data”.
In the test, we call the fetchTodos function, which uses axios, and assert that the returned result matches the expected value “mocked-data”. When you run the test, Jest will replace the actual API request in the fetchTodos function with the mocked request in the Jest mock function, causing the test to pass.
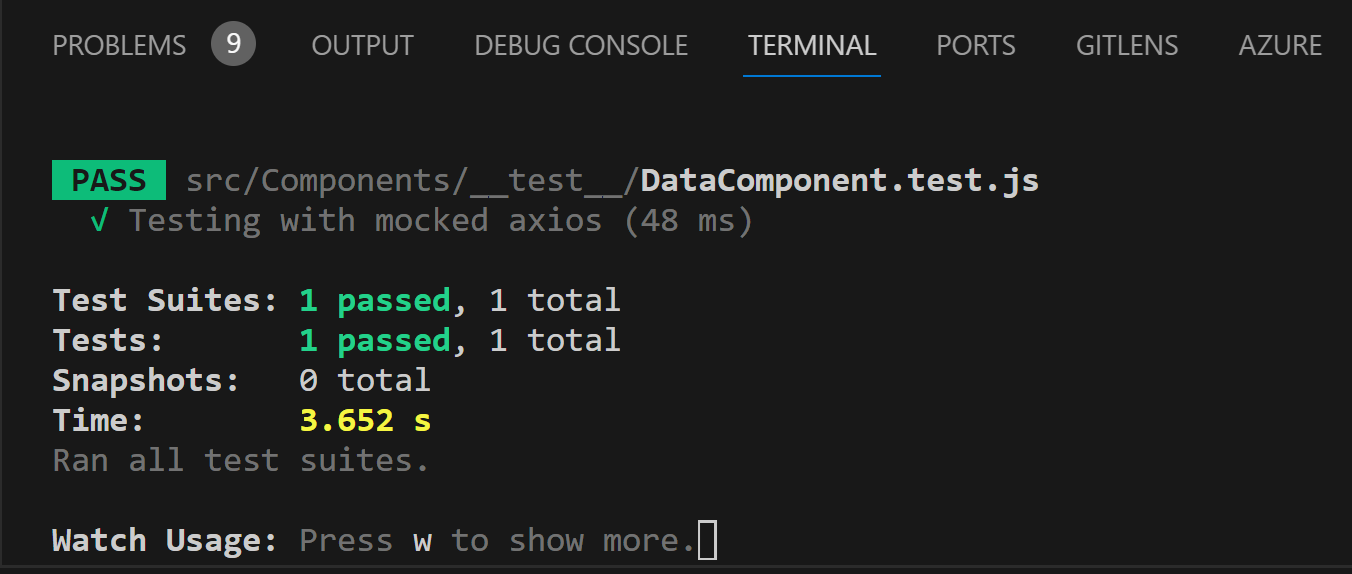
This test allows you to test the functionality of the fetchTodos function without relying on the actual API call for data retrieval.
Testing Navigation and Route Changes
Routing is a fundamental aspect of React applications, so it is critical to ensure that navigation behavior and route mechanisms work as expected. Using React Testing Library, you can simulate route changes and test navigation behavior.
We will create 2 Route components: DataComponent and AboutComponent. The DataComponent will contain a link that, when clicked, navigates you to the AboutComponent.
//DataComponent.js
import React from "react";
import { Link } from "react-router-dom";

function DataComponent() {
  render(
    <div>
      <Link to="/about">About</Link>
    </div>,
  );
}

export default DataComponent;
//AboutComponent.js
import React from "react";
function AboutComponent() {
return (
<div>
<h1>About</h1>
<p>This is the about page</p>
</div>
);
}
export default AboutComponent;Resulting output:

To test this navigation functionality, create a test file named DataComponent.test.js in your test folder and type in the following code:
//DataComponent.test.js
import { fireEvent, render, screen } from "@testing-library/react";
import "@testing-library/jest-dom/extend-expect";
import DataComponent from "../DataComponent";
import { BrowserRouter as Router, Routes, Route } from "react-router-dom";
import AboutComponent from "../AboutComponent";
//Navigation Test
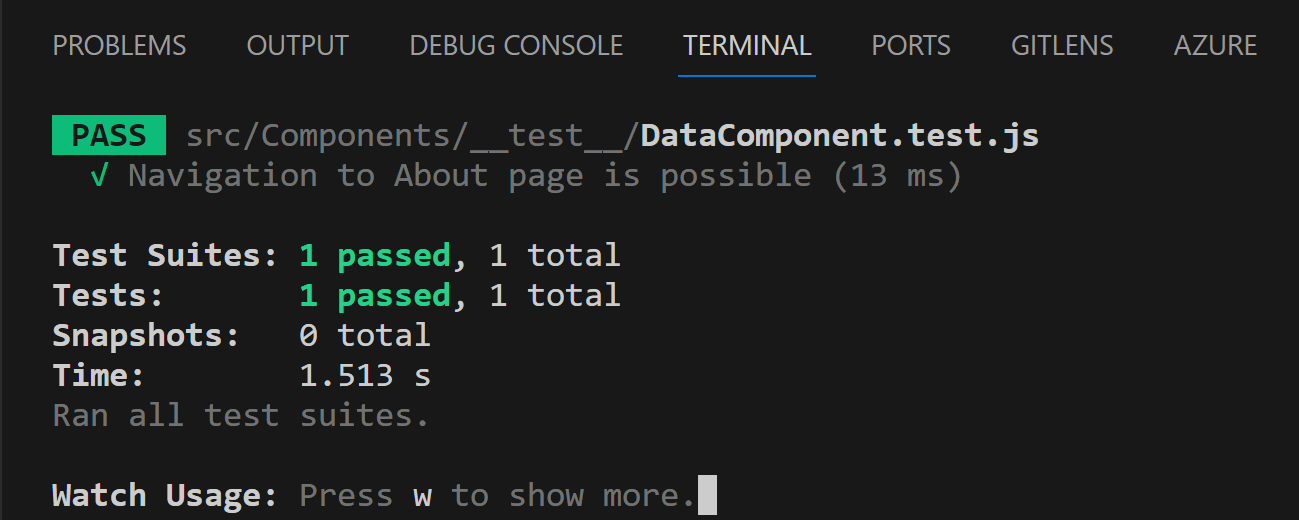
test("Navigation to About page is possible", async () => {
render(
<Router>
<Routes>
<Route path="/" element={<DataComponent />} />
<Route path="/about" element={<AboutComponent />} />
</Routes>
</Router>,
);
const aboutLink = screen.getByRole("link", { name: /about/i });
fireEvent.click(aboutLink);
const aboutPage = await screen.findByText(/This is the about page/i);
expect(aboutPage).toBeInTheDocument();
});Let’s break down the test:
We begin by rendering the components for testing via their respective routes and wrapping them with the Router component. This sets up React Router for testing by simulating the presence of the BrowserRouter in a real application. The home (’/’) route displays the DataComponent which contains the About link. We get this link using screen.getByRole and use the fireEvent.click to simulate a user clicking the link. After the simulated click, we assert that the route has changed by checking to see if the text “This is the about page” now appears on the screen, as this text is only found in the AboutComponent.
Running this test, you should get the following output indicating that it passes.
Conclusion
To conclude, integration testing in React is a fundamental practice that enables developing robust, reliable, and maintainable applications by ensuring that components work harmoniously together. Knowing that components work together as intended boosts the confidence of developers and teams in the overall behavior of the application. By validating that the application behaves correctly when different parts are integrated, developers can deliver a more reliable, high-quality product to end-users.
Gain Debugging Superpowers
Unleash the power of session replay to reproduce bugs, track slowdowns and uncover frustrations in your app. Get complete visibility into your frontend with OpenReplay — the most advanced open-source session replay tool for developers.
Star on GitHub12k