An introduction to RedwoodJS: Building a Drum Machine
Use Redwood to build a Drum Machine


RedwoodJS is an open-source, full-stack serverless web application that combines several existing technologies to easily build and deploy applications. Using React as the front-end architecture and GraphQL, Prisma, and Apollo as the backend minimizes deployment configuration.
These are only a few of the advantages listed. We will walk through the basics of RedwoordJS by building a fully functional drum machine to create and record beats.
Development Environment Setup
During installation, RedwoodJS checks if our system meets version requirements for NodeJS and Yarn. If the system doesn’t, the installation will result in an error. Let’s open a new terminal with visual studio code. In the terminal section, click on the new New terminal section.
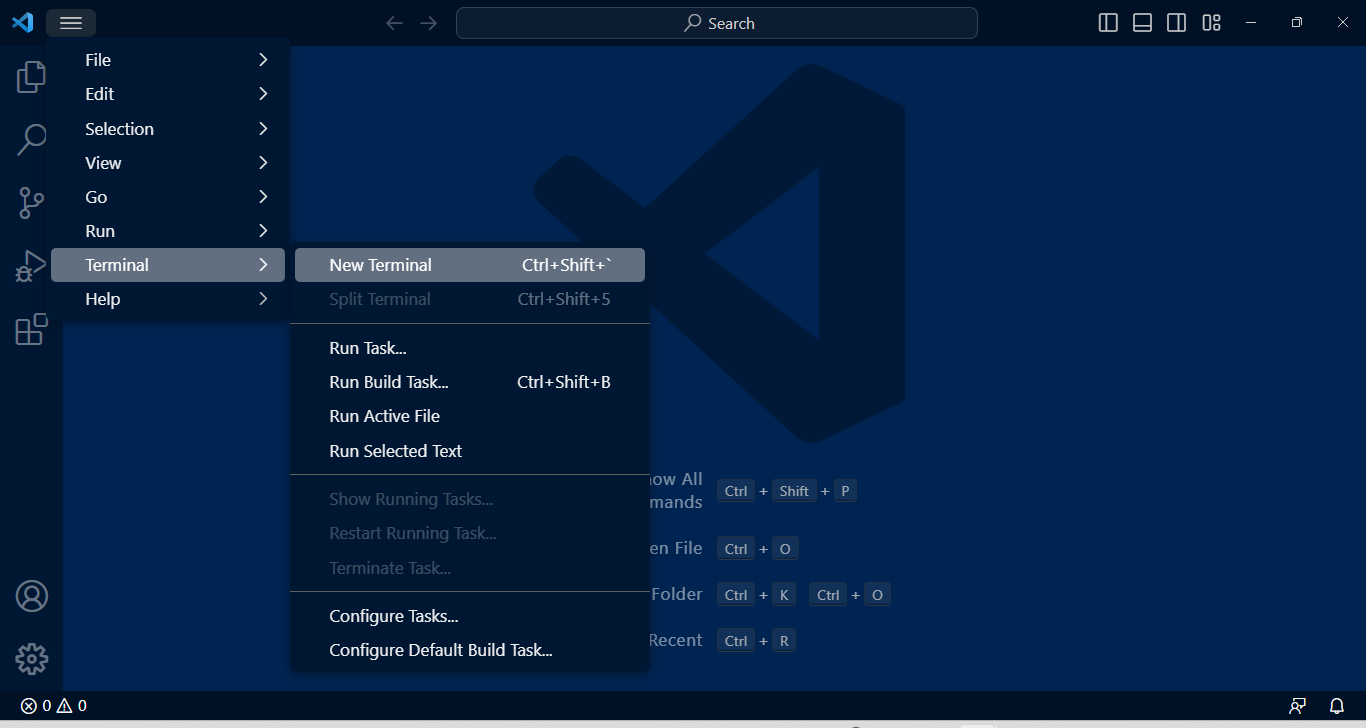
Change the terminal profile to Git Bash, then check the versions of Node and Yarn using these commands.
node --version
yarn --version
Output
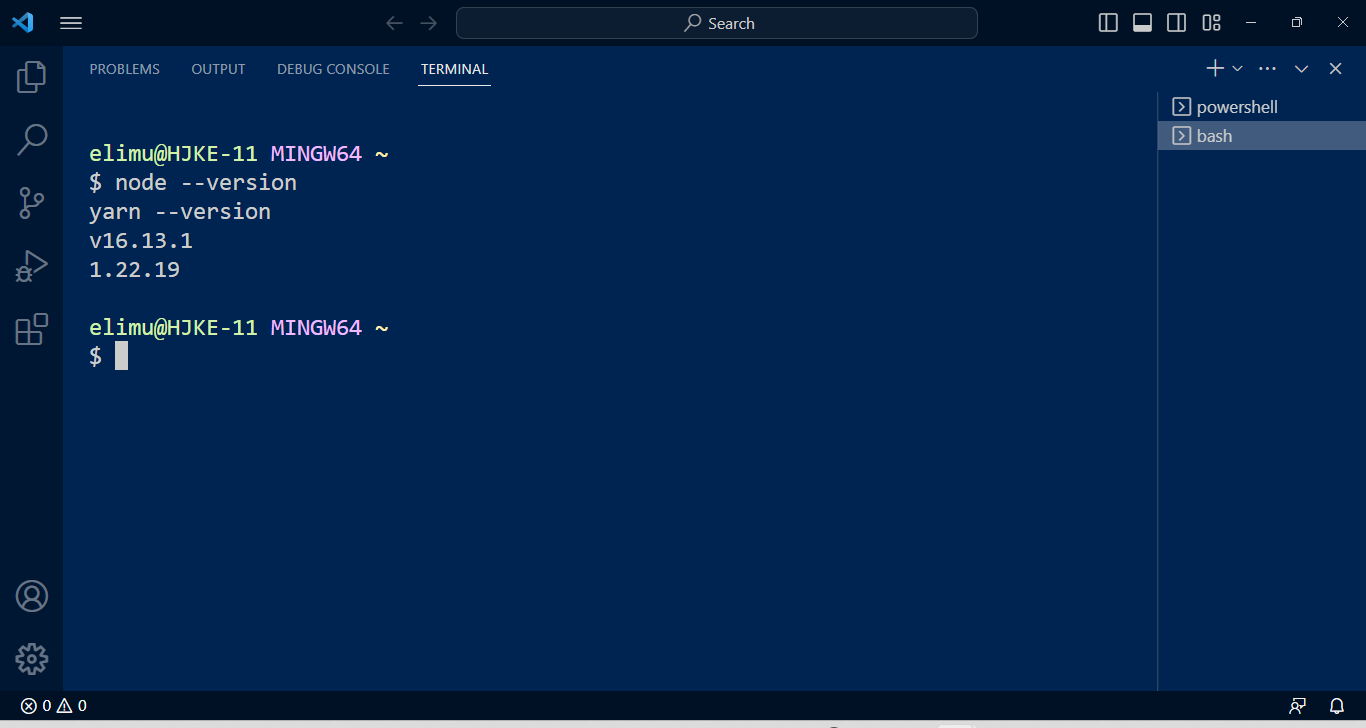
If you are using Git Bash, NodeJS, and Yarn for the first time, then it’s recommended that you follow the installation process in their respective documentations; GitBash, NodeJS and Yarn.
Initializing a RedwoodJS App
After a successful setup, let’s initialize a RedwoodJS app.
yarn create redwood-app ./drum-machineOutput

A new directory, drummachine, containing several directories and files will be created. Let’s navigate to the created directory and start the development server.
cd drummachine
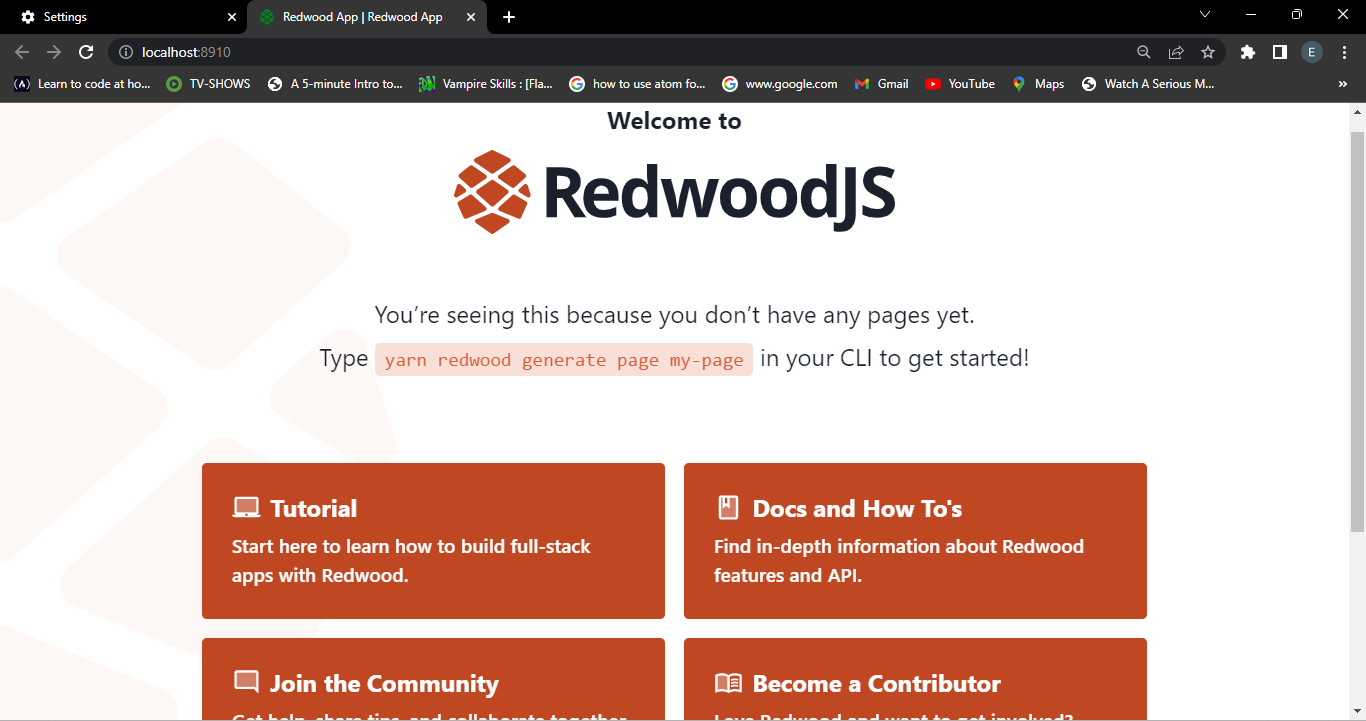
yarn redwood devThe default browser should automatically open to http://localhost:8910 with the redwood welcome page displayed.
The RedwoodJS CLI will now be accessible, and we can check the available commands because we will be using them a lot in our project.
rw --helpIf running of the server fails and an error message gets displayed, then don’t worry, just know that the installation process did not complete. First, check the presence of a yarn.lock file; if there isn’t any, create a new one, then complete the installation using these commands and run the server again.
npm install
yarn install
The server will now run successfully.
Creating the Projects Home Page
Redwood offers the easiest and fastest way to create pages. Through generators, it automatically creates a page. Let’s create the home page using the generate page command.
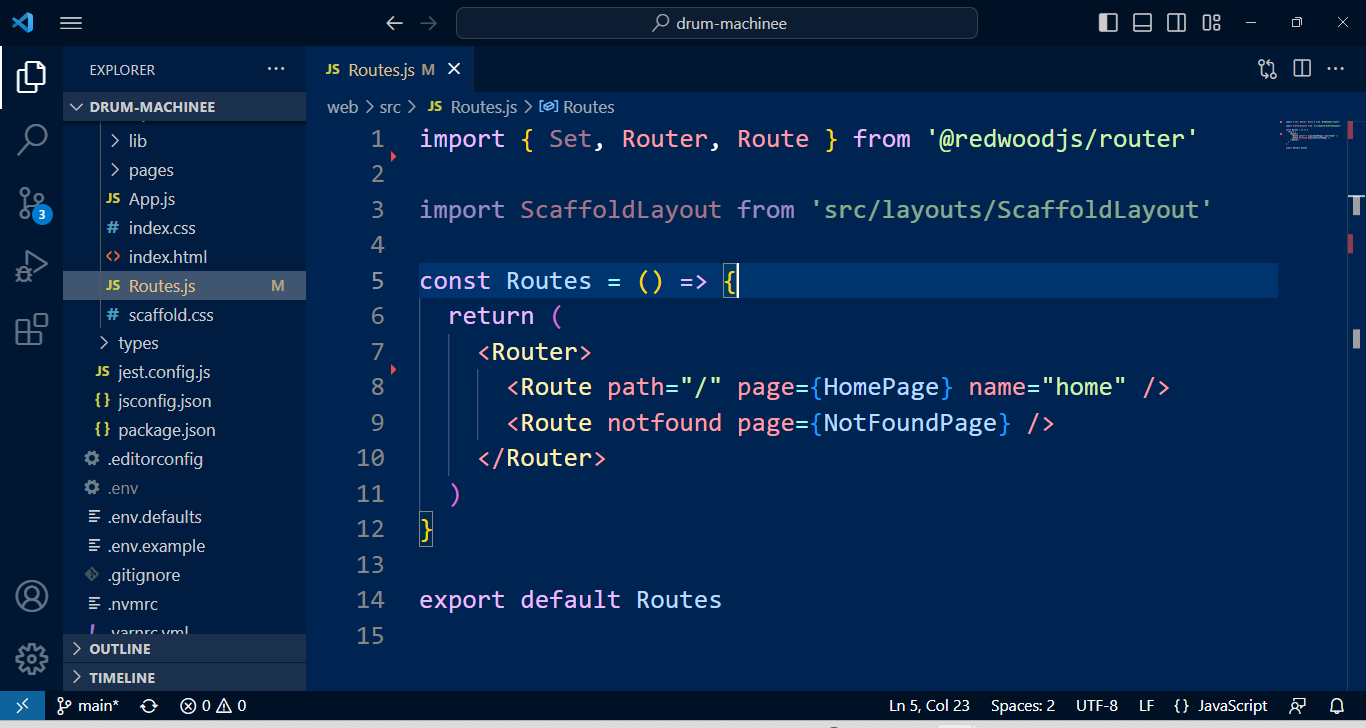
yarn rw generate page Home /In our web app, a page called Home with the endpoint of / is created; you will also notice that there is no need to manually import and export routes to create URLs. In our routes section, we can see the generated code.
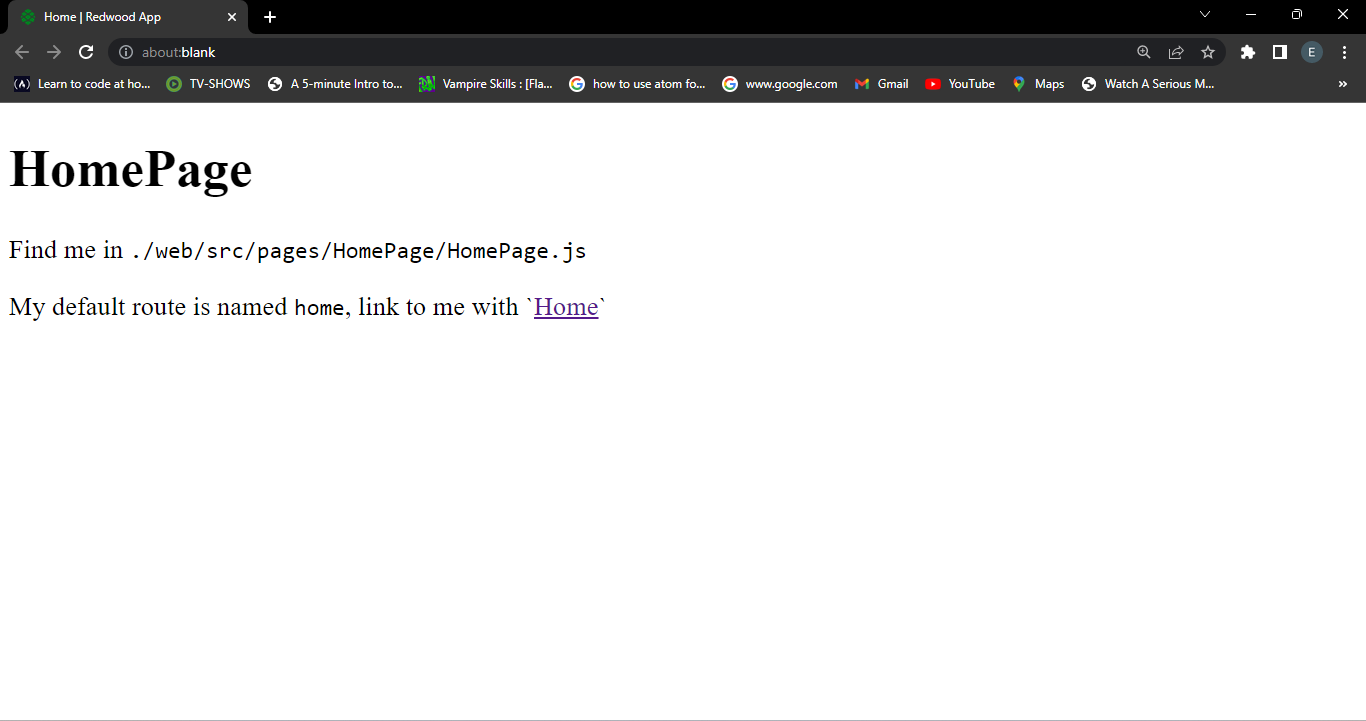
Below is the page’s code in the newly created web/src/pages/HomePage/HomePage.js file.
import { Link, routes } from "@redwoodjs/router";
import { MetaTags } from "@redwoodjs/web";

const HomePage = () => {

  return (

    <>
      <MetaTags title="Home" description="Home page" />
      <h1>HomePage</h1>
      <p>
        Find me in <code>./web/src/pages/HomePage/HomePage.js</code>
      </p>
      <p>
        My default route is named <code>home</code>, link to me with `
        <Link to={routes.home()}>Home</Link>`
      </p>
    </>
  );
};

export default HomePage;
If we view our browser, we should get a new page with HomePage as its title.
Since we are comfortable creating pages, let’s create a GraphQL API for handling our beats.
Creating a GraphQL API for Data Handling
In our drum Machine, we will use Audio Links that are already served and ready to be played. We will also need a way of adding, deleting, and reading the required beats.
RedwoodJS provides a built-in way to auto-generate a GraphQL API based on the schema defined in our models. It’s as outstanding as it sounds. We will define the schema using the Prisma Client library, an auto-generated set of CRUD operations based on the schema defined in our api/db/schema.prisma file.

We will start by creating a post model for our audio link records. Let’s edit the schema model to match the one below.
model Post {
id Int @id @default(autoincrement())
keystroke String @unique
audioLink String
createdAt DateTime @default(now())
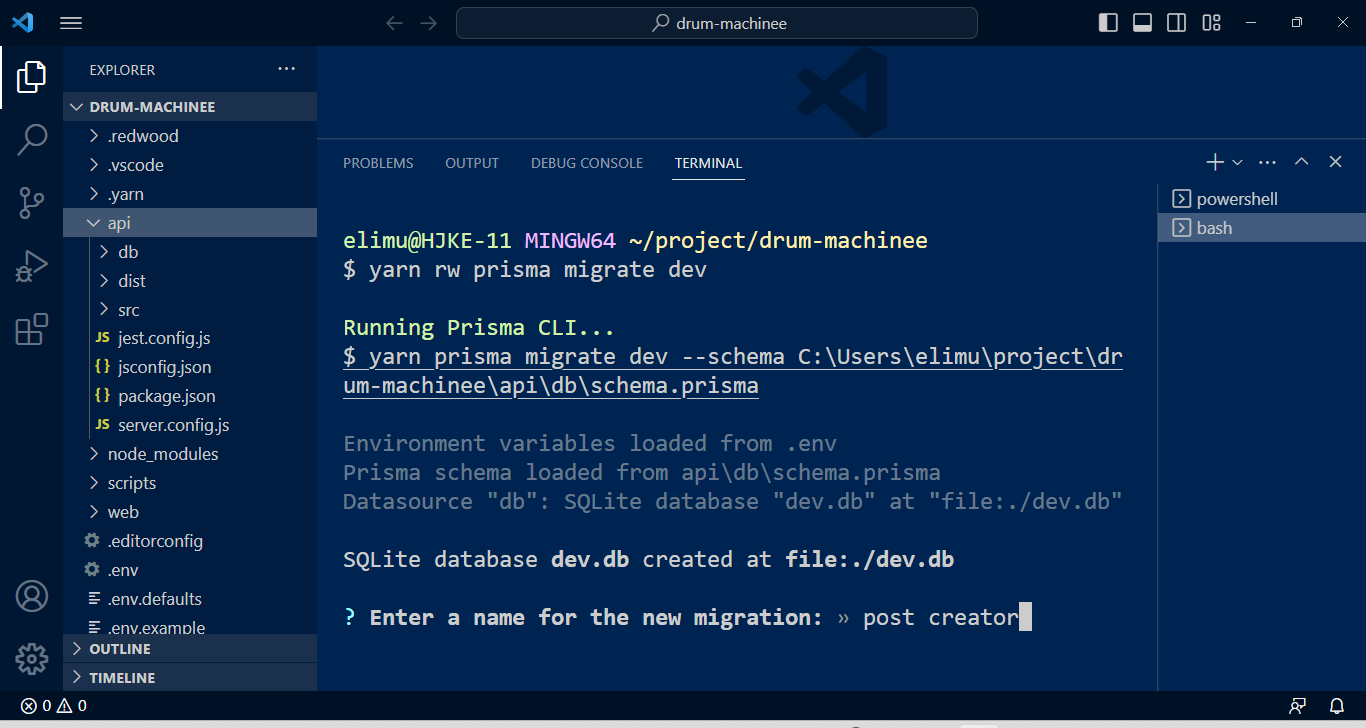
}After creating the schema model, we must apply it to our database. For that, we use the migrate Prisma utility.
yarn rw prisma migrate devWe are first going to be prompted to enter the migration name. Let’s call it post creater.
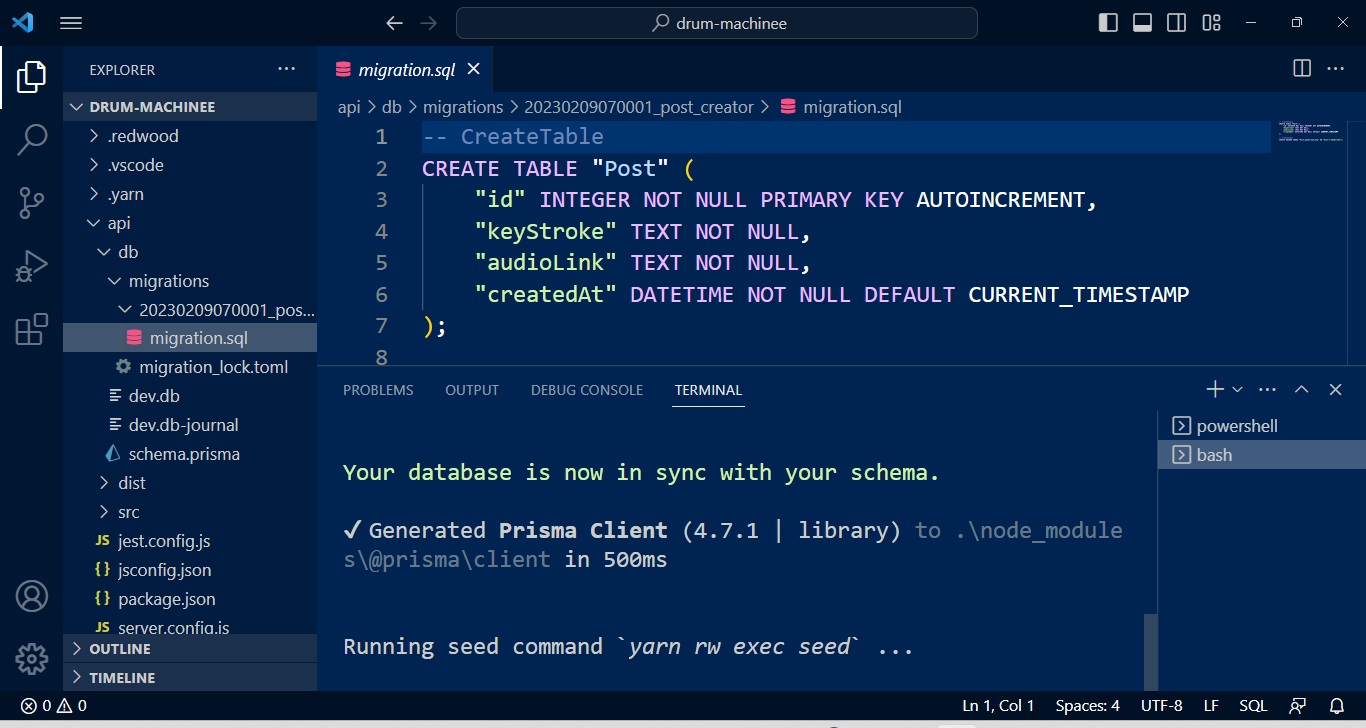
The command creates a migration folder with a migration.sql file, automatically creating a table.
Since our database is now in sync with our schema, we must create a GraphQL function for posting our data to the created table. For this action, we will use a generator called Scaffold.
yarn rw g scaffold postOutput:
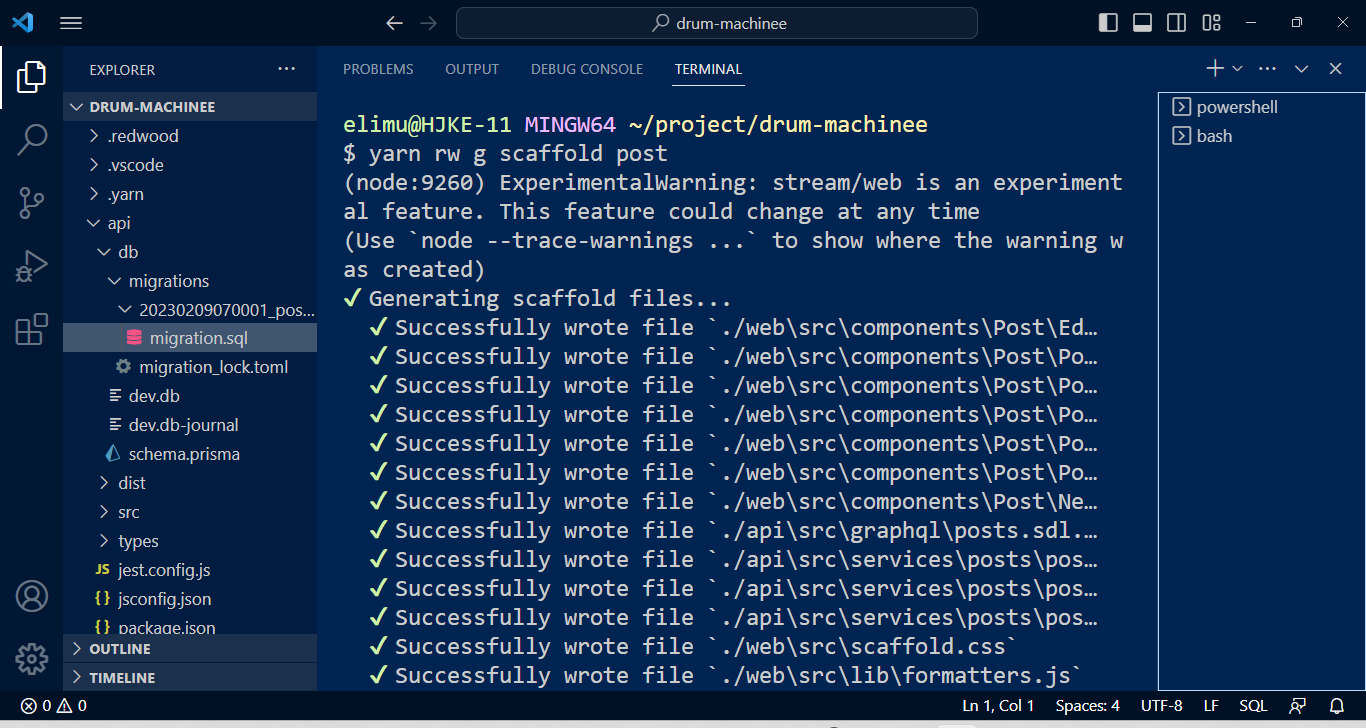
The scaffold generator creates a new directory api/src/services/posts and a schema definition file posts.sdl.js.
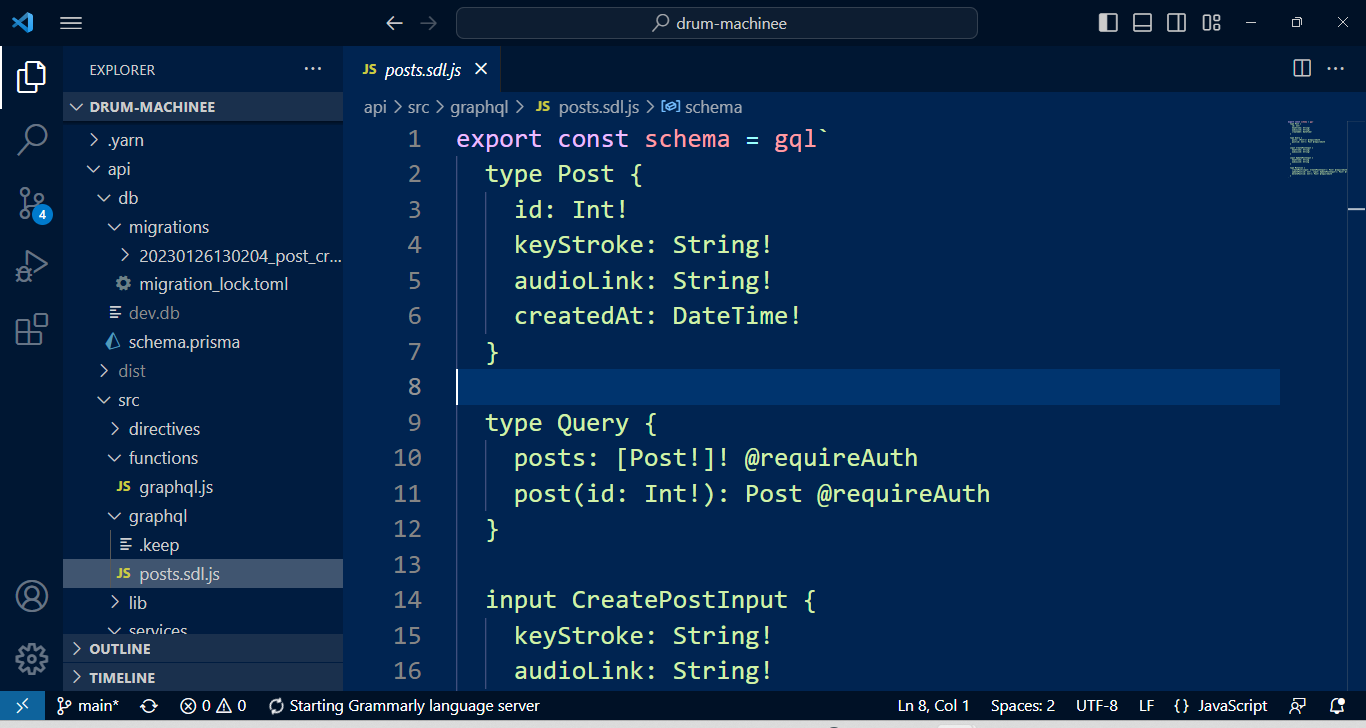
Redwood uses the GraphQL SDL (schema definition language) instead of the GraphQL-JS library because it’s easy to understand and flexible to use. The SDL file defines the types of data the API will work with, the queries for retrieving data, the mutations for updating that data, and the subscriptions used to receive real-time updates.
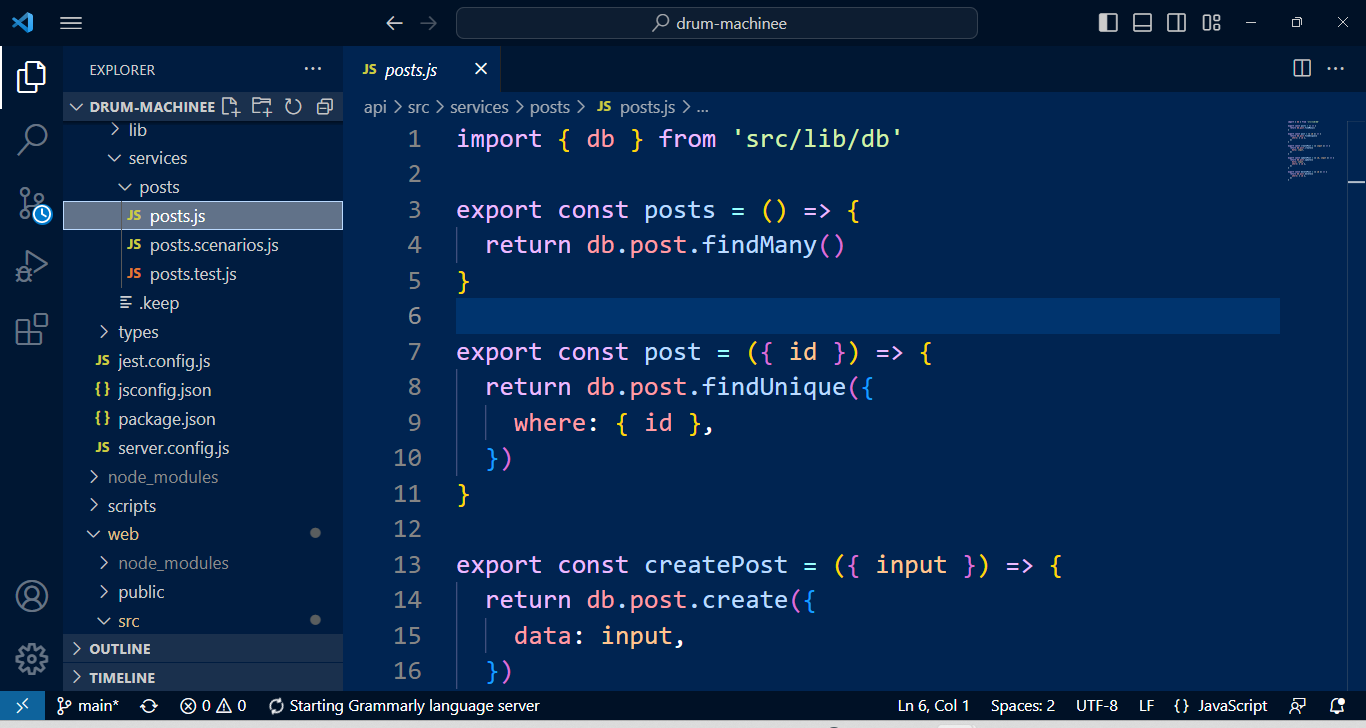
The api/src/services/posts directory contains a posts.js file, used in conjunction with the resolvers in the api/src/functions directory, for API and client communication purposes.
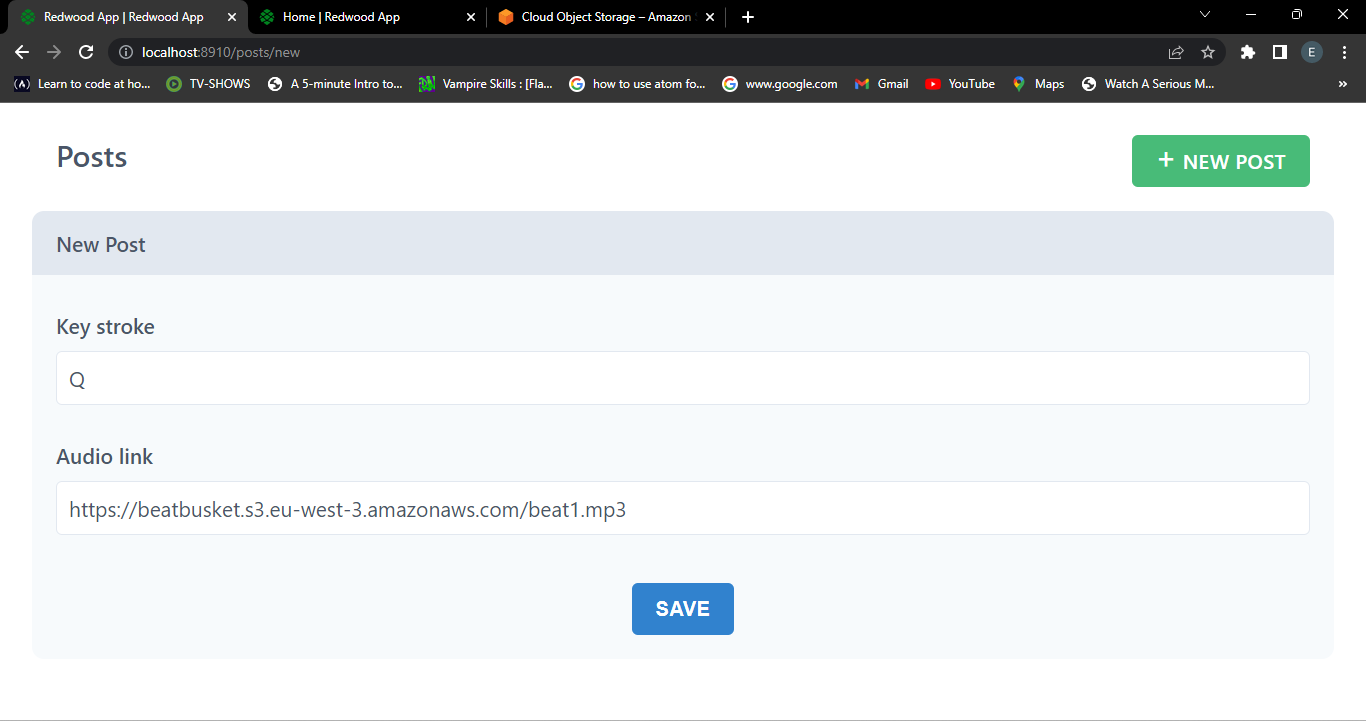
The scaffold generator also creates a post route automatically for us. If we open our browser on the localhost URL, we should see a page with a NEW POST button for creating a new post.
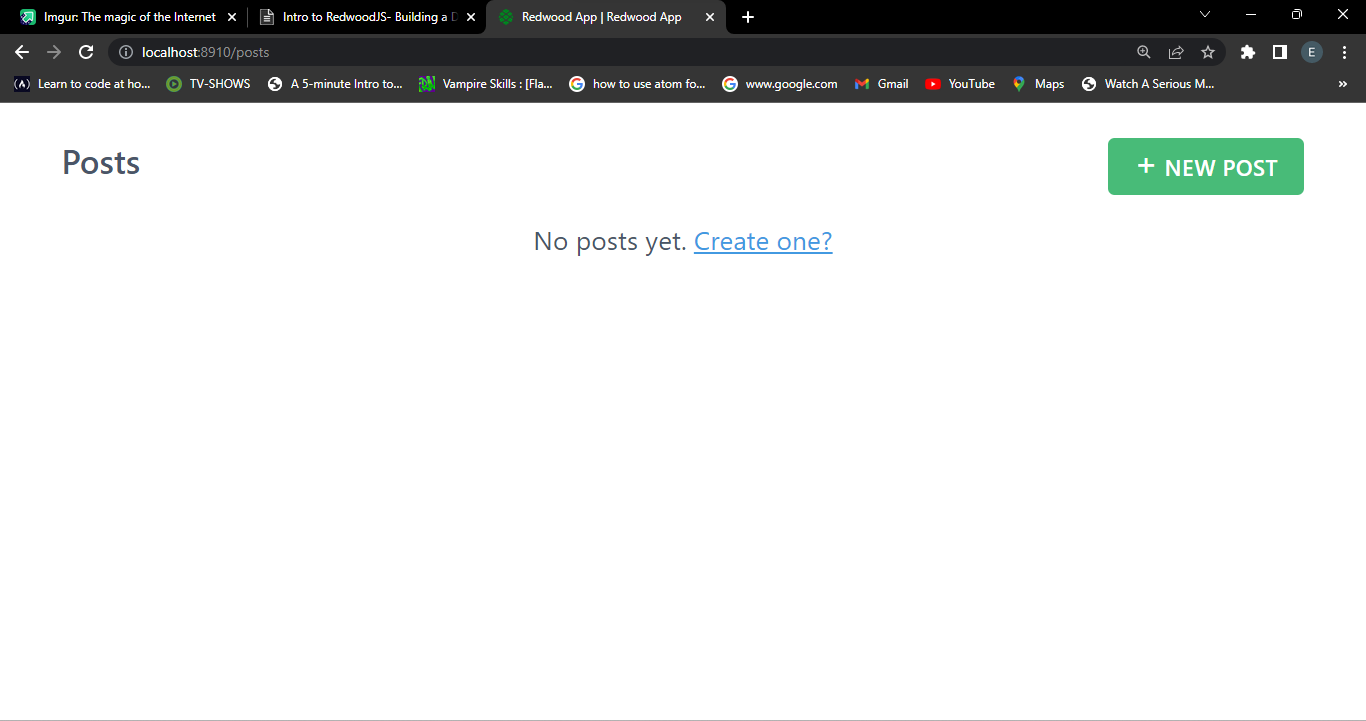
Remember, the code generated by the Scaffold generator can be modified to add custom logic and functionality to the GraphQL function. We can now test the created API.
Adding Audio Links to the Database
Since we have our create post route, we can use the create function to add new audio links to the database. We have some audio links served in our Amazon S3 Bucket account.
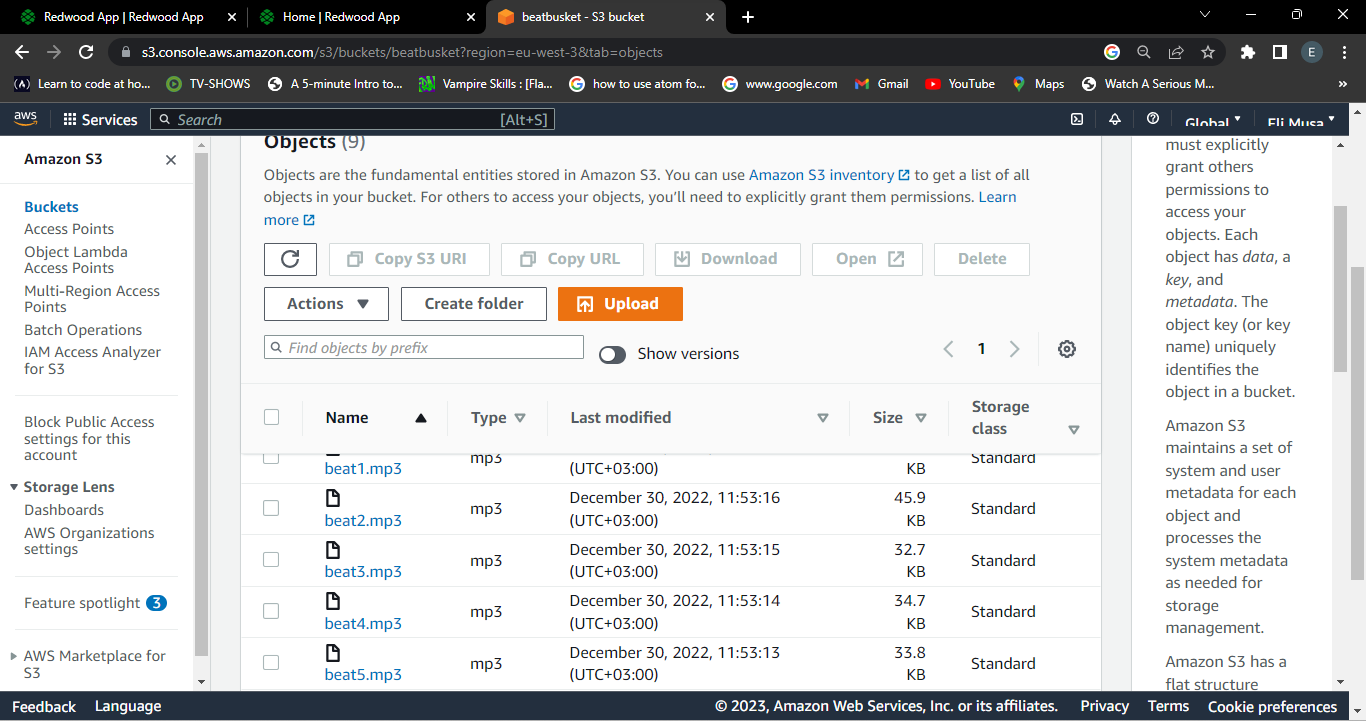
Below are the Links created by Amazon S3 bucket, but you can also decide and serve your beats.
https://beatbusket.s3.eu-west-3.amazonaws.com/beat1.mp3

https://beatbusket.s3.eu-west-3.amazonaws.com/beat3.mp3

https://beatbusket.s3.eu-west-3.amazonaws.com/beat2.mp3

https://beatbusket.s3.eu-west-3.amazonaws.com/beat4.mp3

https://beatbusket.s3.eu-west-3.amazonaws.com/beat5.mp3

https://beatbusket.s3.eu-west-3.amazonaws.com/beat6.mp3

https://beatbusket.s3.eu-west-3.amazonaws.com/beat7.mp3

https://beatbusket.s3.eu-west-3.amazonaws.com/beat8.mp3

https://beatbusket.s3.eu-west-3.amazonaws.com/beat9.mp3
We will use our posts page to add the audio links, just press the NEW POST button and fill the post form with the audioLink and its keystroke, respectively.
Here is a view of all the links we added to our database.
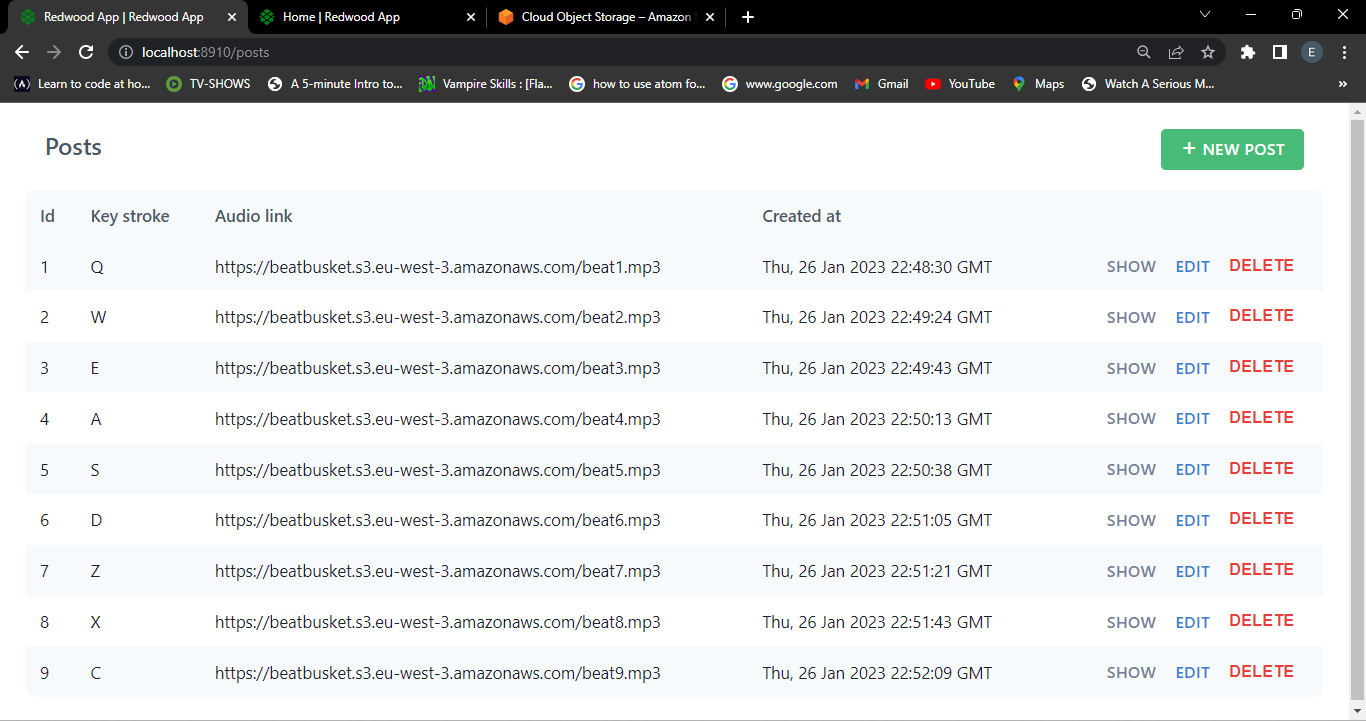
After adding the links, we must also fetch them at our front end to use them in our drum machine component.
Session Replay for Developers
Uncover frustrations, understand bugs and fix slowdowns like never before with OpenReplay — an open-source session replay tool for developers. Self-host it in minutes, and have complete control over your customer data. Check our GitHub repo and join the thousands of developers in our community.
Creating the Drum Machine Component
There are alternative ways to fetch data from a GraphQL API in a RedwoodJS app, the GraphQL higher-order component (HOC), and useQuery from the react-apollo library. In our drum machine, we will use the higher-order component. It’s important to note that we must use the GraphQL HOC on the top-level component.
To do this, RedwoodJS has another generator called cell for generating higher-order data fetching components.
yarn rw g cell drummachineOutput
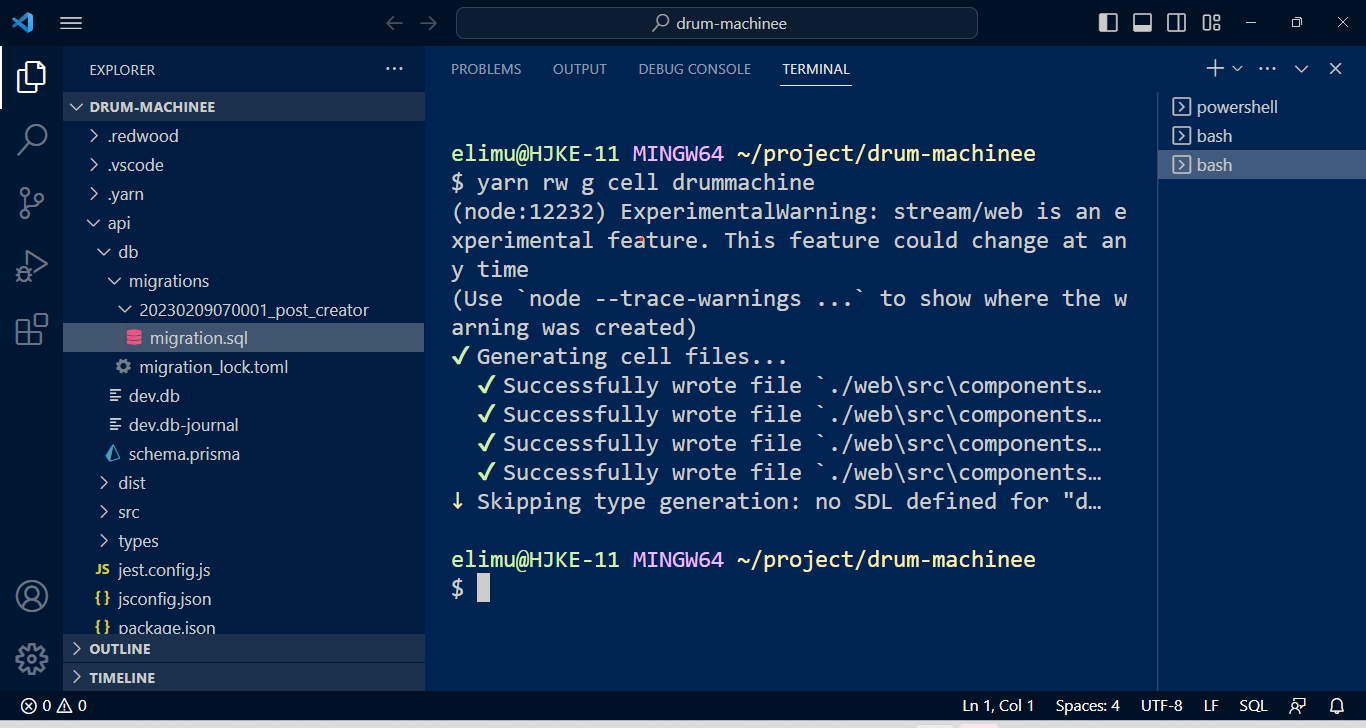
If we go to the newly created /web/src/components/DrummachineCell folder, in the DrummachineCell.js file, the component with the code for querying our GraphQL API is automatically included for us. It’s like we don’t have to type anymore. This is better than copying and pasting code; we only need to customize the code with our drum machine functions.
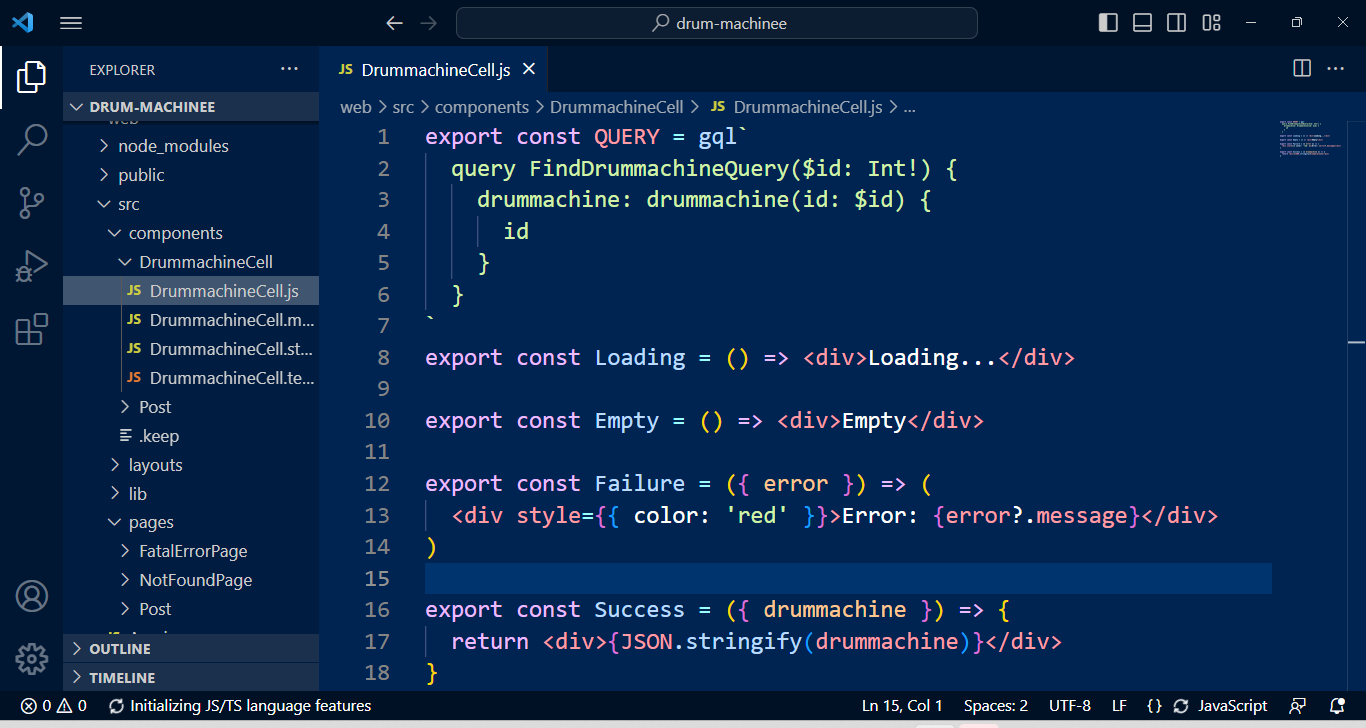
Let’s open the DrummachineCell.js file, and include the functionality for playing sound using the beats in the audio links, edit the file by adding the code below in the main component.
function playSound(audioLink) {
  // play sound here

  const audio = new Audio(audioLink);

  audio.play();
}
For rendering our buttons we will use a .map() function to iterate the links fetched using the unique id to create the required button elements with their unique keycodes. Below is our complete code.
export const QUERY = gql`
query FindDrummachineQuery {
drummachine: posts {
id
keyStroke
audioLink
}
}
`;
export const Loading = () => <div>Loading...</div>;
export const Empty = () => <div>Empty</div>;
export const Failure = ({ error }) => (
<div style={{ color: "red" }}>Error: {error?.message}</div>
);
export const Success = ({ drummachine }) => {
function playSound(audioLink) {
// play sound here
const audio = new Audio(audioLink);
audio.play();
}
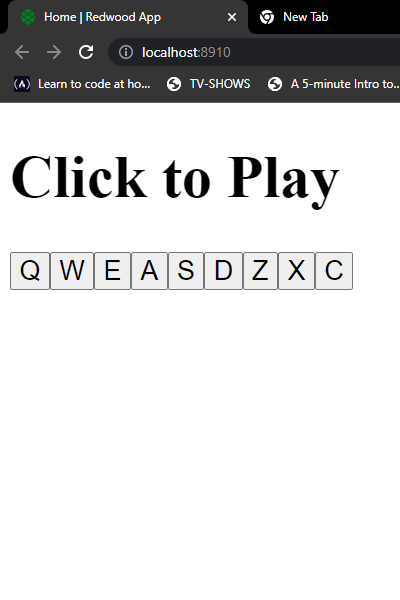
return (
<>
<h1>Click to Play</h1>
<div style={{ display: "flex", flexDirection: "row" }}>
{drummachine.map(({ id, keyStroke, audioLink }) => (
<div key={id}>
<button onClick={() => playSound(audioLink)}>{keyStroke}</button>
</div>
))}
</div>
</>
);
};If we go to our browser, our original home page will remain the same. This is because we haven’t made the necessary component imports in our HomePage.js file.
import { Link, routes } from "@redwoodjs/router";
import { MetaTags } from "@redwoodjs/web";

import DrummachineCell from "src/components/DrummachineCell";

const HomePage = () => {

  return (

    <>

      <MetaTags title="Home" description="Home page" />

      <DrummachineCell />

    </>

  );

};

export default HomePage;
Let’s check the browser again and ensure it’s connected to the internet. We can now test our app by clicking on the rendered buttons.
If we go back to our code, we notice that there is no need to use the useEffect hook to load the sounds because the useQuery hook takes care of loading the data. We will only use the useEffect when adding the keydown event for keyboard functioning.
Adding the Keyboard Function
We will use the keystrokes to create the codes for keyboard functioning. We can add an event listener to the document that listens for the keydown event. When the keydown event occurs, we can check the event’s keycode against the keystroke of each button in our drum machine. If the keycode matches a button’s keystroke, the playSound function with that button’s audioLink gets called.
Add this code just below our existing playSound function in our DrummachineCell.js file.
useEffect(() => {
  document.addEventListener("keydown", handleKeydown);

  return () => {
    document.removeEventListener("keydown", handleKeydown);
  };
}, []);

function handleKeydown(event) {
  drummachine.forEach(({ keyStroke, audioLink }) => {
    if (event.keyCode === keyStroke.charCodeAt(0)) {
      playSound(audioLink);
    }
  });
}
It’s important to note that the keyCode is the Unicode value of the key pressed, so in our case, we’re using charCodeAt(0) to get the Unicode value of the first character of the keystroke string.
Our drum machine is now capable of playing beats by pressing the keyboard buttons. I hope this information helps you get a soda. Let’s now add some styles to our drum machine UI.
Styling the Drum Machine UI
We will use Styled-components for styling our elements, and this is because we need reusable components for our drum machine buttons. In a RedwoodJS project, you don’t need to navigate to the web directory specifically to install a package like styled components. Run the command below to start the installation.
yarn add styled-componentsOutput
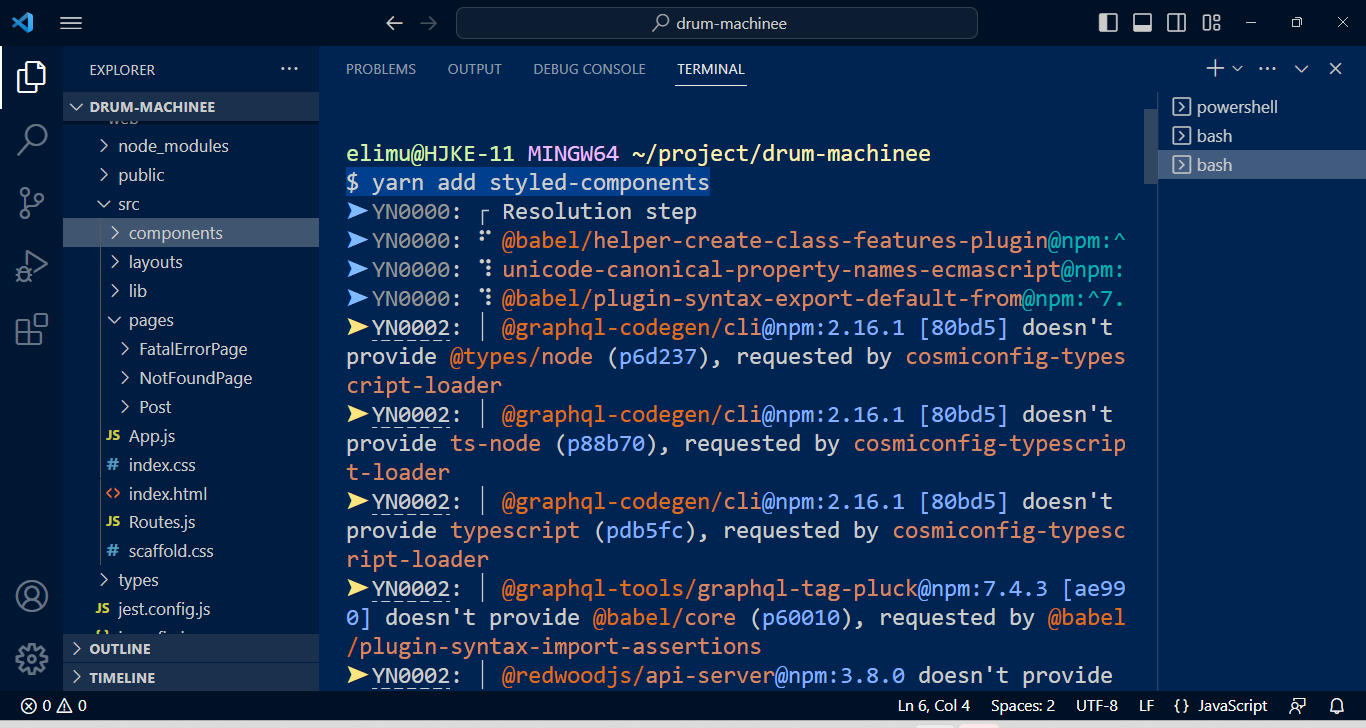
We are first going to set up the global styles for our app and then create the drum machine components. Let’s create a styles folder at the root of our web/src directory and create a globalStyles.js file, then add the code below.
web/src/styles/globalStyles.js
import { createGlobalStyle } from "styled-components";

export const GlobalStyles = createGlobalStyle`
  body {
    font-family: Arial, sans-serif;
    margin: 0;
    padding: 0;
  }
`;
We can now export GlobalStyles and render it at the top level of our app at web/src/app.js.
app.js
import { FatalErrorBoundary, RedwoodProvider } from "@redwoodjs/web";
import { RedwoodApolloProvider } from "@redwoodjs/web/apollo";
import FatalErrorPage from "src/pages/FatalErrorPage";
import Routes from "src/Routes";
import "./scaffold.css";
import "./index.css";
import { GlobalStyles } from "./Styles/globalStyles";

const App = () => (
  <FatalErrorBoundary page={FatalErrorPage}>
    <RedwoodProvider titleTemplate="%PageTitle | %AppTitle">
      <RedwoodApolloProvider>
        <Routes />
        <GlobalStyles />
      </RedwoodApolloProvider>
    </RedwoodProvider>
  </FatalErrorBoundary>
);

export default App;
This will apply the styles to the entire app, so we can use them in any component without importing them again. There are two ways of adding the styles, including them in the main component file or using separate files.
We are going to separate them from our components. This makes the code more organized, easier to maintain, and potentially easier to reuse styles across multiple components.
Let’s navigate to our web/src/styles folder and create Drumstyles.js, and then add the styled-components code for our ButtonContainer and Button components.
import styled from "styled-components";

export const ButtonContainer = styled.div`
  background-color: #333;
  width: 25vw;
  left: 35vw;
  position: relative;
  top: 25vh;
  display: grid;
  grid-template-columns: repeat(3, 1fr);

`;

export const Button = styled.button`
  background-color: #333;
  color: white;
  border: none;
  padding: 10px 20px;
  font-size: 18px;
  cursor: pointer;

  &:hover {
    background-color: #555;
  }

`;

export const H1 = styled.h1`
  color: red;
  position: relative;
  left: 35vw;
  top: 20vh;
`;
This code defines the components using styled-components. We can use the components in our application and pass in different props for the label and onClick function for each button.
With the styled components file in place, it’s time to bring it into our main component, the DrumachineCell.js file. Let’s take a look at the complete code for our drum machine.
import { useEffect } from "react";
import { Button, ButtonContainer, H1 } from "src/Styles/Drumstyles";
export const QUERY = gql`
query FindDrummachineQuery {
drummachine: posts {
id
keyStroke
audioLink
}
}
`;
export const Loading = () => <div>Loading...</div>;
export const Empty = () => <div>Empty</div>;
export const Failure = ({ error }) => (
<div style={{ color: "red" }}>Error: {error?.message}</div>
);
export const Success = ({ drummachine }) => {
function playSound(audioLink) {
// play sound here
const audio = new Audio(audioLink);
audio.play();
}
useEffect(() => {
document.addEventListener("keydown", handleKeydown);
return () => {
document.removeEventListener("keydown", handleKeydown);
};
}, []);
function handleKeydown(event) {
drummachine.forEach(({ keyStroke, audioLink }) => {
if (event.keyCode === keyStroke.charCodeAt(0)) {
playSound(audioLink);
}
});
}
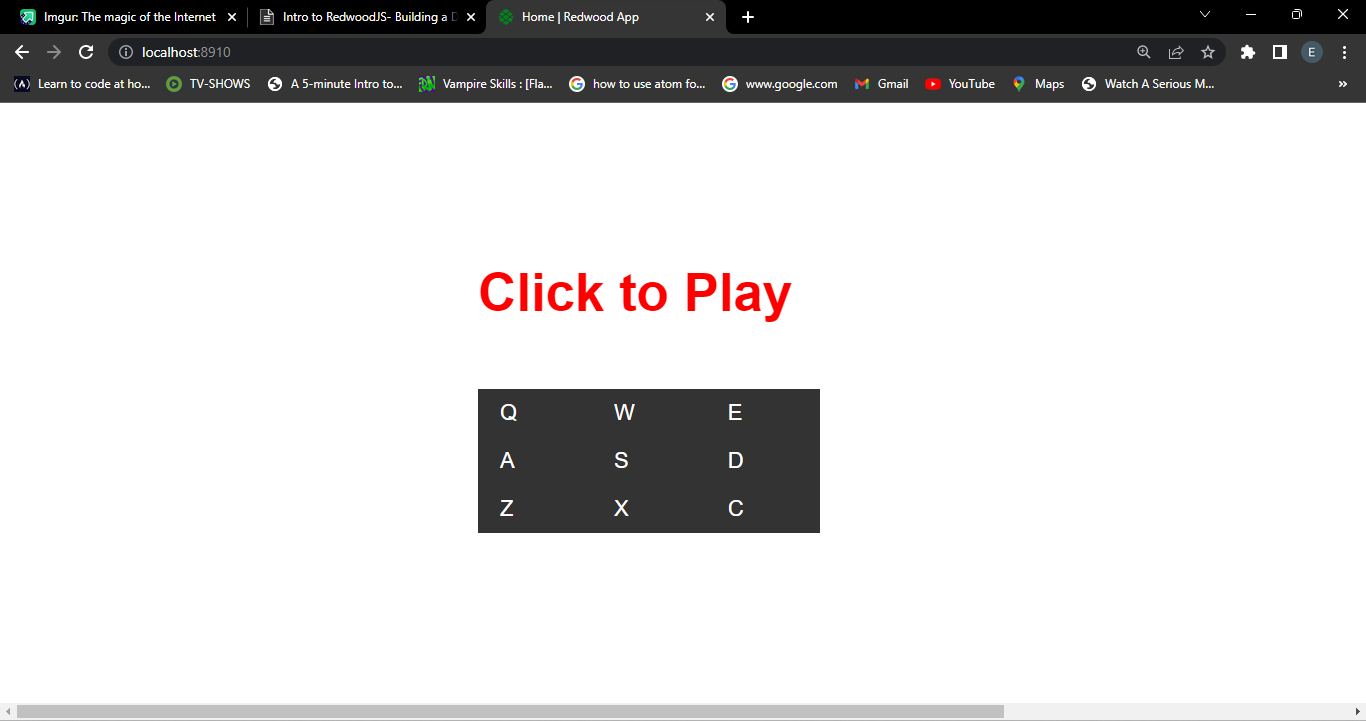
return (
<>
<H1>Click to Play</H1>
<ButtonContainer>
{drummachine.map(({ id, keyStroke, audioLink }) => (
<div key={id}>
<Button onClick={() => playSound(audioLink)}>{keyStroke}</Button>
</div>
))}
</ButtonContainer>
</>
);
};With all the steps done correctly, our drum machine should be fully functional and responsive.
Ready to test out our drum machine? Simply follow this link: Link. And if you’re interested in taking your projects to the next level, why not consider deploying with Vercel or Netlify? Check out our guide on how to deploy applications to production: page.
Conclusion
Building a drum machine with RedwoodJS is a great way for beginners to learn about web development and get familiar with this powerful framework. The process of building a drum machine involves using various technologies, such as the use of GraphQL API to fetch the beats, HTML, CSS, and JavaScript. RedwoodJS also provides easy methods of using generators to create the necessary files and boilerplate code, making the development process even more efficient. The result is a fully functional and interactive drum machine.
The inclusion of a volume slider and an off switch will give users more control over their experience. The drum machine you’ve built can be a great foundation for your next project, and the skills you’ve learned will be valuable as you continue to develop web applications with RedwoodJS.
References
Gain Debugging Superpowers
Unleash the power of session replay to reproduce bugs and track user frustrations. Get complete visibility into your frontend with OpenReplay, the most advanced open-source session replay tool for developers.