In this modern era, frontend web applications do not only persist data across components but also handle updates and perform necessary actions. This is where State Management comes in. State management is the process of maintaining data integrity across multiple related data flows that comprise a complete session and managing the application’s current state.
State refers to the condition of an application based on its stored inputs, which are saved as variables or constants. State management enables developers to determine the state of an application to ensure that changes made accurately reflect the real-world context and business processes. You can use the Signal tool to manage states more efficiently.
This article demonstrates what Signal is and how it works. You’ll learn how to use it to manage the state in a Preact application.
To follow along with this tutorial, you’ll need the following:
What is Signal?
Signal is a state management tool or library that allows developers to subscribe to state changes and dispatch actions to update the state. Using it to manage state in applications has several advantages, including:
- Enabling quick rendering of state changes without requiring a complex build setup.
- Simple to use and time-saving by providing a set of APIs.
How does Signal work?
Signal uses values that can be observed for changes called Observables to efficiently keep track of the state of applications and ensure that the components are updated when the state changes. Components in an application can subscribe to Observables to observe events that cause a change in the state. Signal automatically updates the state of the components when the observable value changes.
Using Signal to manage state, your applications will always be up to date with the most recent data. Signal is tightly coupled with and mostly used with Preactjs, among others.
Benefits of Signal Over state hooks
Compared to state hooks, Signal offers several advantages, including efficient state updates regardless of whether the state is global, passed via props or context, or local to a component.
Another benefit is the ability to use Signal inside or outside of your application’s components and to work with hooks and class components.
Other benefits include:
- Efficient updates: When the Signal’s dependencies are updated, the components and effects that depend on the Signal’s value remain unchanged. However, the components and effects will only be affected when the Signal’s value changes. Moreover, when the hooks’ dependencies are updated, the components change.
- Optimal dependency tracking: Preact framework seamlessly works with Signal by keeping track of the components that depend on the Signal, unlike hooks architecture which works by creating dependency arrays.
- Direct access: Accessing the value of a signal in a component automatically subscribes to updates, eliminating the need for selectors or hooks.
DEMO: Setting up the Project
In this tutorial, you’ll build a Budget application with Preact. To start with Signal, you will need the preact/signal npm package.
The complete source code of the project can be found here.
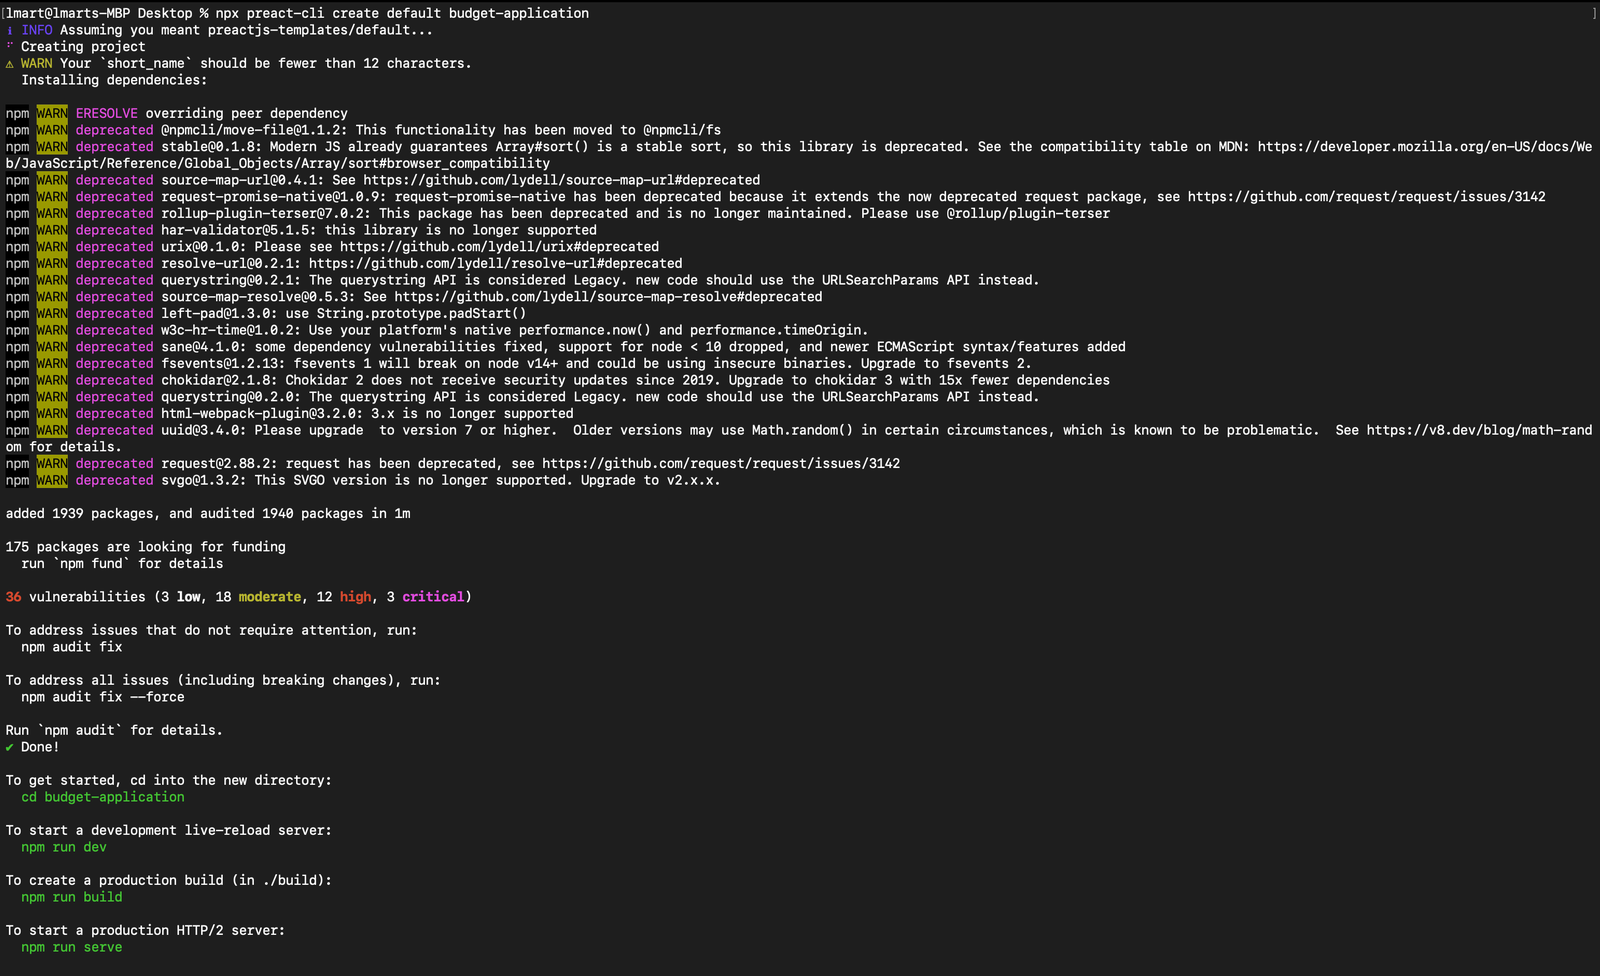
Start by setting up a new Preact project, “budget-application,” by running this command in your terminal:
npx preact-cli create default budget-applicationAfterward, your project directory will be created on your local machine.
Next, change into the directory of your project and install the preact/signal npm package by running this command:
cd budget-application
npm install @preact/signals
Creating the State
Preact Signal will manage the state of the application’s transactions and provide the necessary state mutations to allow for the updating, deleting, and retrieving up-to-date data from the state.
Begin by creating a “store” folder in your project, which will contain a “budget.store.js” file within the “src” directory.
Then, within the “budget.store.js” file, paste the following code:
import { computed, signal } from "@preact/signals";

export const transactions = signal([
    { title: "Obi", type: "-", amount: 3000, uid: 0 },
    { title: "Obi", type: "+", amount: 30000, uid: 1 },
]);

export const totalAmount = computed(() =>
    transactions.value.reduce((p, c) => {
    if (c.type === "+") return p + +c.amount;
    if (c.type === "-") return p - +c.amount;
    }, 0)
);

export const expenses = computed(() => transactions.value.filter((e) => e.type === "-"));

export const incomes = computed(() => transactions.value.filter((e) => e.type === "+"));

export const addTransaction = (title, type, amount = 0) => {
    transactions.value = [
    ...transactions.value,
    {
        uid: transactions.value.length + 1,
        title,
        type,
        amount,
    },
    ];
};

export const removeTransaction = (uid) => {
    transactions.value = transactions.value.filter((t) => t.uid !== uid);
};
The code snippet above contains the following:
- A single signal state called
transactionswhich manages data for the transaction records saved on the app. It has the following data structure:Array<{ title: string, type: string, amount: number, uid: number }>. - Three computed states:
totalAmount,expenses, andincomes. Usingcomputedto create these states results in an immutable state that can cause subscribers to be re-rendered. It contains a filtered version of the original transaction state. - Two state mutators:
addTransactionandremoveTransaction. These mutators are used to update the state transactions:addTransactionadds new transactions to the list, whileremoveTransactionremoves data from the list.
Session Replay for Developers
Uncover frustrations, understand bugs and fix slowdowns like never before with OpenReplay — an open-source session replay tool for developers. Self-host it in minutes, and have complete control over your customer data. Check our GitHub repo and join the thousands of developers in our community.
Adding the UI
Create a user interface for the application by pasting the code from this repository into your routes > home > index.js.
Next, you will create a component for the transactions.
Creating the TransactionView Component
This component is an abstraction and one of the UI components used to render data.
Delete the “header” folder in the “components” directory and create a new file called “transaction-view.js” with the code from here.
Return to your “index.js” file in your “routes > home” directory and replace this line of code - /* transaction component import goes here */ with the following import statement:
import TransactionView from "../../components/transaction-view";Adding CSS
In your “src > assets” directory, create a “css” folder with a “main.css” file that contains this style.
Then, replace the /* import style here */ with the following to import “main.css” into “router > home > index.js”:
import "../../assets/css/main.css"Testing the Application
To test the application to ensure that it works, run the following command:
npm run devAfterward, you should see the following in your terminal:
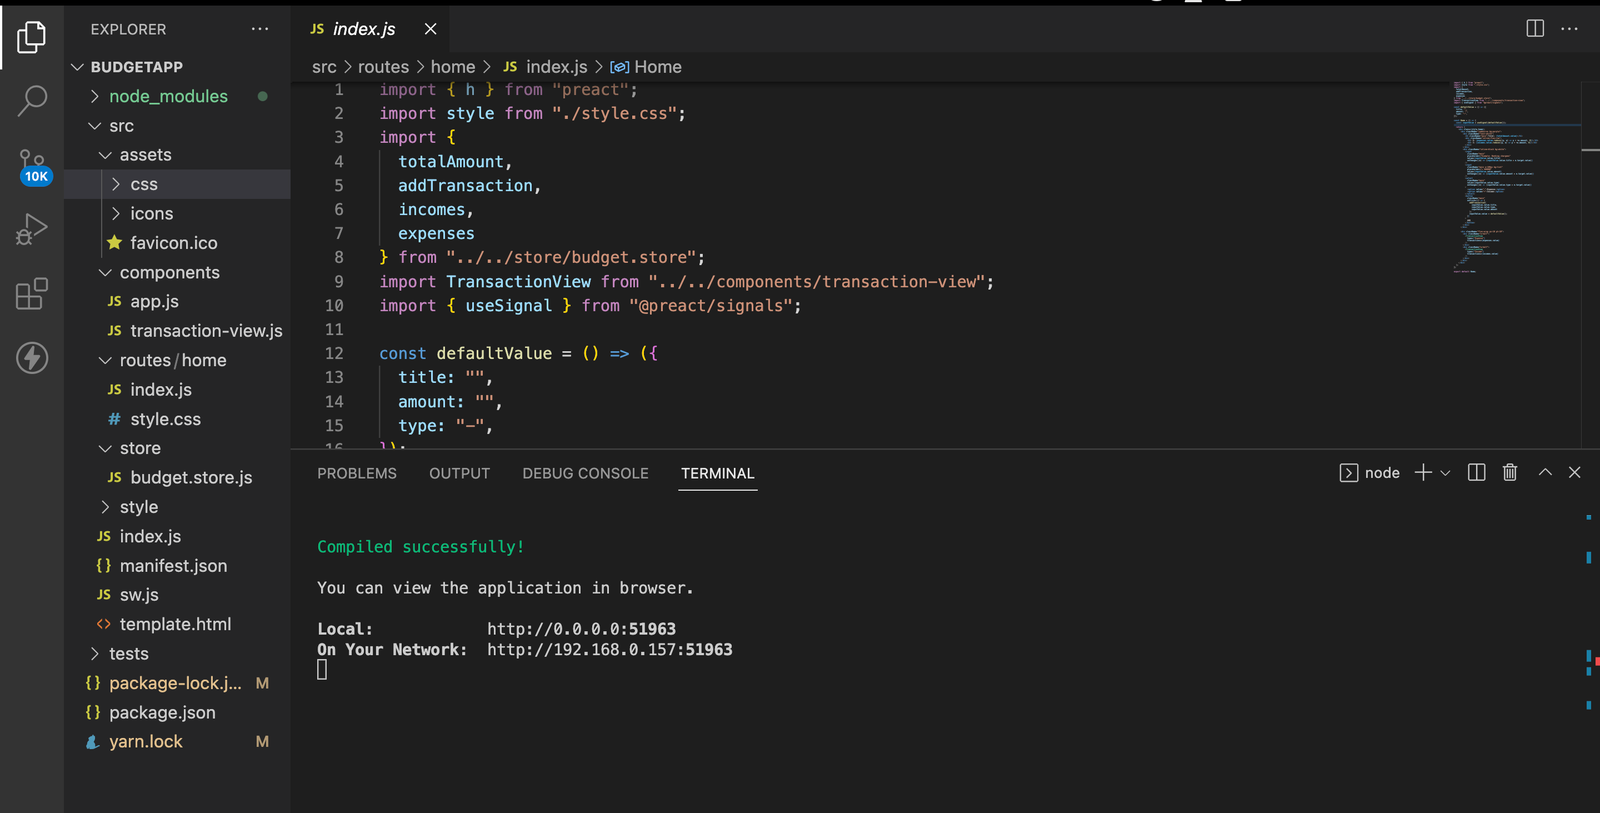
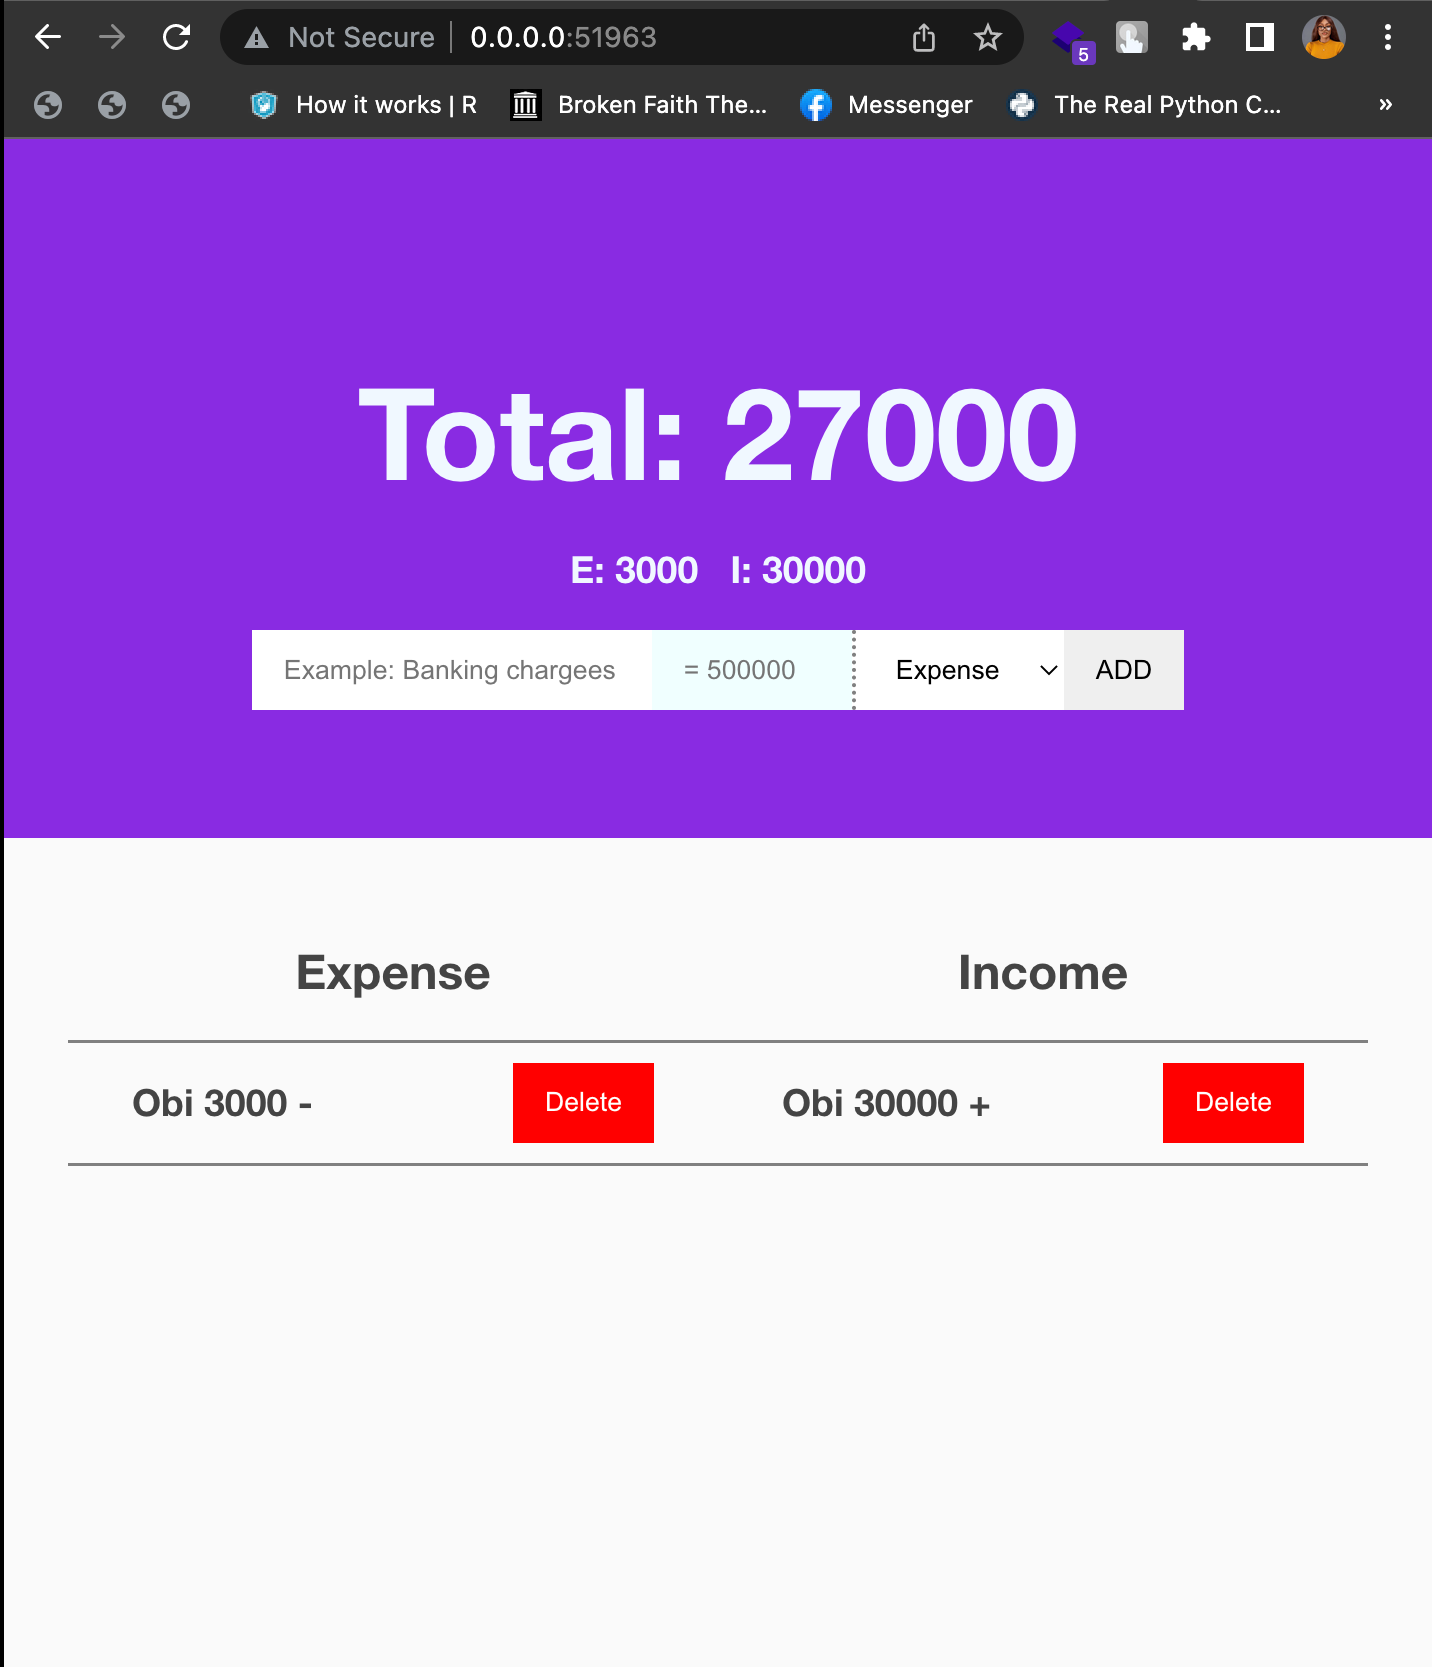
Go to the local URL “http://0.0.0.0:51963” to view the application in your browser:
Conclusion
Using Signal to manage state allows for real-time state management. In this article, you covered what Signal is and how it works, the advantages of Signal over State hooks, and how to set up a project with Preact Signal.
A TIP FROM THE EDITOR: We discussed Preact at length in our Alternatives to React: Preact article.
Gain Debugging Superpowers
Unleash the power of session replay to reproduce bugs and track user frustrations. Get complete visibility into your frontend with OpenReplay, the most advanced open-source session replay tool for developers.