One-to-one video calls with Flutter and Agora
Create a video calling app with Flutter and Agora

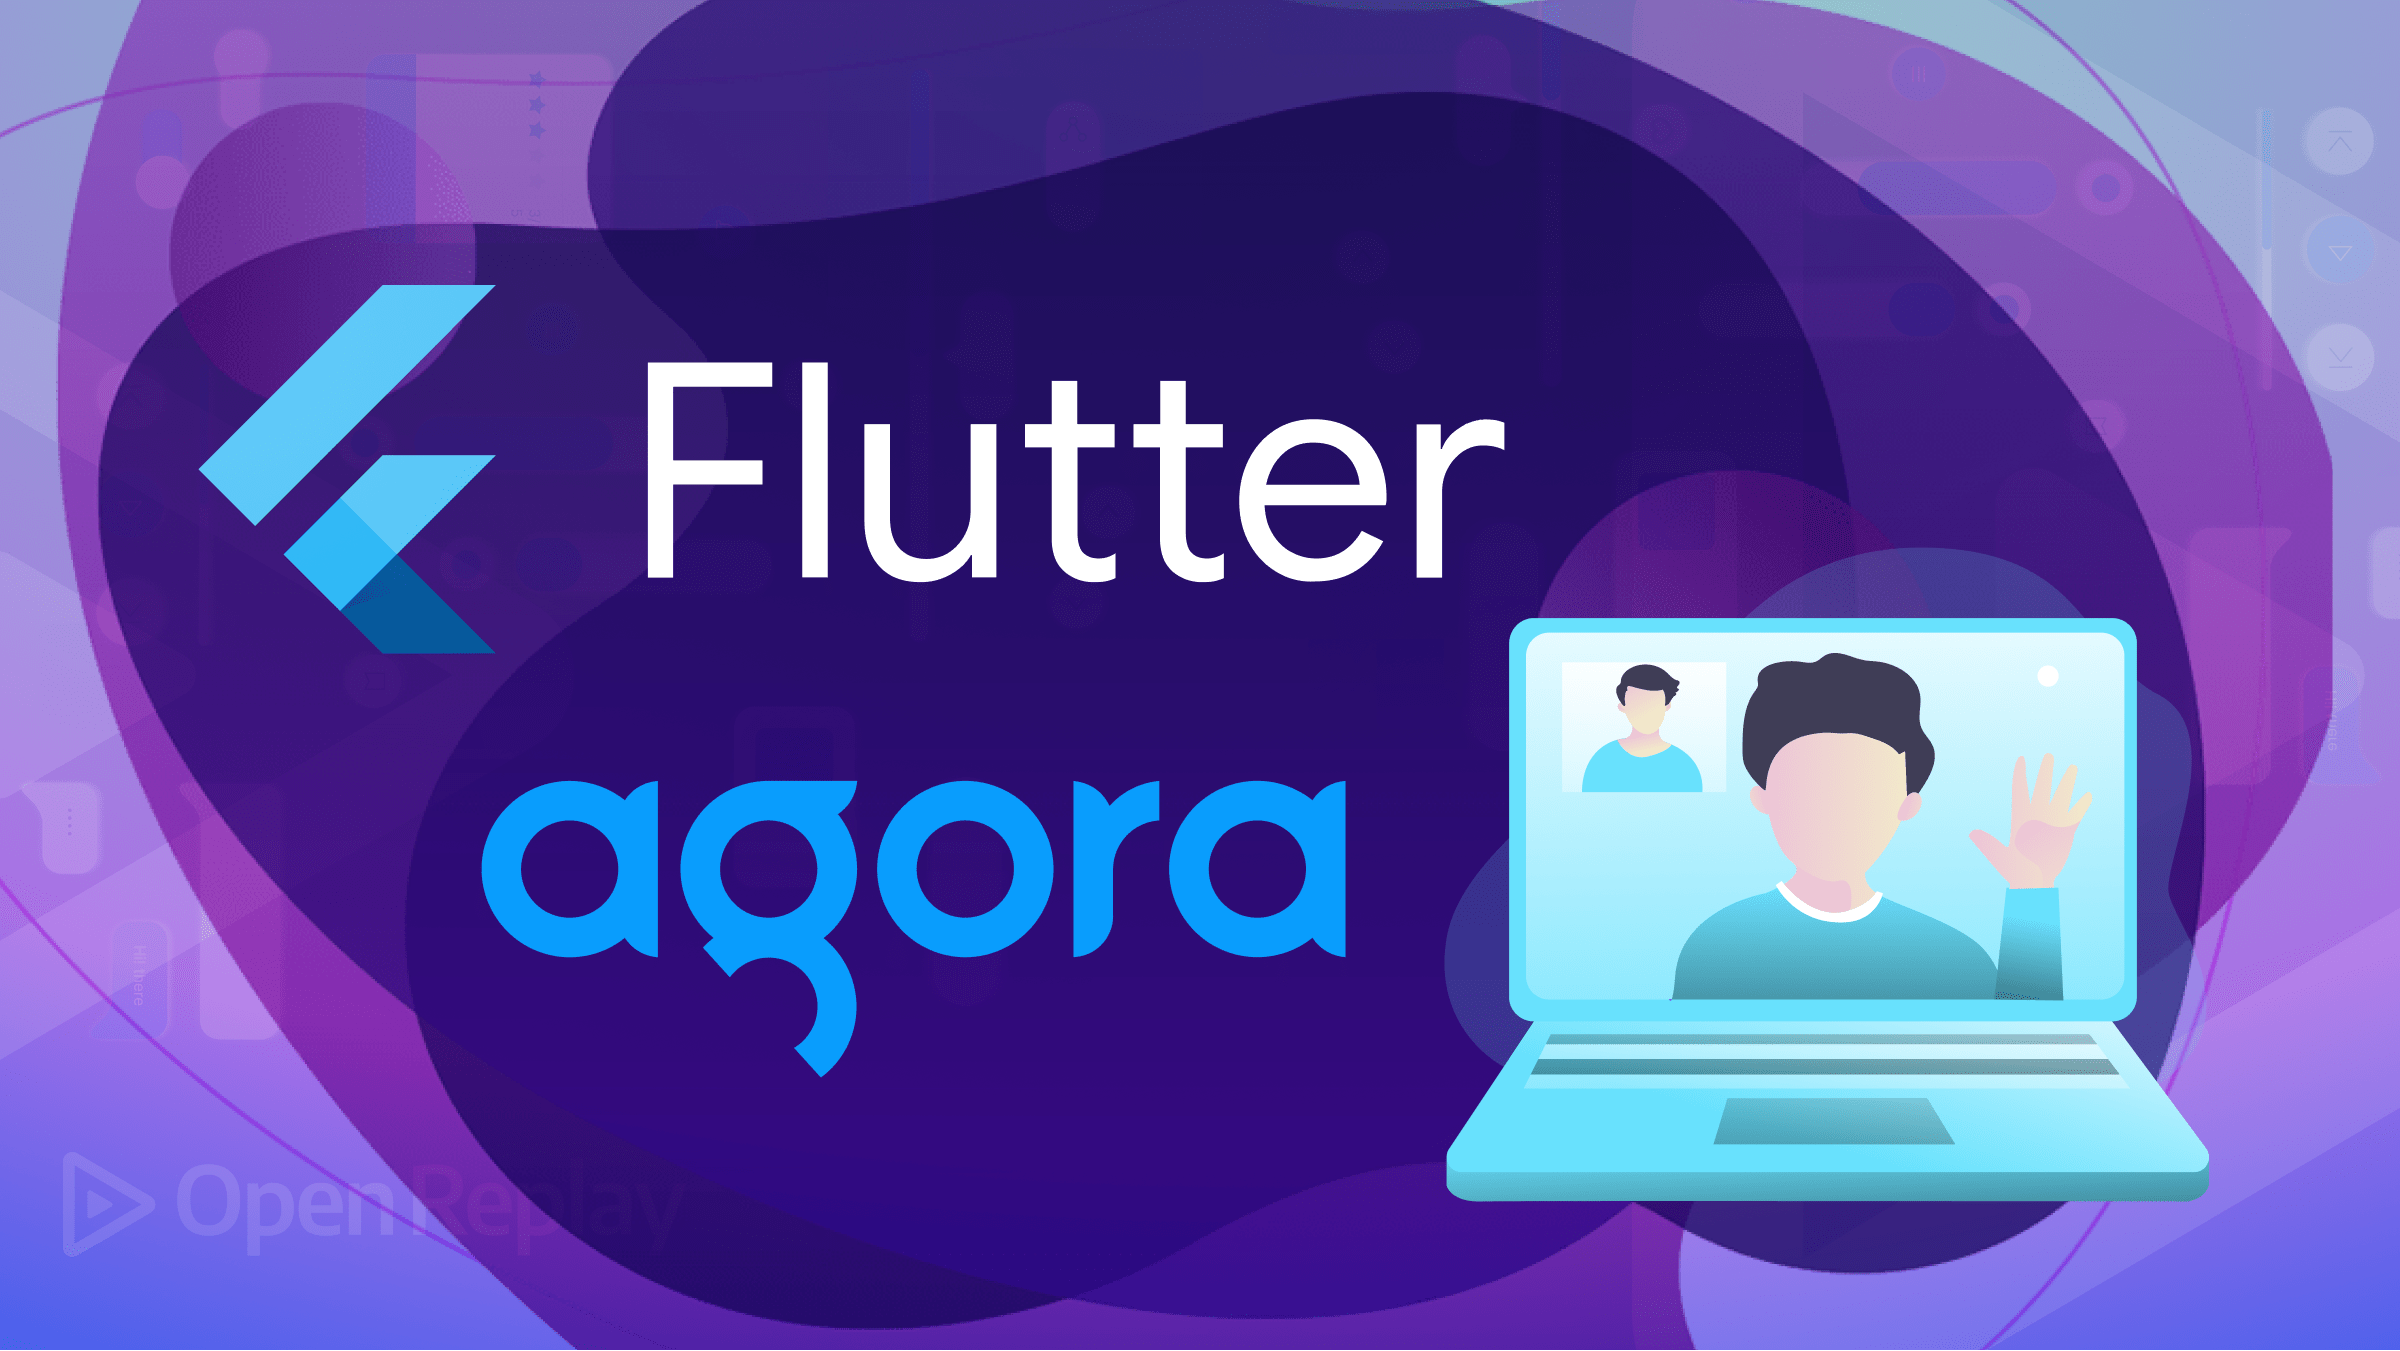
In our modern world, video calling has revolutionized how we communicate with others. This has helped users communicate face-to-face, closing the gap between distant individuals and fostering presence. Video calls have become an important part of our lives for personal use, professional use, remote work, virtual classrooms, etc.. This article will show how to implement video chat functionality in our application using Flutter and Agora.
Before diving into the code, we need to know what Agora is. The Agora video SDK is a Real-Time Engagement platform that enables developers to add live video and voice call functionality using its APIs. According To Crunchbase, Agora is the most widely adopted API for real-time live streaming communications worldwide, installed on over 500 million devices and rapidly growing. You can also use it in your web app, but we’ll produce a mobile application here.
Creating An Agora Account
We first need to set up an account to begin using the Agora Flutter SDK. Click here to be redirected to Agora’s homepage.
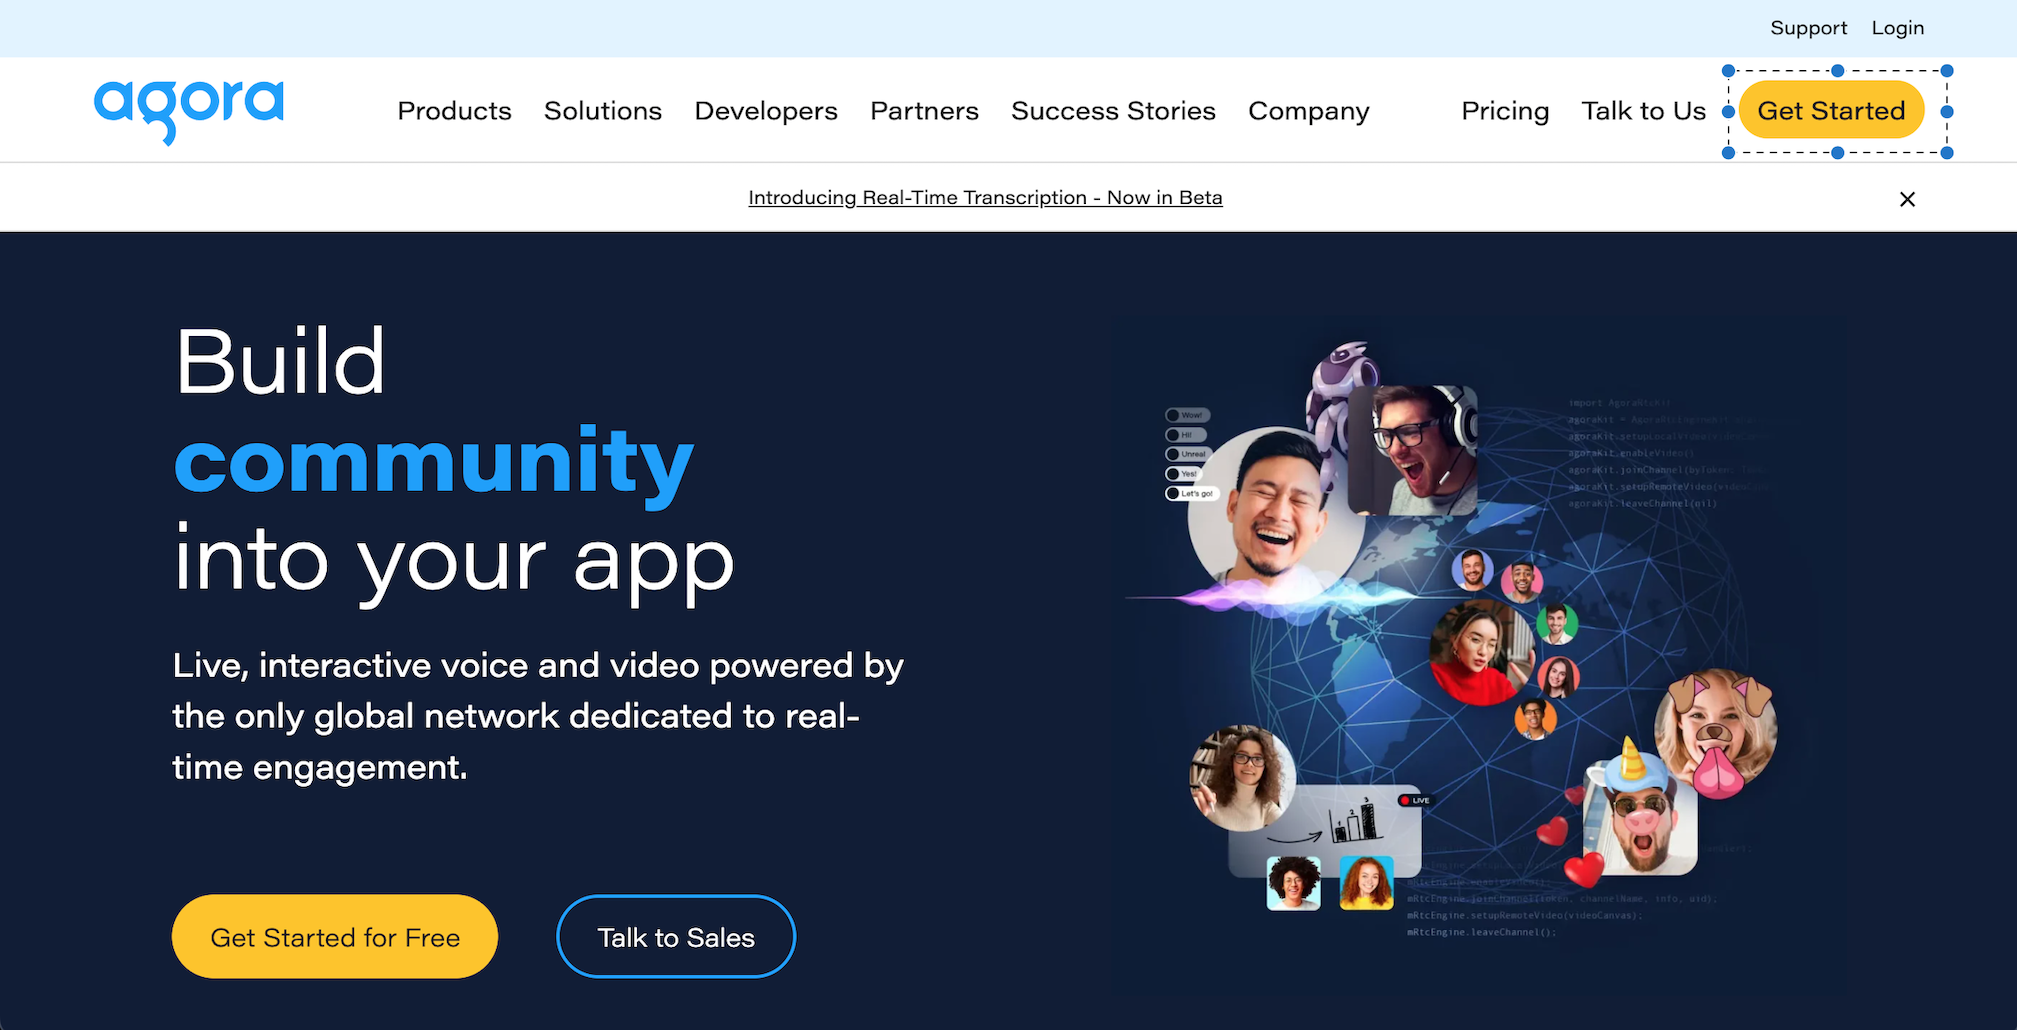
Click on the Get Started button to begin creating our account
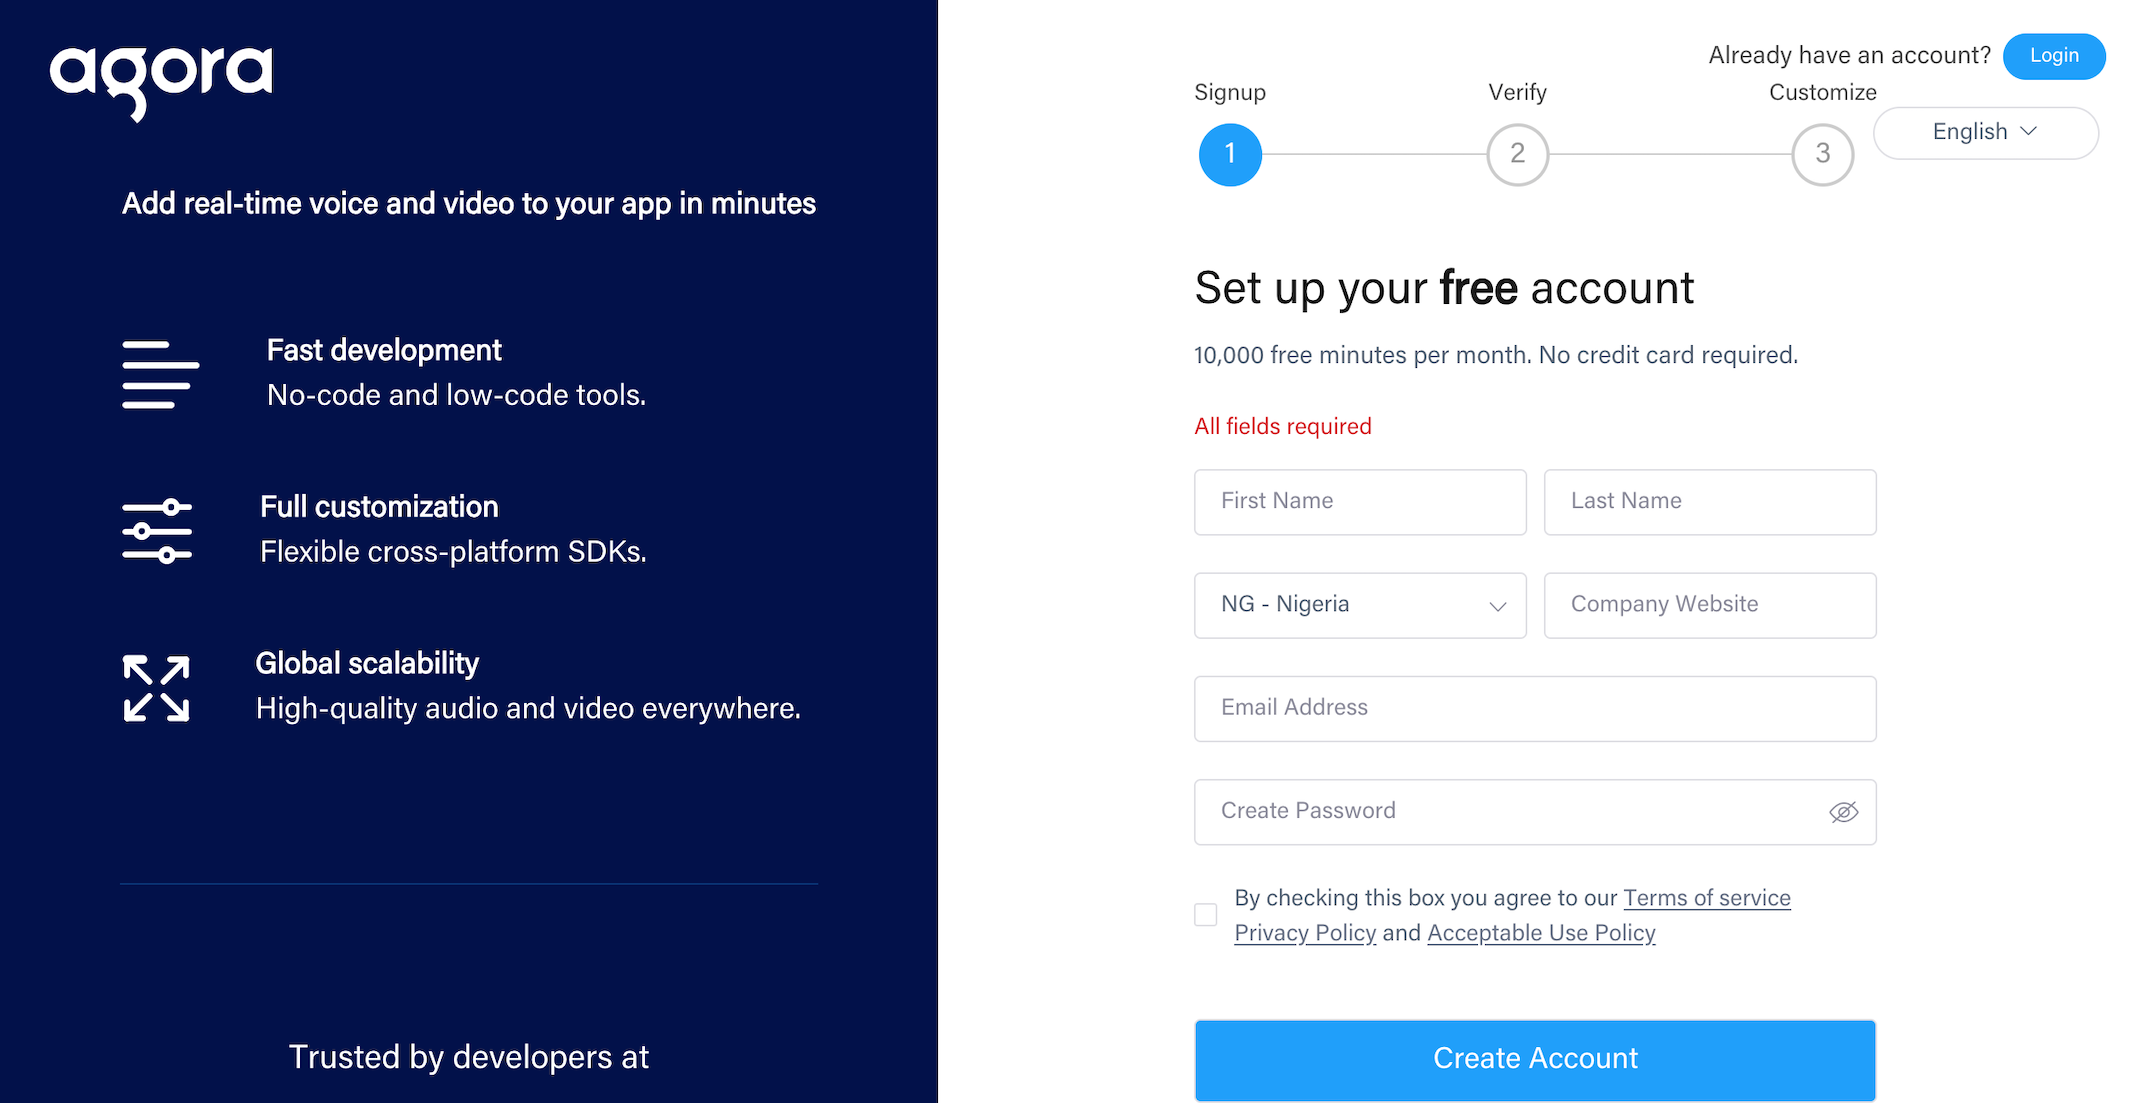
Fill in the required fields and then click the Create Account button. You can also choose to sign up using Google or GitHub. When you are done creating your account, you will be redirected to your console, where we can start creating our Agora project.
Creating A New Agora Project
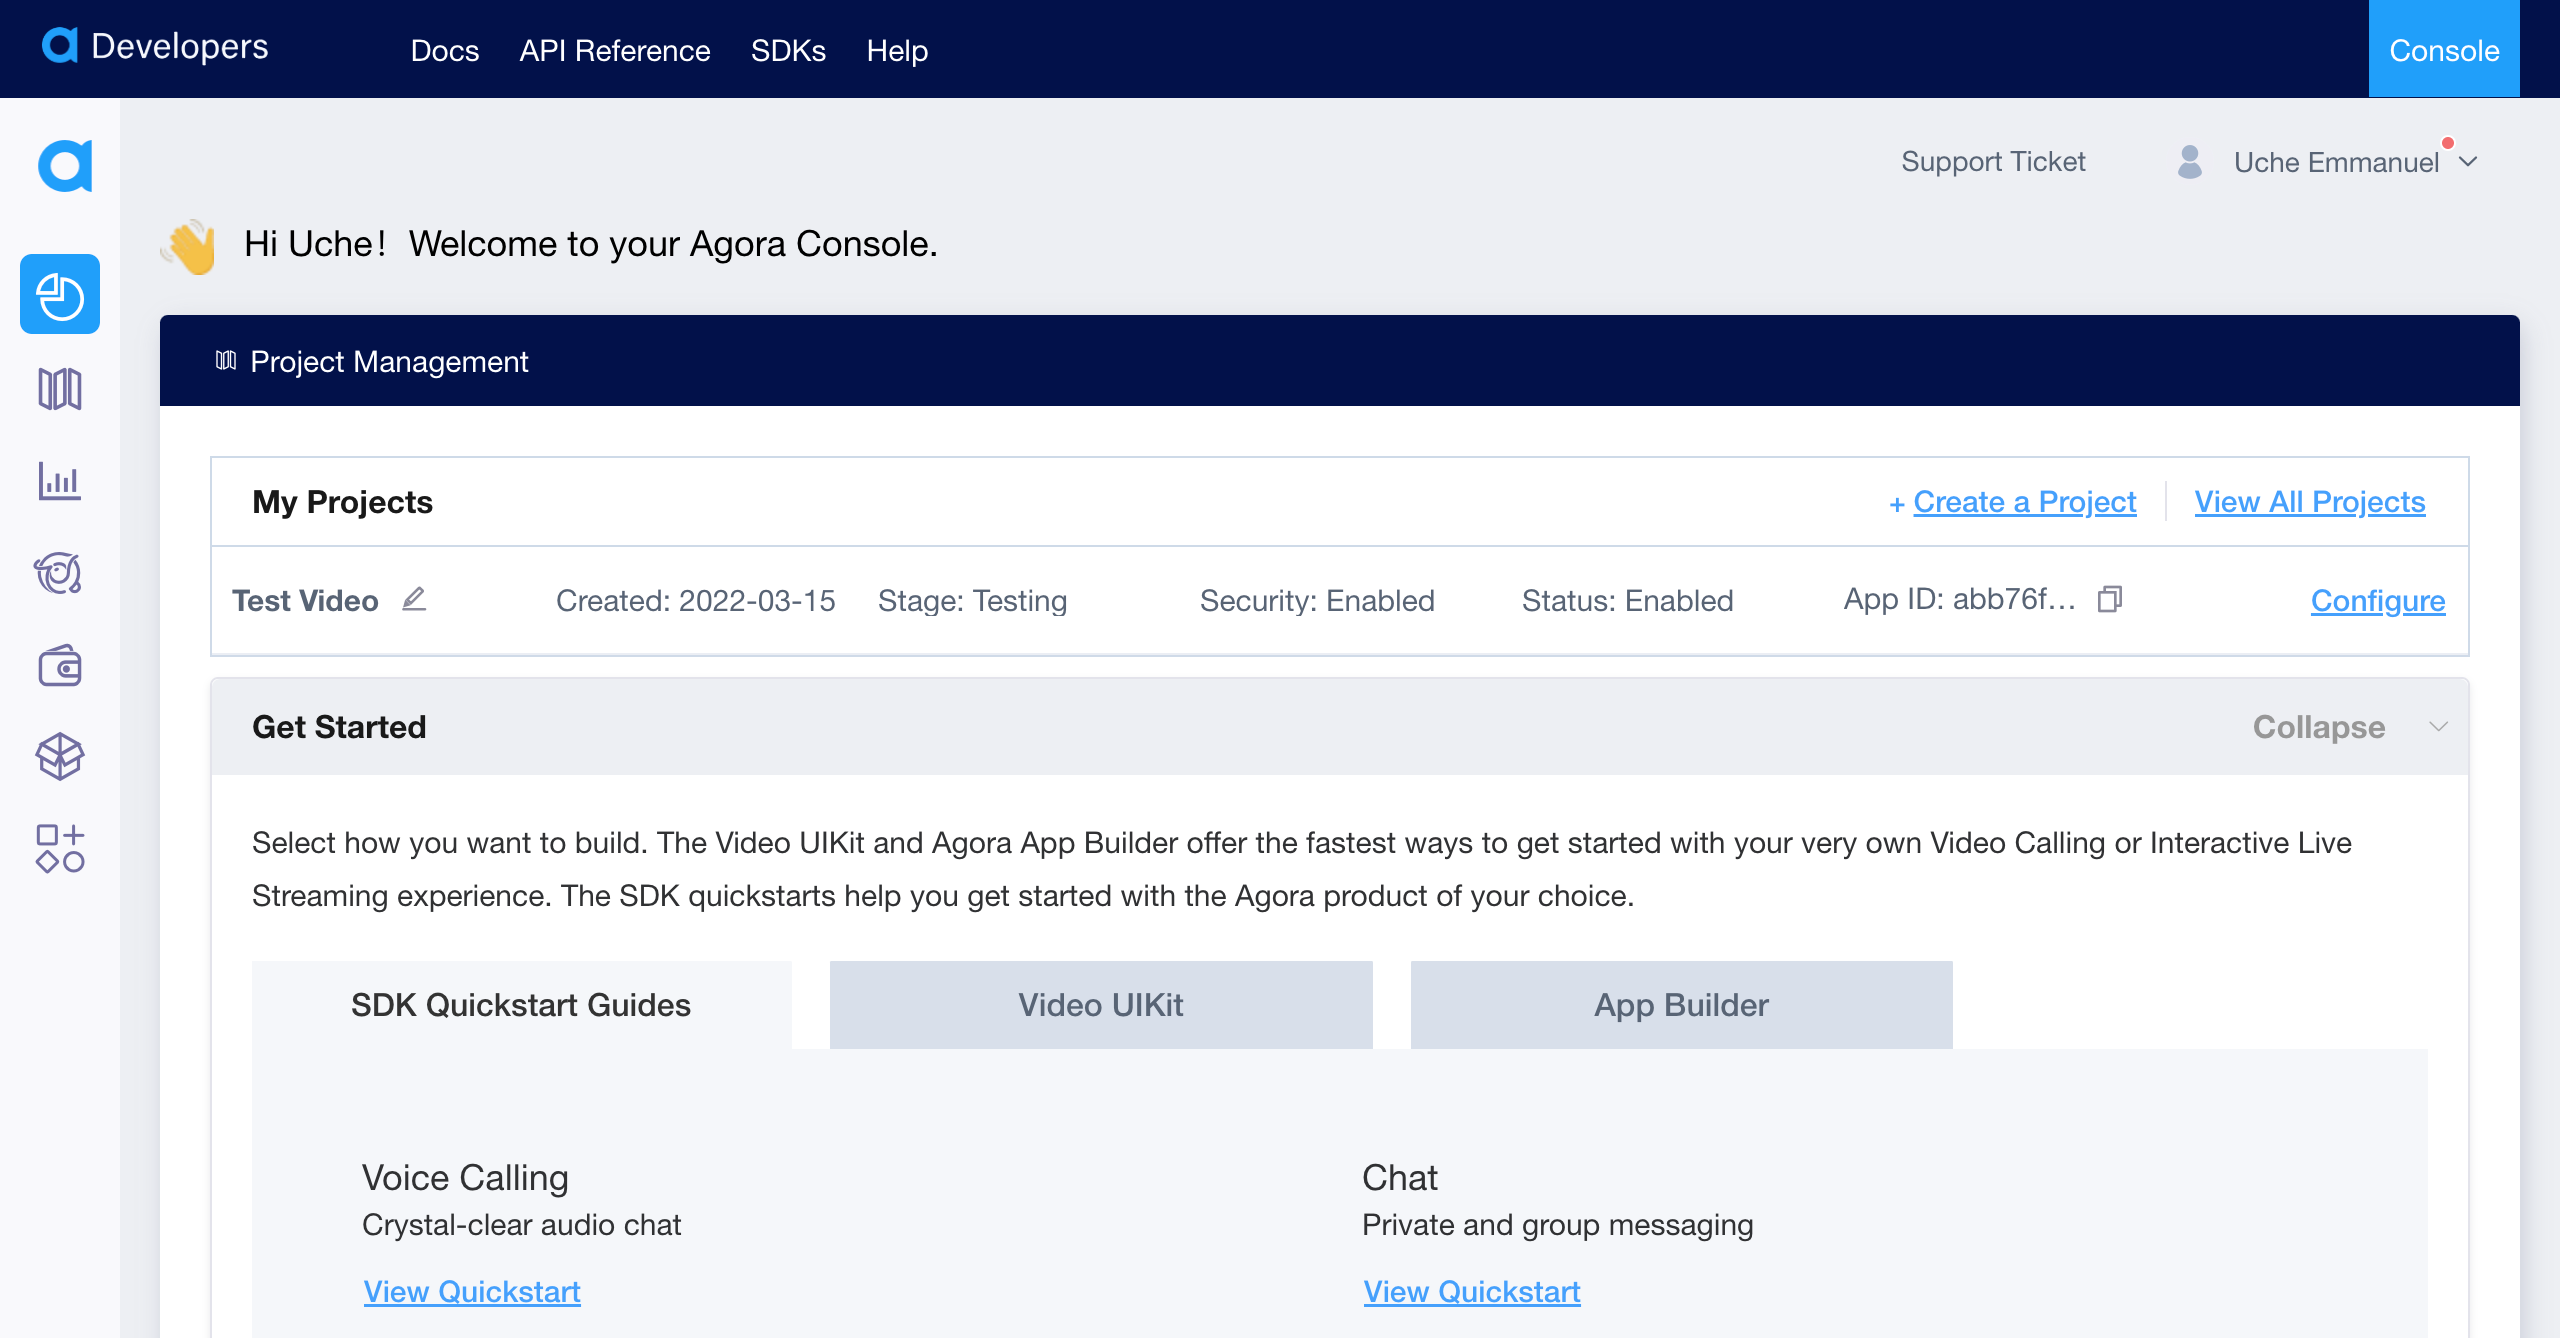 Click Create a Project, and a new project will be created for you; then click on Configure so we can configure our project.
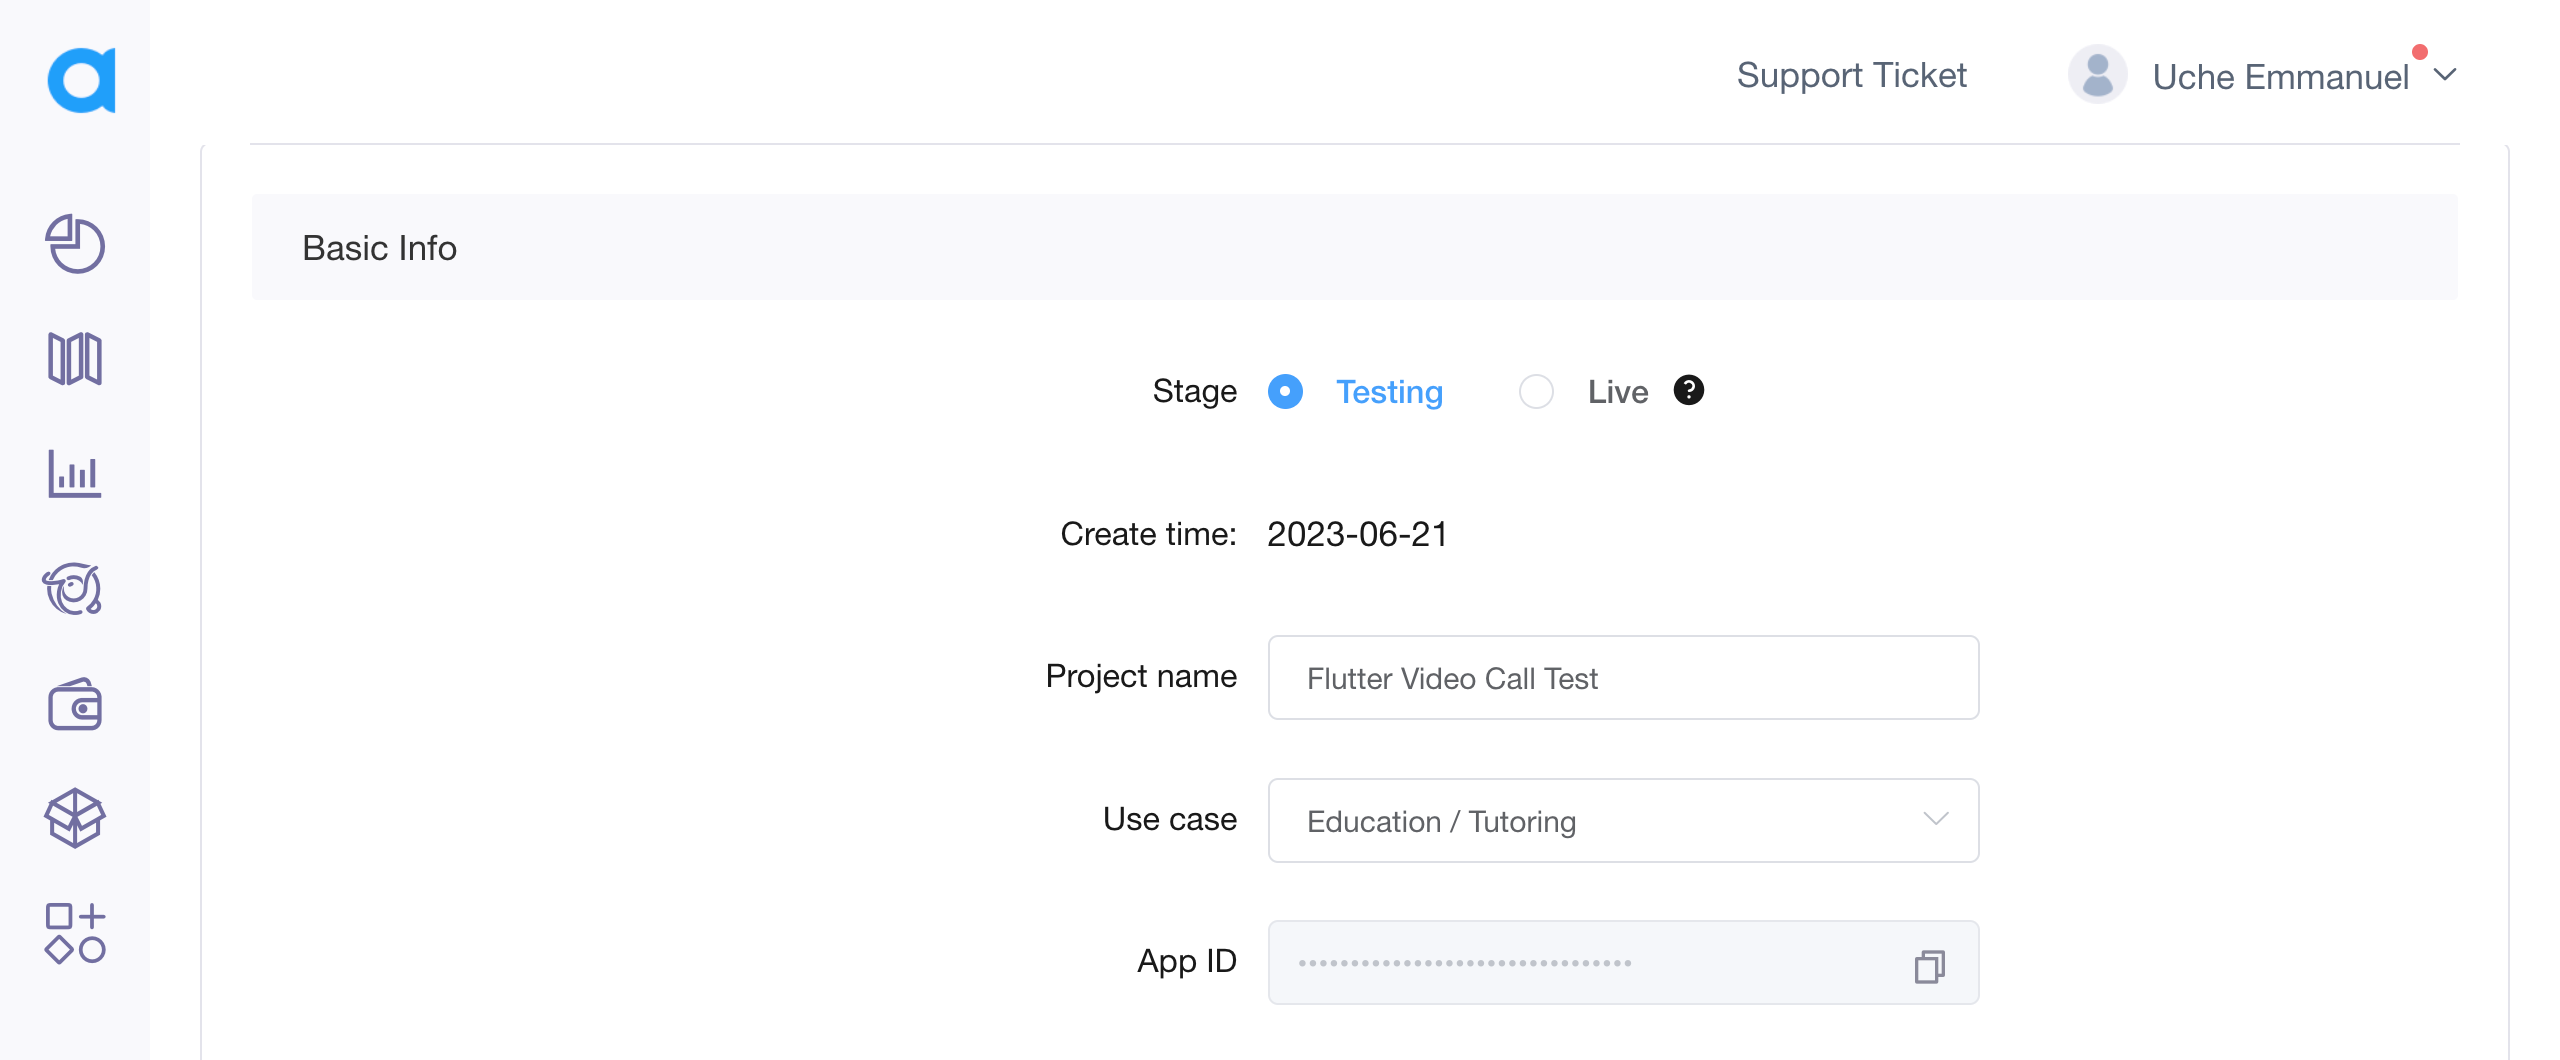 Add a project name of your choice and a use case for your project.
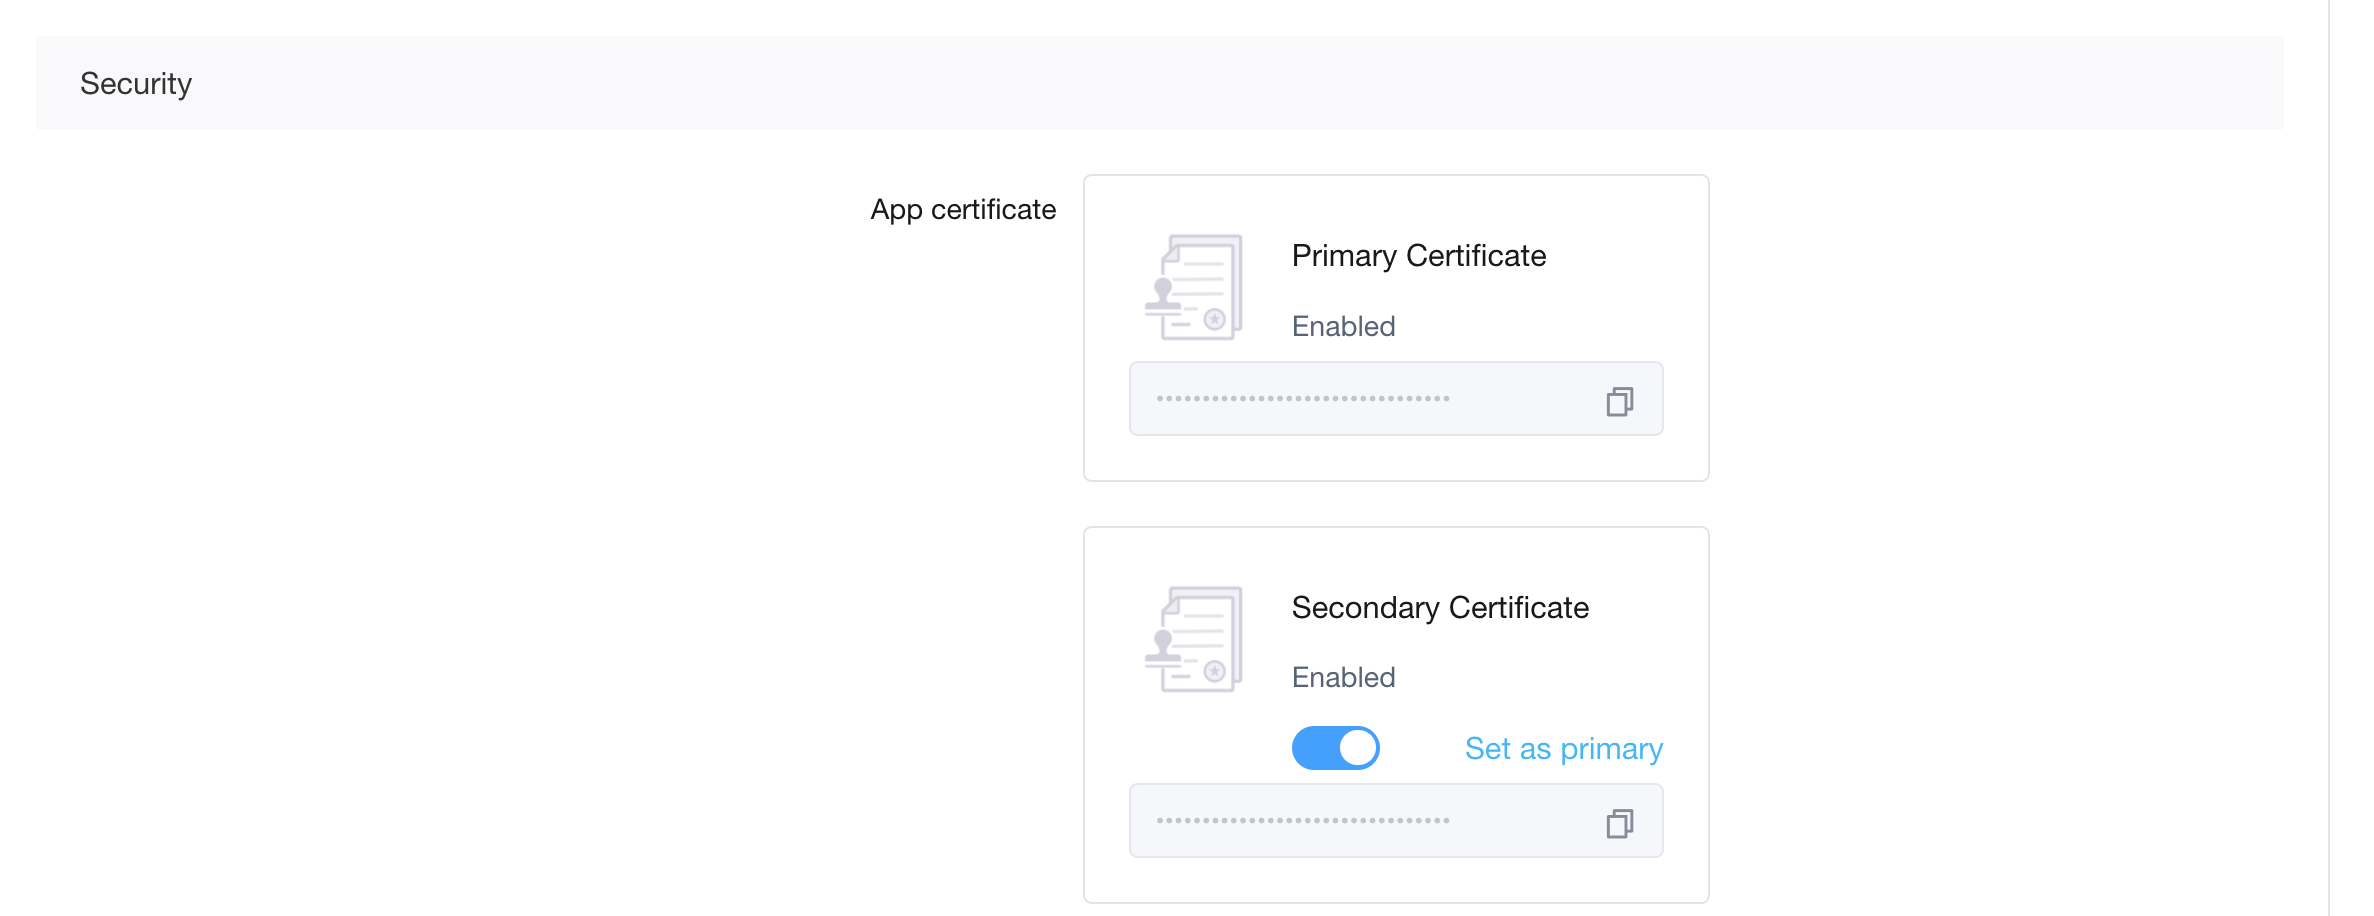 For the security section, enable primary and secondary certification so that we can generate and use a temporary token.
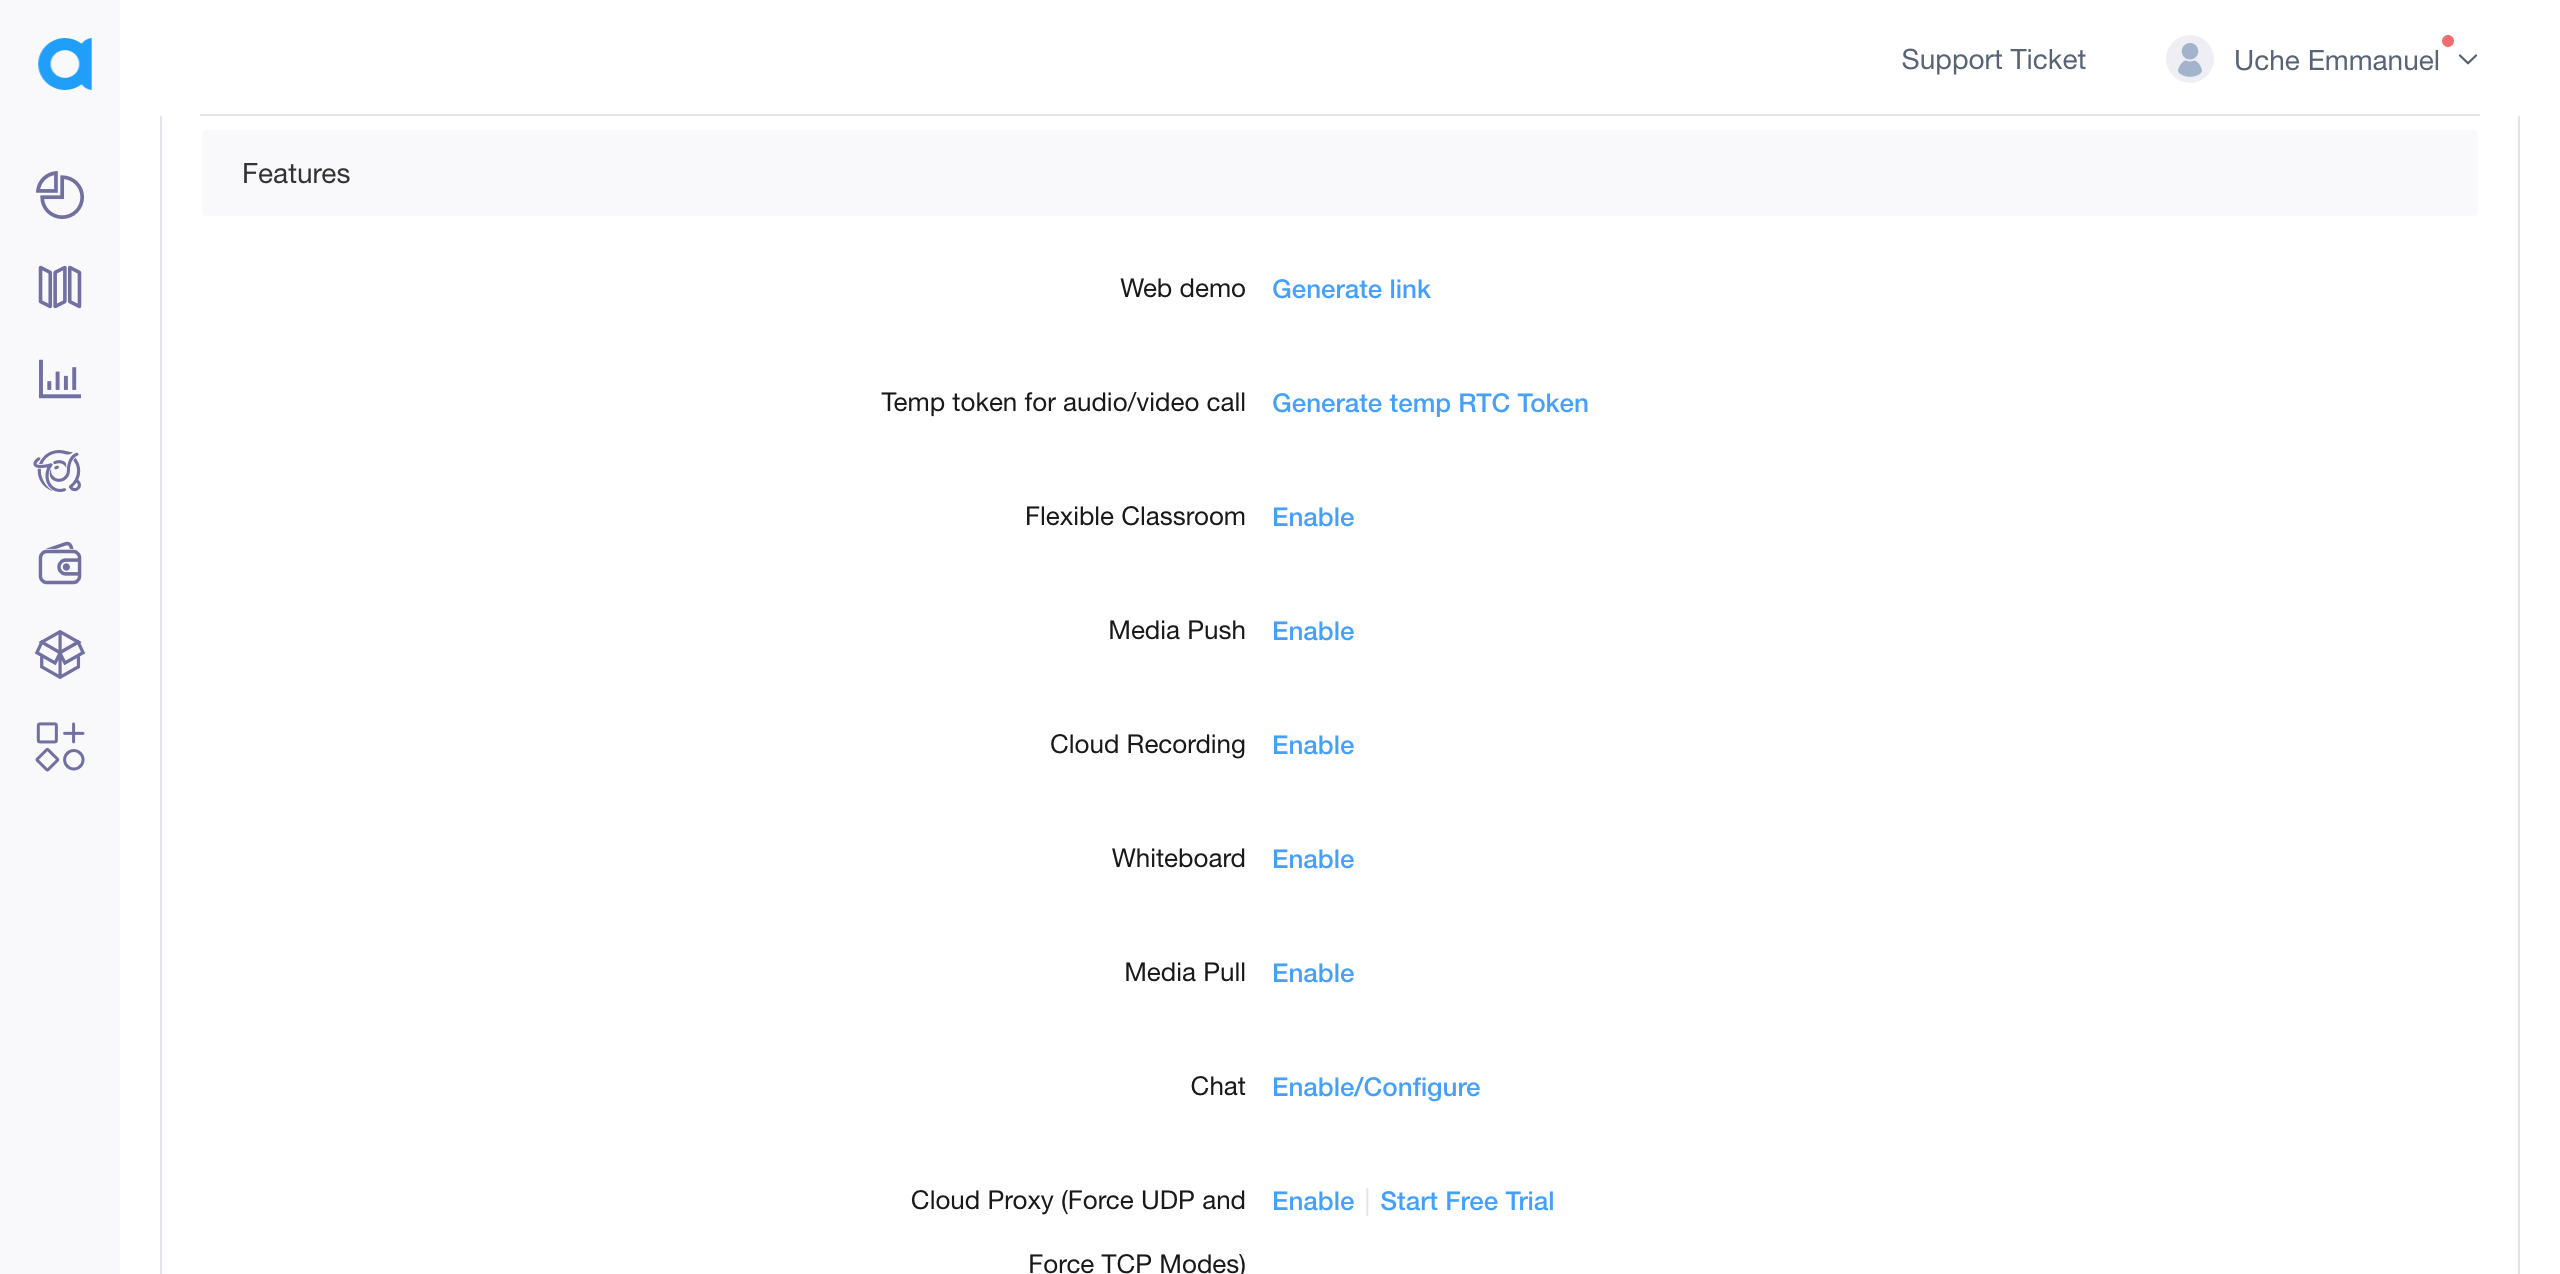 Click on Generate temp RTC Token to generate our temporary token.
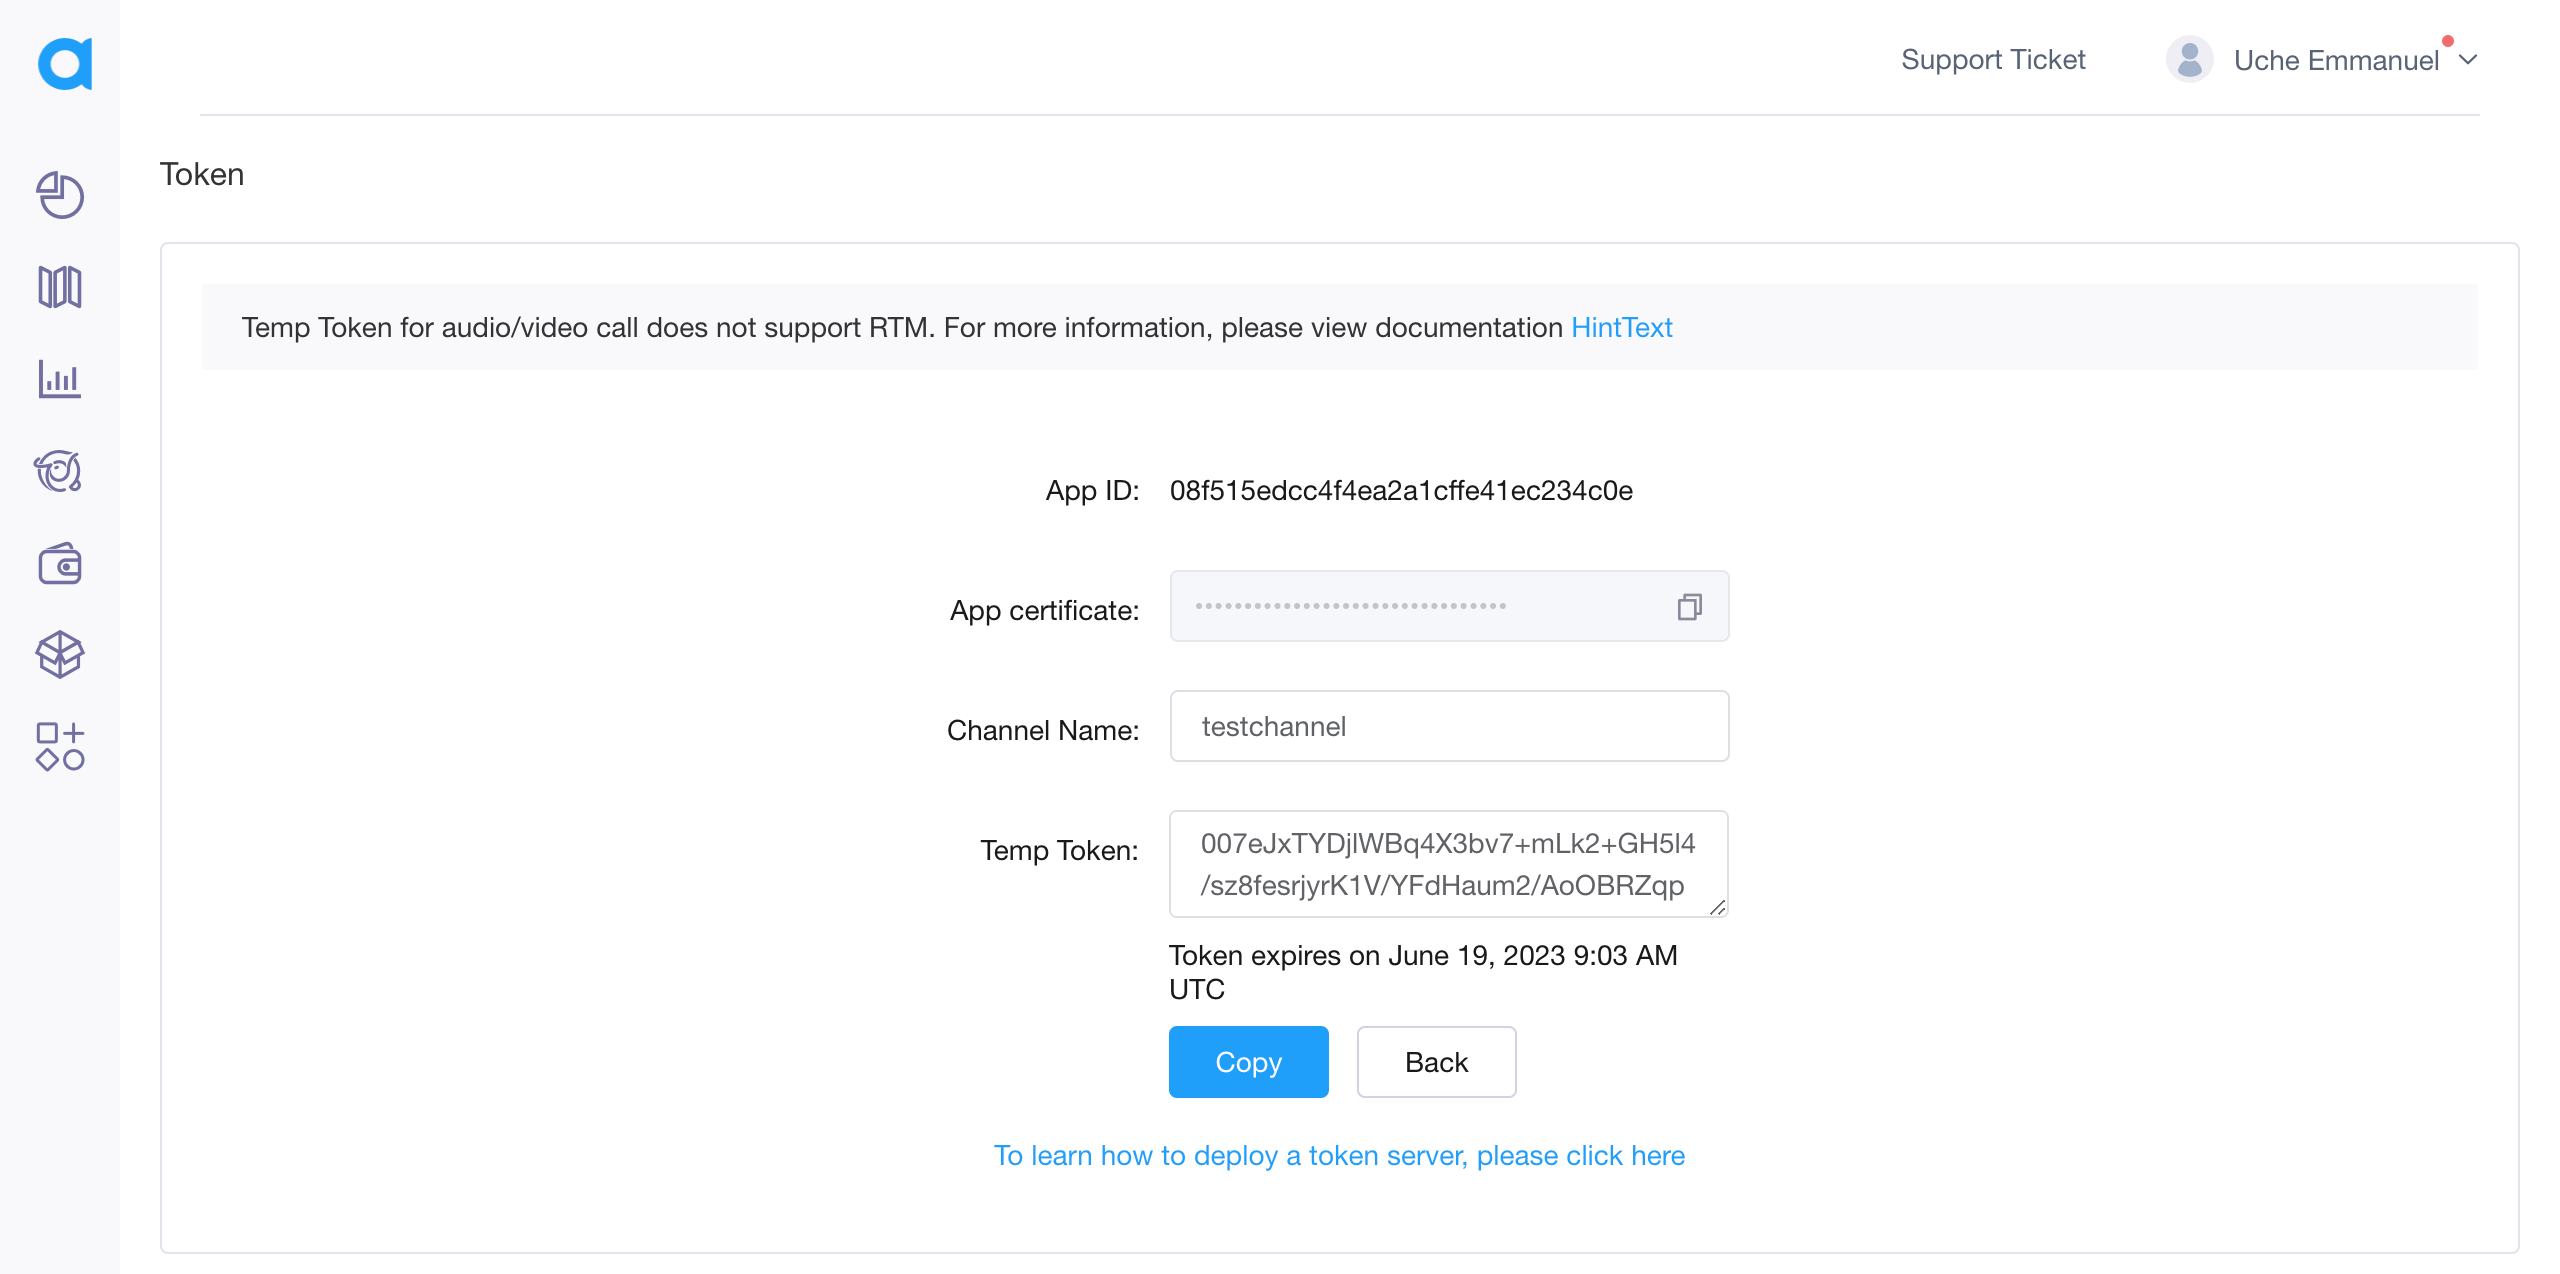 Enter a Channel Name of your choice and click the generate button. A temporary token will be generated on the fly; you can copy and paste it somewhere on your PC, as it will be needed when building our Flutter app. Also, copy the App ID as it will also be needed.
Creating Our Flutter Project
Now we are done setting up our Agora account and project, let us create our Flutter Project. On your terminal, run the code below:
flutter create <project-name>Adding Dependencies
On your terminal, run the command below:
flutter pub add agora_uikitThis package will provide the building blocks to add real-time voice and video streaming communication.
Adding Permissions
To make this work, we must add mobile app permissions to our AndroidManifest.xml file for Android and our info.plist file for iOS.
On your project panel, go to the android > app > src > main and open the AndroidManifest.xml file and enter the code below; each line adds one device permission:
<uses-permission android:name="android.permission.READ_PHONE_STATE" />
<uses-permission android:name="android.permission.INTERNET" />
<uses-permission android:name="android.permission.RECORD_AUDIO" />
<uses-permission android:name="android.permission.CAMERA" />
<uses-permission android:name="android.permission.MODIFY_AUDIO_SETTINGS" />
<uses-permission android:name="android.permission.ACCESS_NETWORK_STATE" />

<!-- The Agora SDK requires Bluetooth permissions in case users are using Bluetooth devices.-->
<uses-permission android:name="android.permission.BLUETOOTH" />
<uses-permission android:name="android.permission.WRITE_EXTERNAL_STORAGE" />
Next, let’s add device permissions to our iOS app. On your project panel, go to the ios > Runner and open the info.plist file and add the code below:
<key>NSMicrophoneUsageDescription</key>
<string>Talk To Others</string>
<key>NSCameraUsageDescription</key>
<string>Video Call With Others</string>
This will give us access to microphone and camera usage for IOS devices.
Building The User Interface
On your lib folder, create a new file called home_screen.dart and copy and paste the code below:
import 'package:flutter/material.dart';
import 'video_call_screen.dart';

class HomeScreen extends StatelessWidget {
 const HomeScreen({super.key});

 @override
 Widget build(BuildContext context) {
   return Scaffold(
     body: Center(
       child: ElevatedButton.icon(
         icon: const Icon(Icons.video_call),
         label: const Text('JOIN CALL CHANNEL'),
         onPressed: () {
           Navigator.push(
             context,
             MaterialPageRoute(
               builder: (context) => const VideoCallScreen(),
             ),
           );
         },
       ),
     ),
   );
 }
}
In the code above, we created a StatelessWidget, which displays an ElevatedButton. The ElevatedButton will be used to navigate to the VideoCallScreen where the functionality of our app will begin.
On your lib folder, create a new file called video_call_screen.dart and add the code as seen below:
import 'package:agora_uikit/agora_uikit.dart';
import 'package:flutter/material.dart';

class VideoCallScreen extends StatefulWidget {
 const VideoCallScreen({super.key});

 @override
 State<VideoCallScreen> createState() => _VideoCallScreenState();
}

class _VideoCallScreenState extends State<VideoCallScreen> {
 final _client = AgoraClient(
   agoraConnectionData: AgoraConnectionData(
     appId: '',
     channelName: '',
     tempToken: '',
   ),
 );
 @override
 Widget build(BuildContext context) {
   return WillPopScope(
     onWillPop: () async => false,
     child: Scaffold(
       body: SafeArea(
         child: Stack(
           children: [
             AgoraVideoViewer(
               client: _client,
               showNumberOfUsers: true,
             ),
             AgoraVideoButtons(client: _client)
           ],
         ),
       ),
     ),
   );
 }
}
As the code above shows, we imported the agora_uikit package. We then created a StatefulWidget and an instance of the AgoraClient called _client. The AgoraClient has a required parameter which is the agoraConnectionData as seen in line 13; this, in turn, requires three parameters which include our appId, channelName, and tempToken, which we already have from our Agora console. The agora_uikit provides us an easy way to implement our UI by providing us with two classes which are the AgoraVideoViewer, which is a UI class that handles how the video layout should look, and the AgoraVideoButtons, which handles all the callbacks or event handler for the Agora RTM client class both of which takes in the _client parameter.
Lastly, add our AppID, Channel Name, and Temporary Token.
final _client = AgoraClient(
 agoraConnectionData: AgoraConnectionData(
   appId: 'adecb4f3dd7a452b99ea0c9f482f648f',
   channelName: 'testChannel',
   tempToken:'007eJxTYBB+Wbr8ueSdL7Xxl+8U31KSnxw9Wfv1LT89G7M5XL13/qkrMCSmpCYnmaQZp6SYJ5qYGiVZWqYmGiRbpplYGKWZmVikmfBPTWkIZGSos/dgZGSAQBCfm6EktbjEOSMxLy81h4EBAKkKItI=',
 ),
);

Future<void> _initializeAgora() async {
 await _client.initialize();
}

@override
void initState() {
 _initializeAgora();
 super.initState();
}
We added the required parameters: ’ appId, channelName, and tempToken. We then created an asynchronous function called _initializeAgora(), where we initialized our client by calling the initialize()method. Lastly, we calledinitState()`, passing the asynchronous function that we initially created.
Session Replay for Developers
Uncover frustrations, understand bugs and fix slowdowns like never before with OpenReplay — an open-source session replay tool for developers. Self-host it in minutes, and have complete control over your customer data. Check our GitHub repo and join the thousands of developers in our community.
Testing The App
On your terminal, run the command below to start the development server:
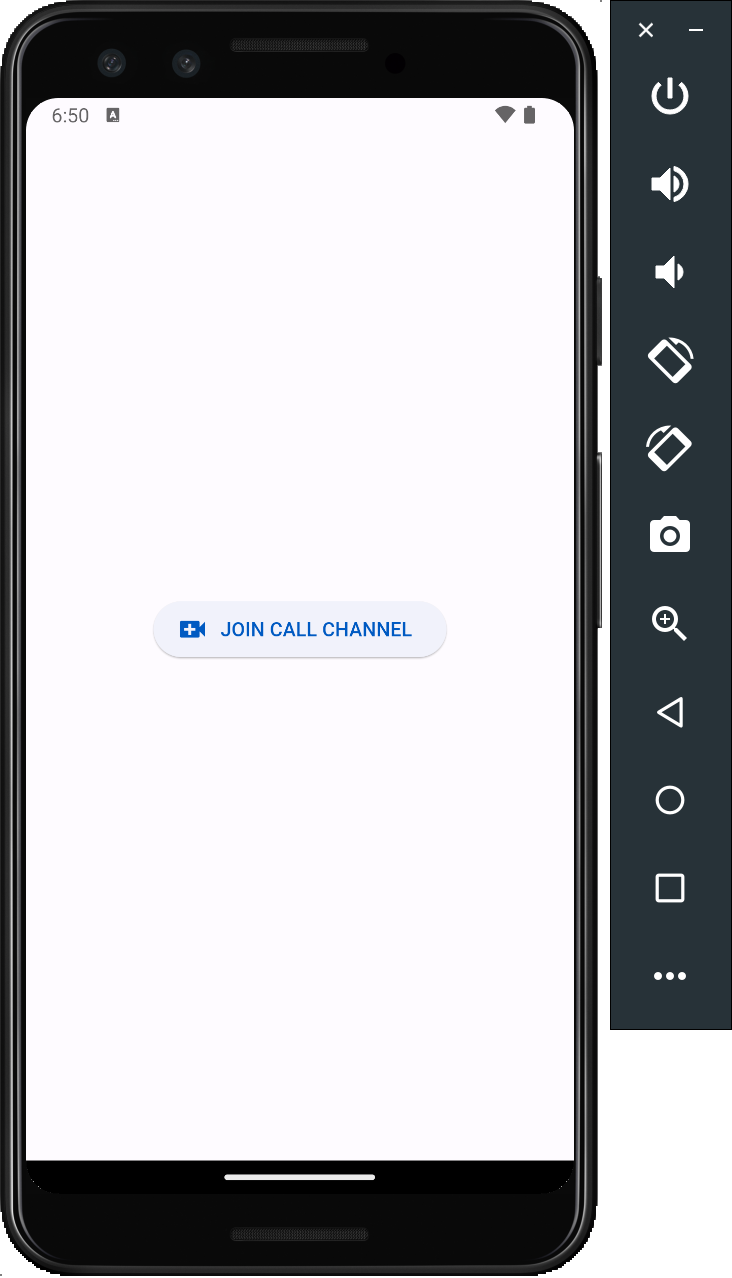
flutter runAt first, the home screen will be presented to you, which displays a button with the text JOIN CALL CHANNEL
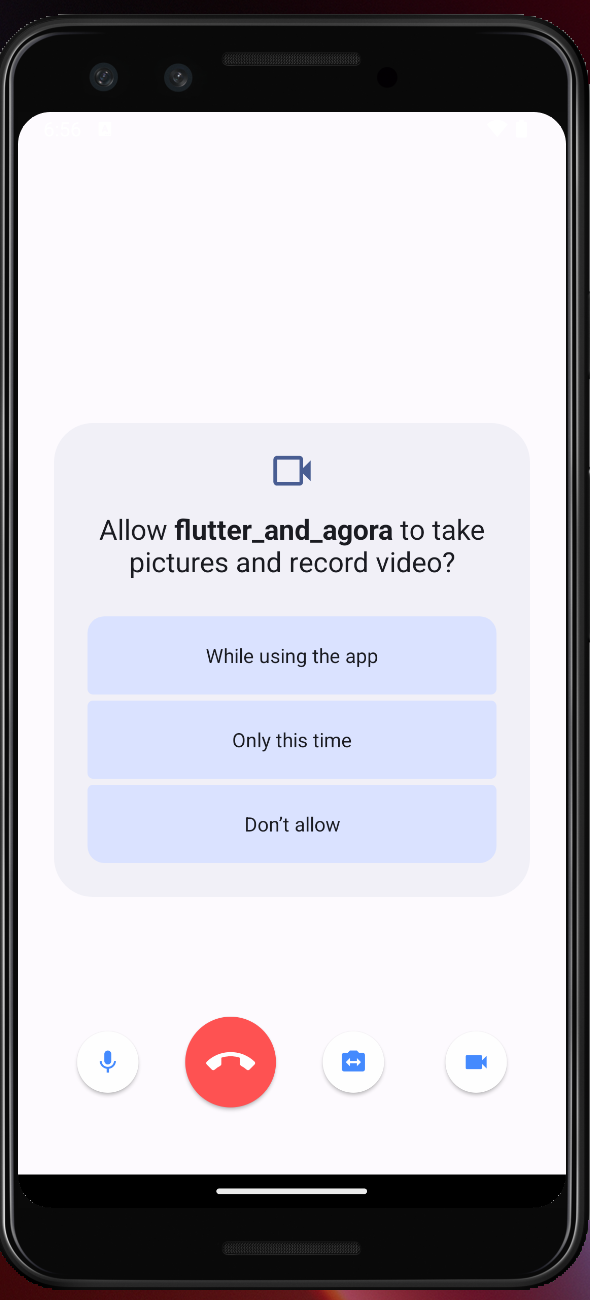
When the button is clicked, we then have to accept the microphone and camera permissions
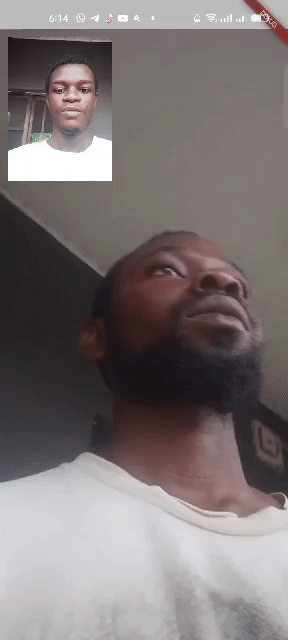
When all that is done, you should be redirected to the video call screen
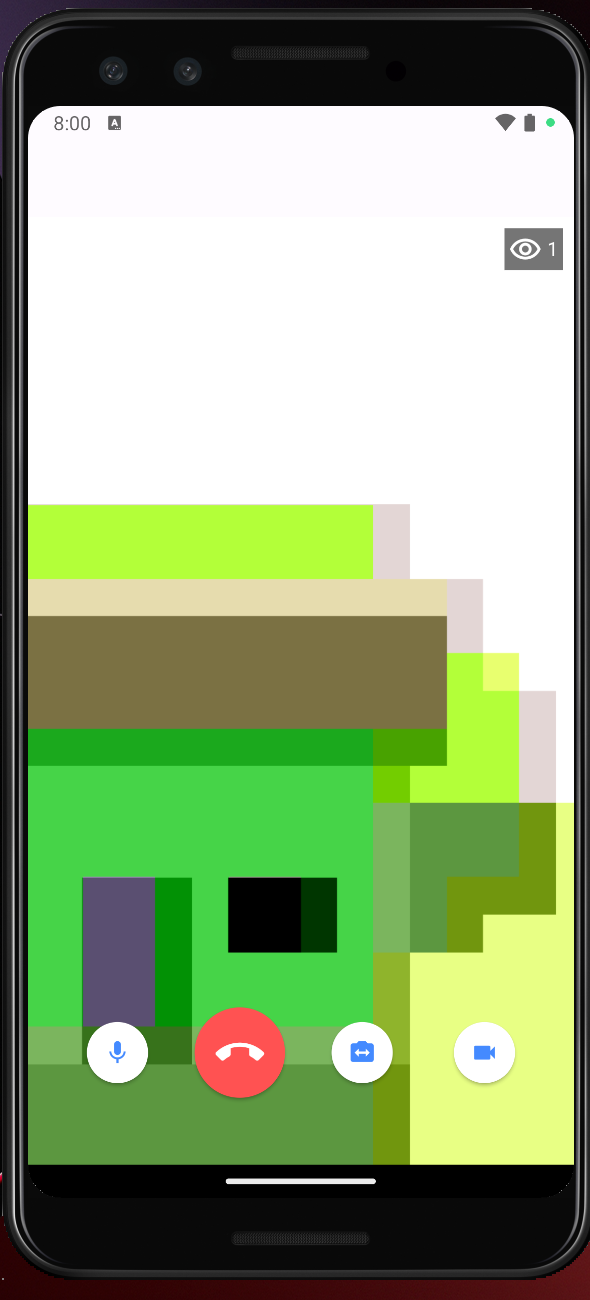
This is how everything looks:
Conclusion
Agora offers a robust and scalable solution supporting various platforms and devices. In this article, we learned about the Agora SDK and how we can use its API in a Flutter application. Here is the link to the GitHub Source Code. Happy coding!
Gain Debugging Superpowers
Unleash the power of session replay to reproduce bugs and track user frustrations. Get complete visibility into your frontend with OpenReplay, the most advanced open-source session replay tool for developers.