Phone-based Authentication in Flutter with Firebase
Implement authentication using Firebase and Flutter.


Phone verification or authentication is used to confirm whether a given phone number is valid. It is used in many industries and mobile applications to confirm a client’s identity (for instance, when performing a two-step verification). It involves sending a One-Time Password(OTP) to a user via SMS provided the phone number provided is valid and available. This article will look at how to authenticate/verify a user’s phone number in flutter using Firebase.
What is Phone Authentication?
Phone authentication is a verification means seen in modern mobile applications. It is a service used to verify if a phone number is in service or available. With phone authentication, users can request a One-Time Password (OTP) which will be delivered to their phone number by SMS or phone call. When verification is completed successfully, users can have access to their documents.
Authentication based on phone number verification is the best possible replacement for passwords because the following reasons:
- It provides an easy means of authentication by pinging the user’s phone number with a unique code when setting up an account on your mobile device
- Phone numbers are unique and cannot be faked, reducing the risk of fraud. It can also be used to perform Two-Factor Authentication (2FA).
Creating our Project
Let’s start by setting up our Flutter project. Click here to clone to starter files to follow up with this tutorial and run the code below to add the missing dependencies.
flutter create .Before adding the functionalities needed for our application, let’s set up our Firebase app.
Creating Our App On The Firebase Console
Head over to Firebase to start creating our Firebase application. If you don’t have an account, it is relatively easy to create one.
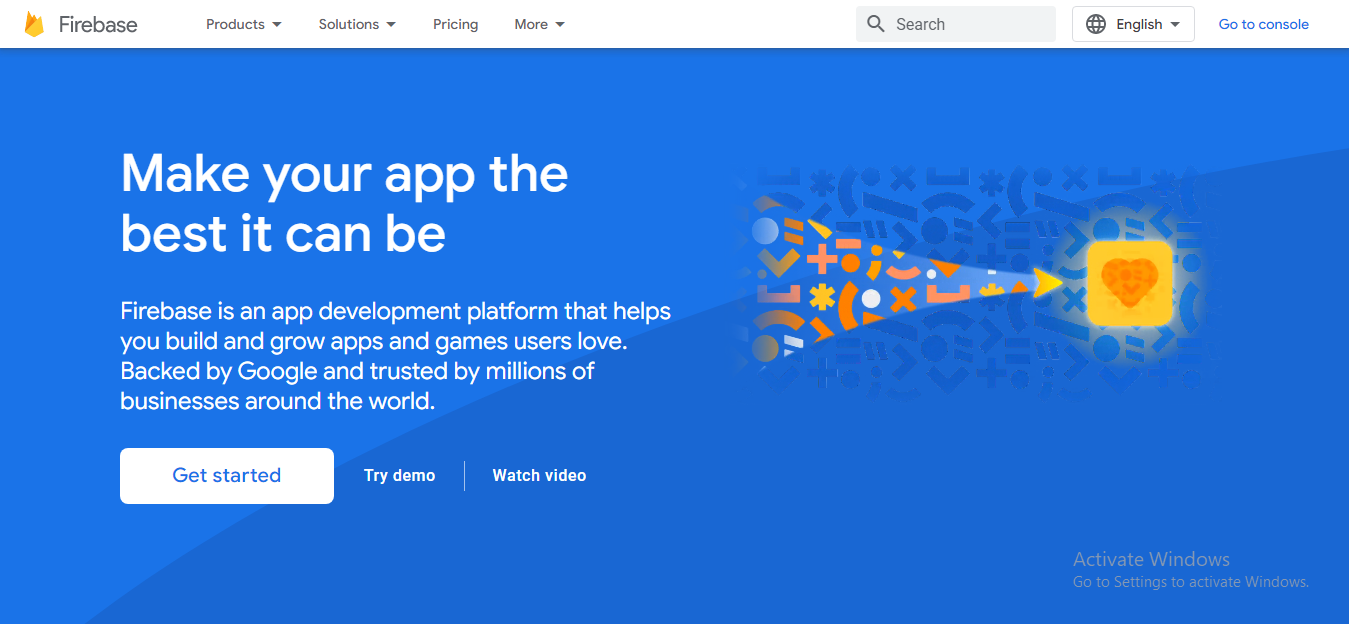
Click on Go to console to get started creating our project.
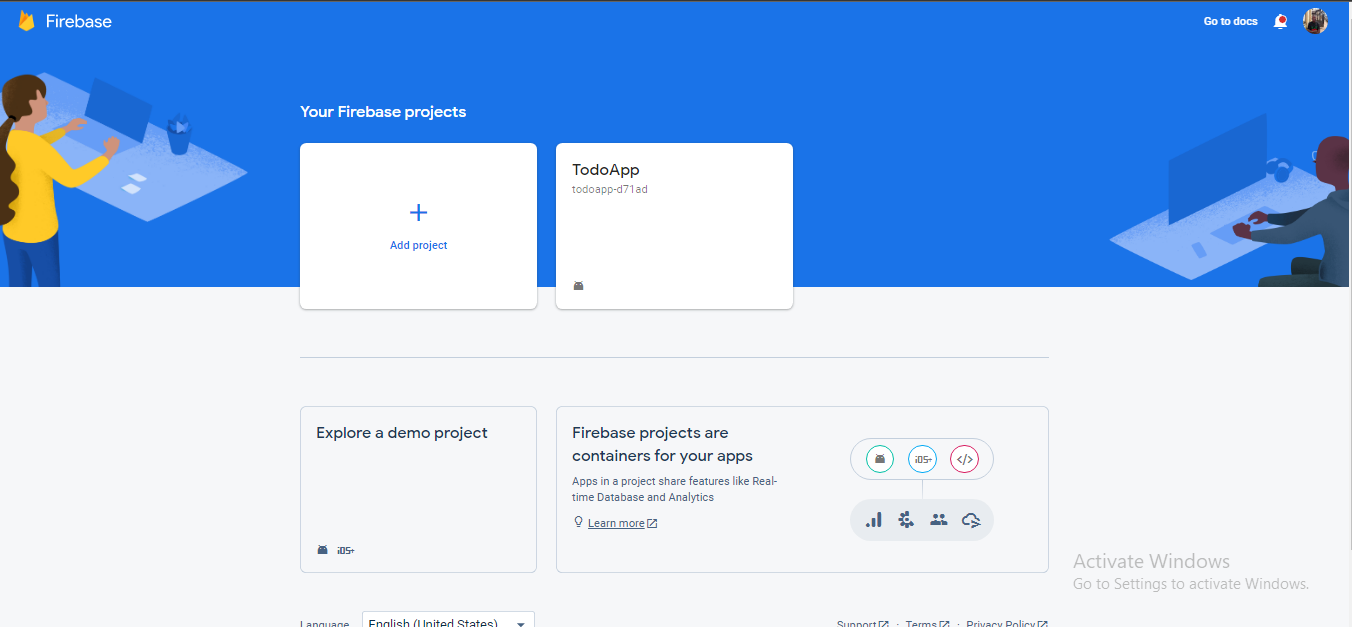
Click on Add project to continue.
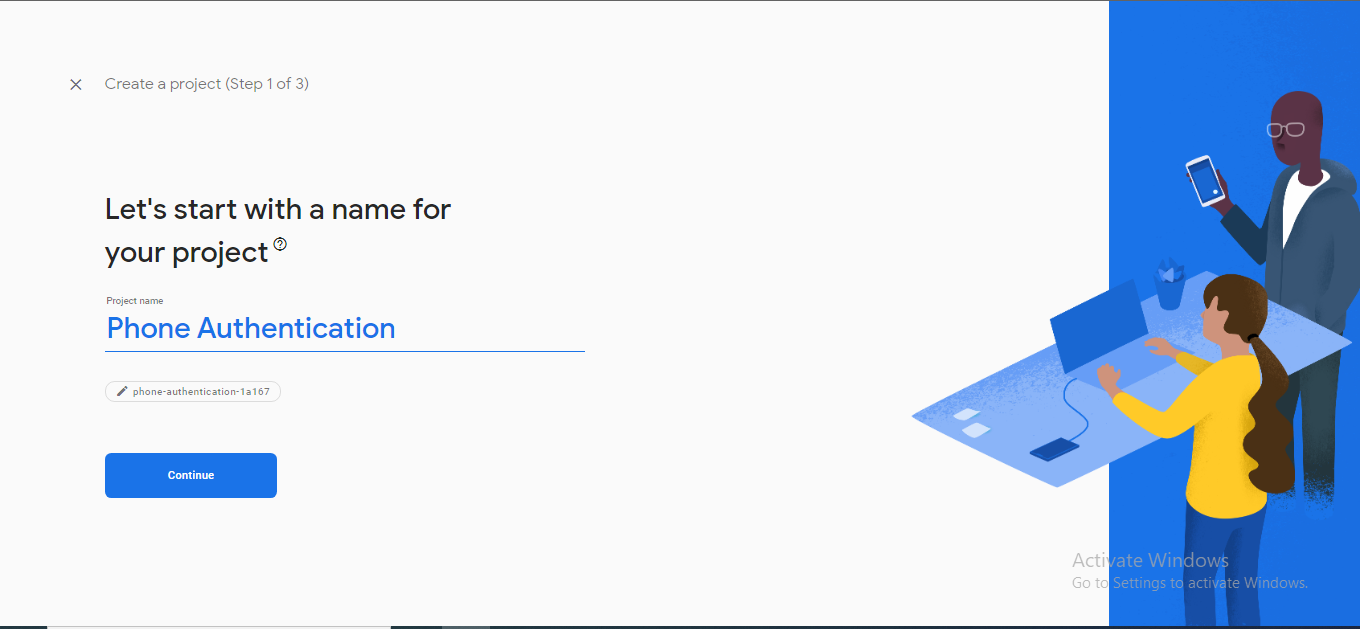
Enter a project name of your choice and hit the continue button to head to the next step.
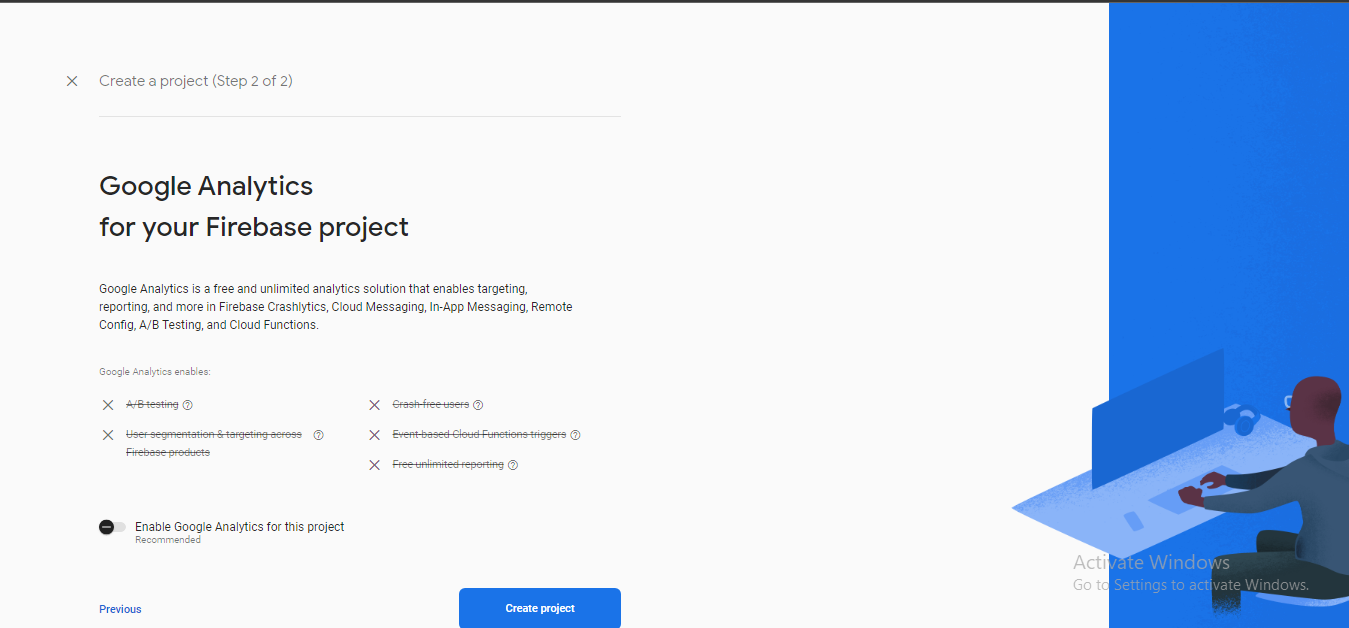
Disable Google Analytics and click on create the project.
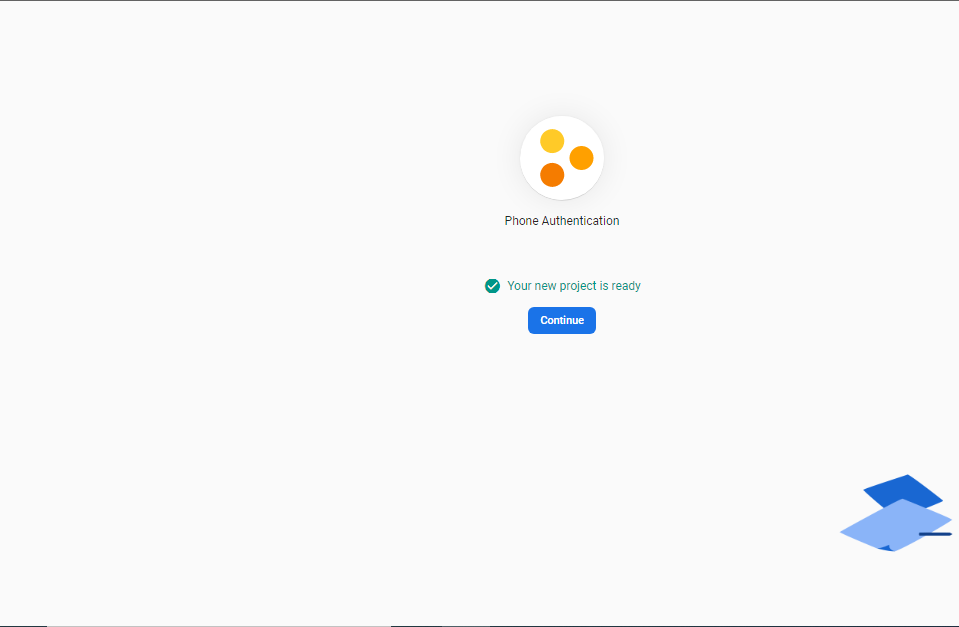
With all that set, let’s begin creating our app. Click on continue, and you should be redirected to your dashboard.
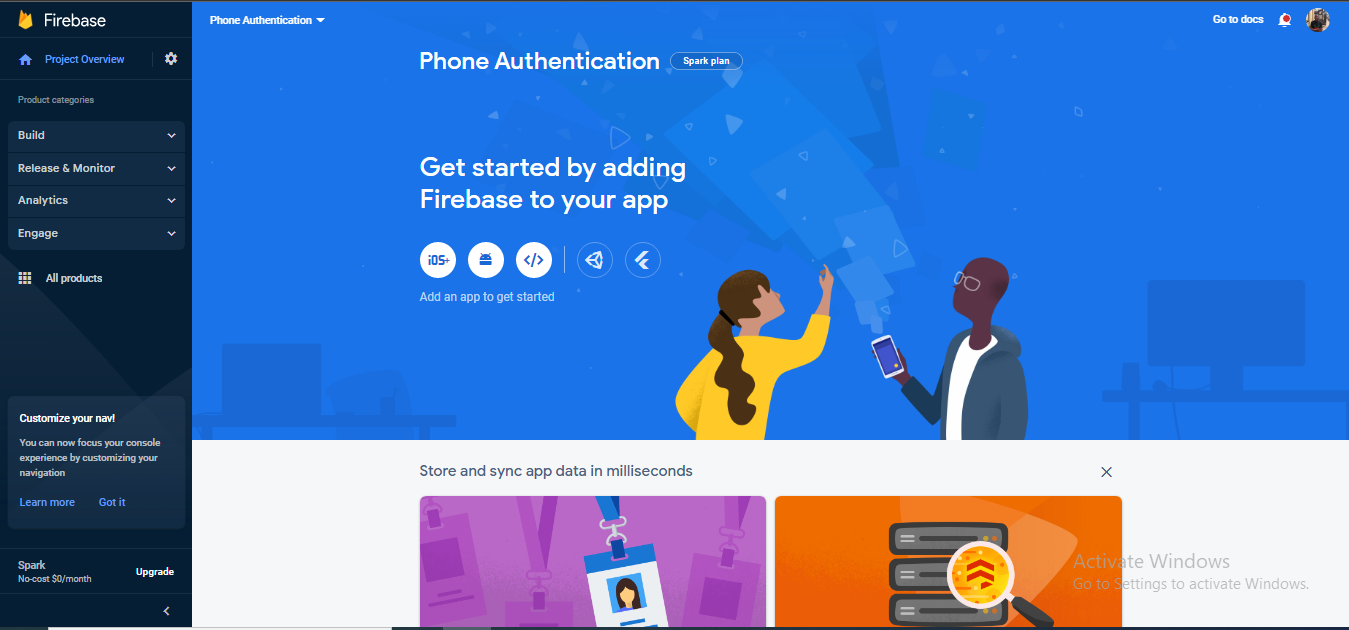
The Firebase team has provided a new and improved method that we can use to add Firebase dependencies to our Flutter application. We will be using this method in this article. Click on the Flutter icon to continue.
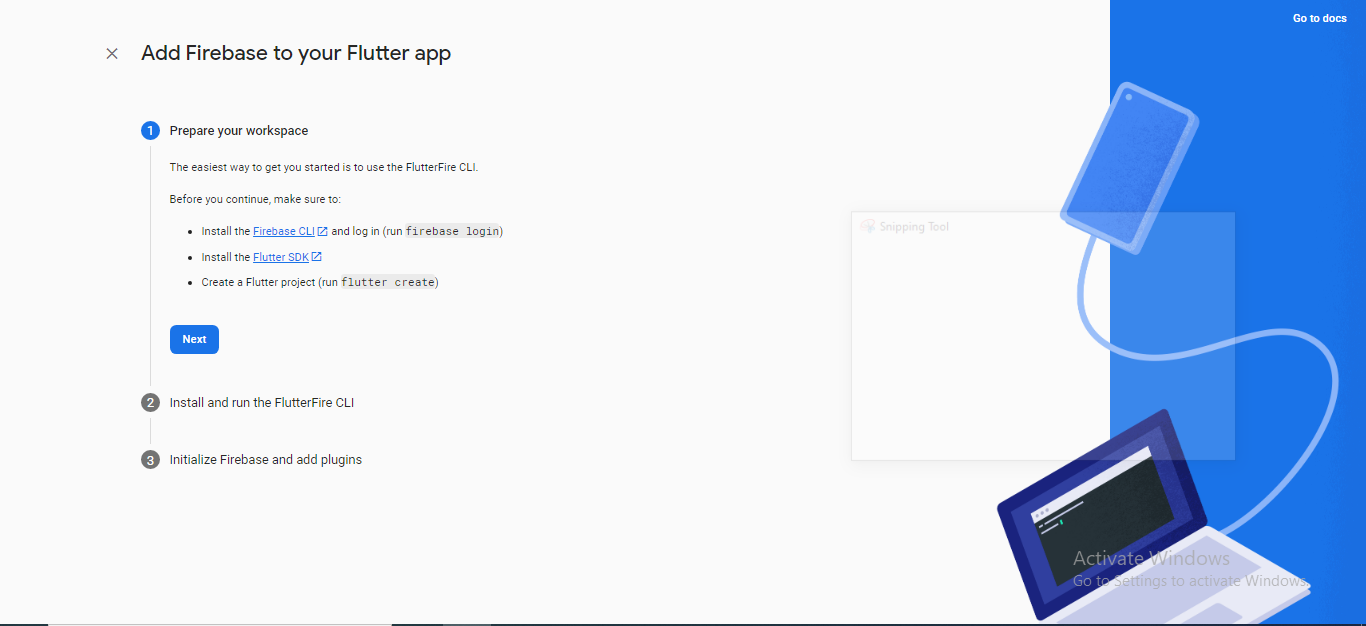
To continue, you need the FirebaseCLI and Node.js installed on your machine. Click on the links to install the FirebaseCLI and Node.js: Link to FirebaseCLI and Link to Node.js.
After installing the CLI, you’ll have to log in using your email address, which should be the same as your Firebase account.
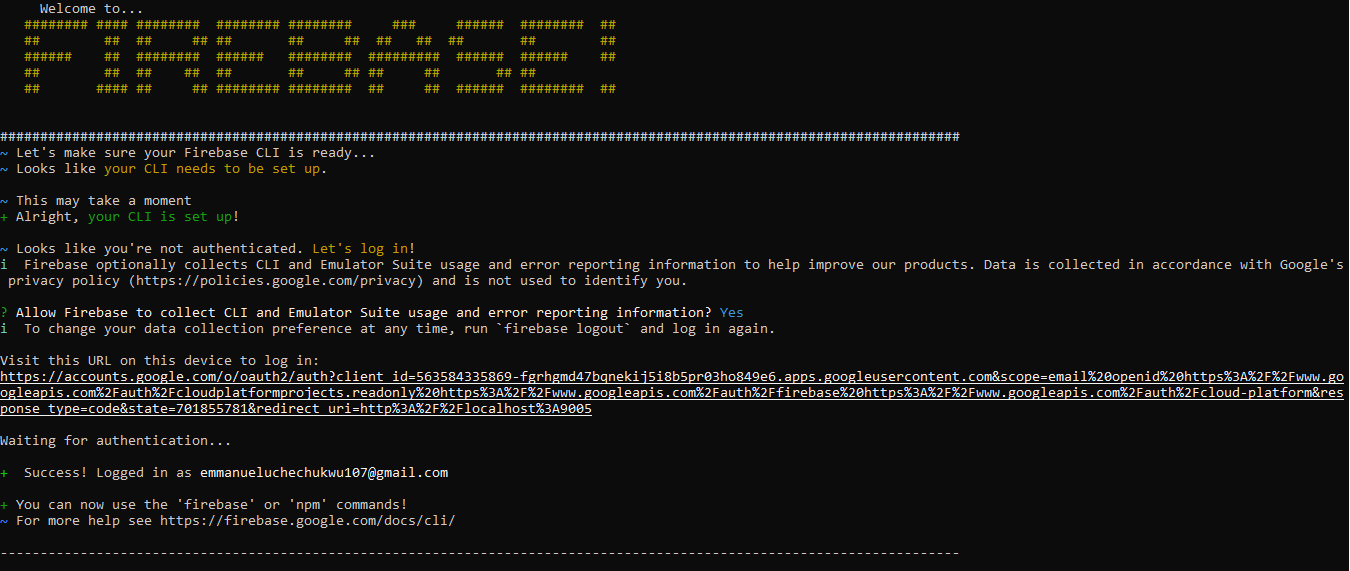
Allow access, and you should be logged in successfully, as seen below:
Next, on your terminal, run the code below:
npm install -g firebase-toolsThis should install the Firebase needed on your machine. With all that set up, head back to your browser to continue setting up Firebase for our Flutter application.
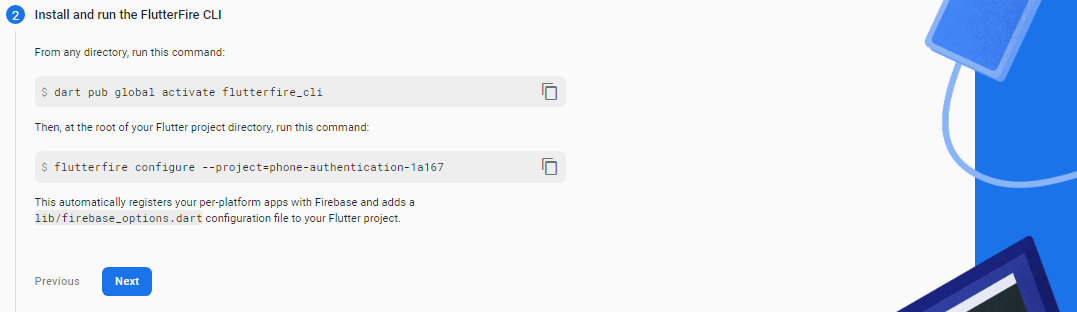
In Step 2 of installing Firebase on our flutter application, we need to run the command seen on your browser. Copy and paste the code below and run it on any directory on your terminal.
dart pub global activate flutterfire_cliThis will activate the FlutterCLI on your machine. Next, run the following line at your Flutter project’s root directory. In my case:
flutterfire configure --project=phone-authentication-1a167This will automatically register your Flutter apps with Firebase and add the firebase_options.dart file to your lib folder.
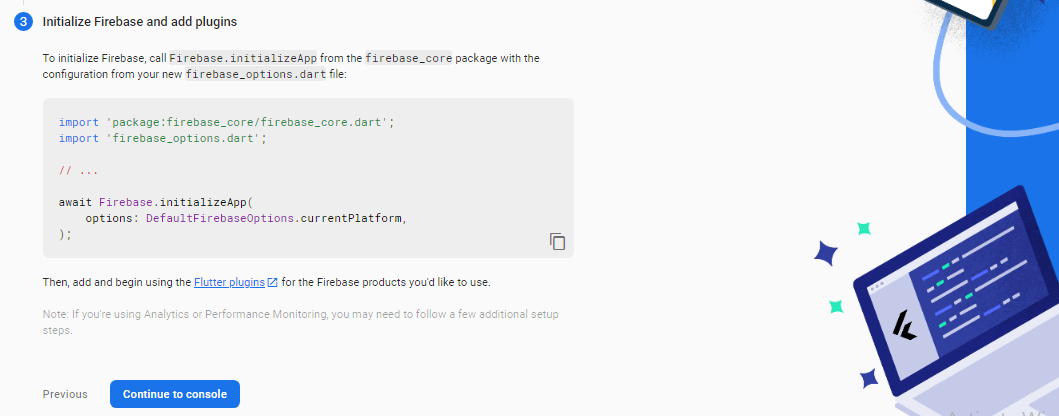
Lastly, we initialize Firebase and add the plugins to our Flutter project. On your terminal, run the code below.
flutter pub add firebase_core
flutter pub add firebase_auth
This will add the firebase_core and firebase_auth dependencies on your pubspec.yaml file. On your main.dart file, copy-paste the code below:
import 'firebase_options.dart';
import 'package:firebase_core/firebase_core.dart';
import 'package:firebase_auth/firebase_auth.dart';
void main() async {
WidgetsFlutterBinding.ensureInitialized();
await Firebase.initializeApp(
options: DefaultFirebaseOptions.currentPlatform,
);
runApp(MyApp());
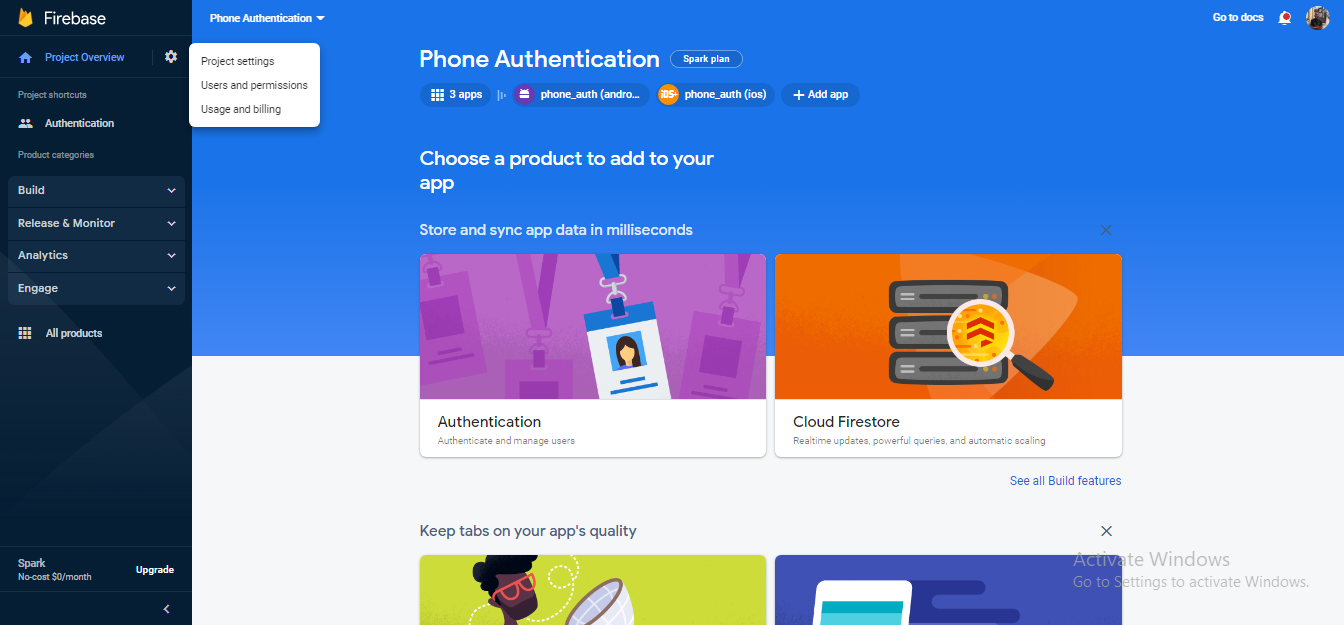
}With that set, run your code on your emulator to ensure that you have no errors. Click on Continue to Console on your browser and refresh the page. Your apps should be added automatically on your Firebase console as such:
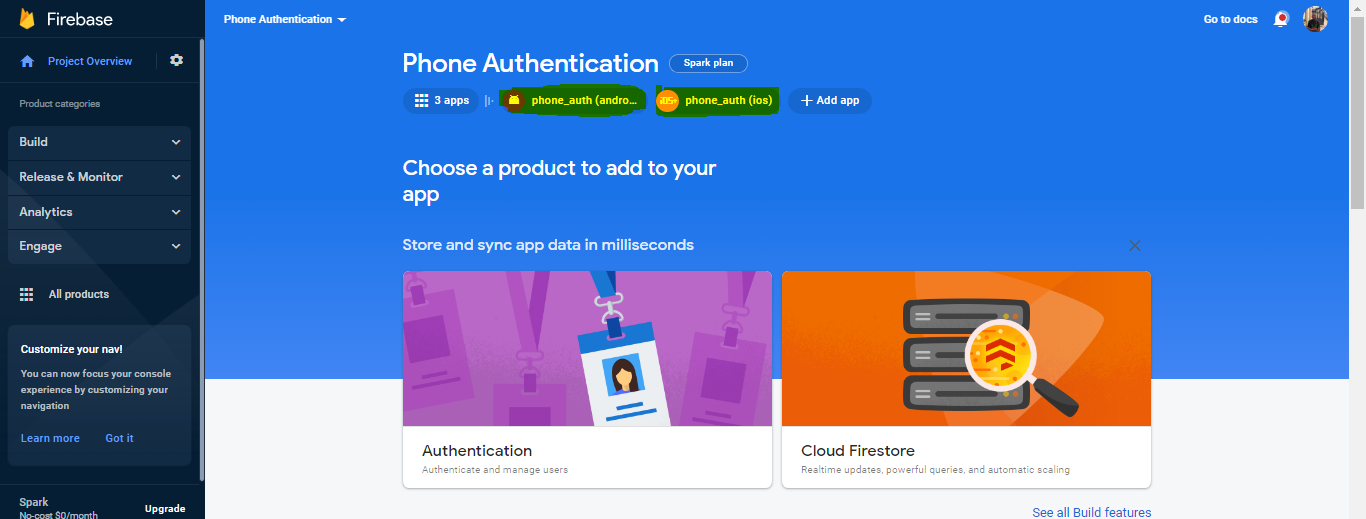
Next, click on the Build tab > Authentication > Sign-in method > Phone to enable the phone authentication service.
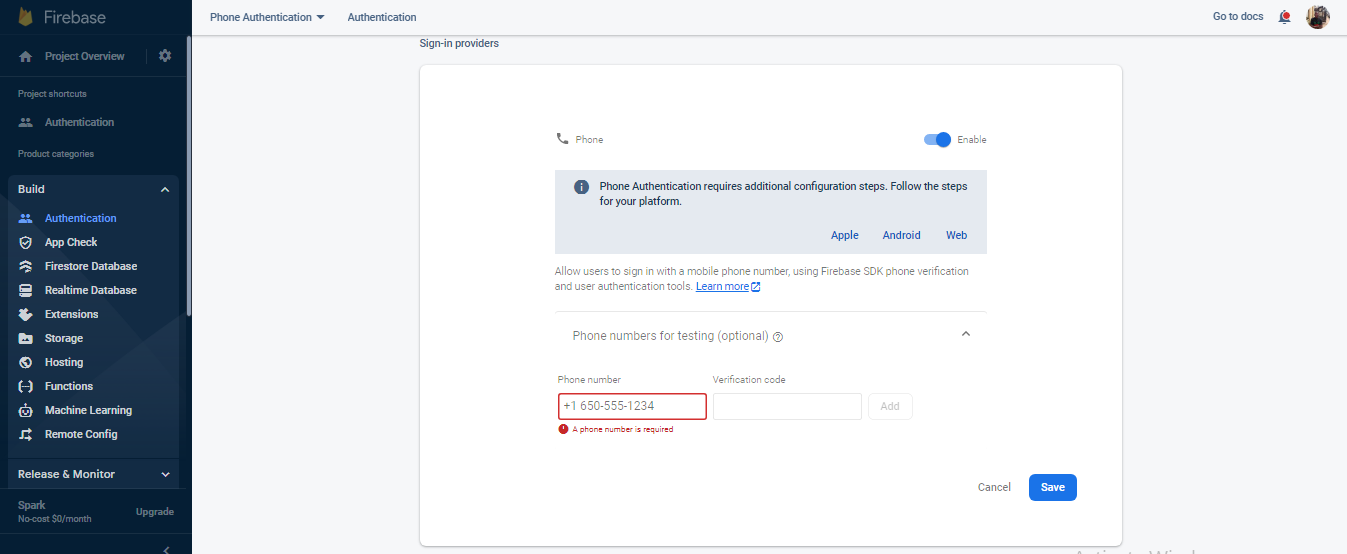
Add a phone number for testing if you wish, and hit Save.
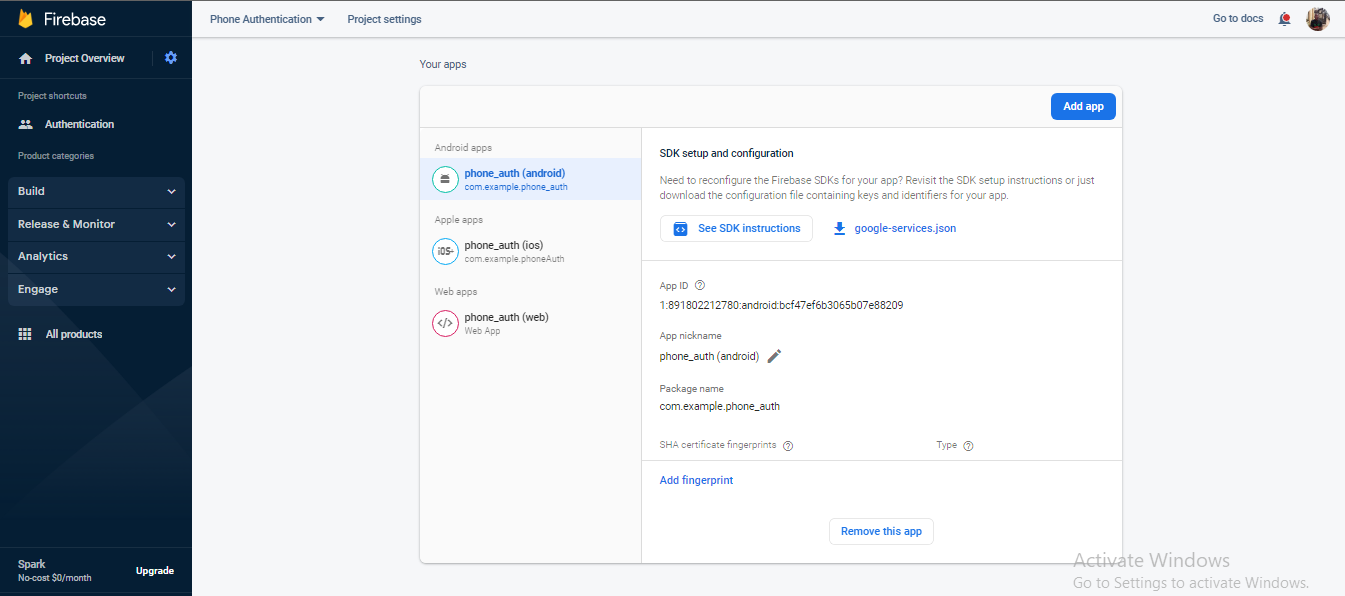
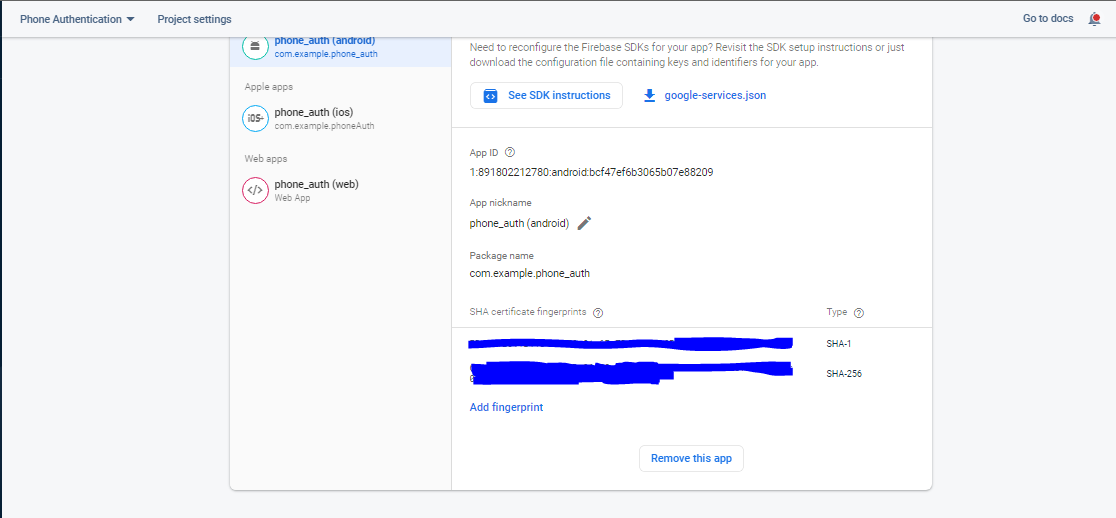
Lastly, we need to add our SHA certificate fingerprint. On your project dashboard, click on the settings icon and click on your project settings.
Scroll down to the Your apps section on your browser.
To add the SHA Certificate Fingerprints, on your terminal move to your android directory on your flutter project and run the code below:
PS C:\Users\user\<Flutter Project Directory>\android> gradlew signingReport This will generate the SHA-1 and SHA-256 certificate fingerprints as such.
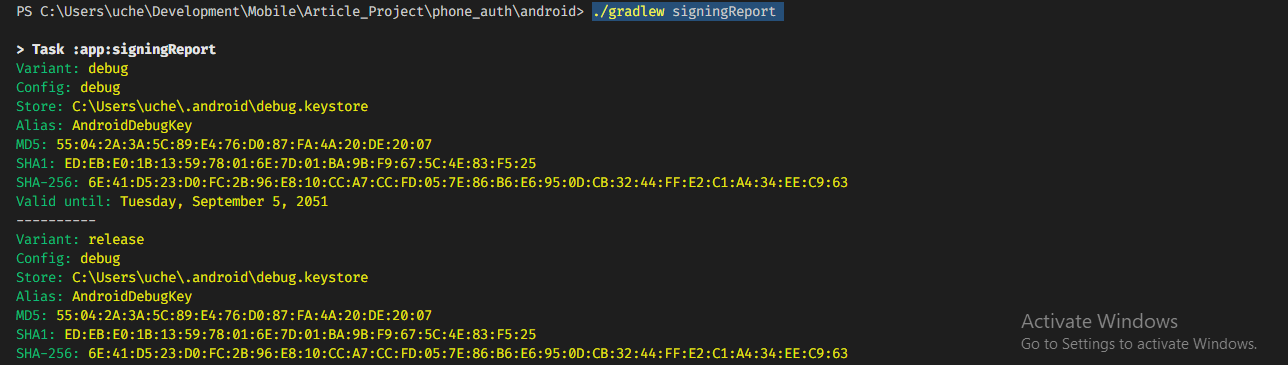
Copy the SHA-1 and SHA-256 codes and paste them into your Firebase console.
With all that complete, let’s begin adding functionalities to our application.
Session Replay for Developers
Uncover frustrations, understand bugs and fix slowdowns like never before with OpenReplay — an open-source session replay tool for developers. Self-host it in minutes, and have complete control over your customer data. Check our GitHub repo and join the thousands of developers in our community.
Adding Our Application Functions
First, let’s create an instance of our Firebase Auth.
FirebaseAuth auth = FirebaseAuth.instance;Next, we create a function that will be used to verify the user’s phone number.
void verifyUserPhoneNumber() {
    auth.verifyPhoneNumber(
        phoneNumber: userNumber,
        verificationCompleted: (PhoneAuthCredential credential) {},
        verificationFailed: (FirebaseAuthException e) {},
        codeSent: (String verificationId, int? resendToken) {},
        codeAutoRetrievalTimeout: (String verificationId) {},
    );
}
The four parameters you see are four separate callbacks that we are required to handle. Each callback will determine how we update our application’s user interface(UI).
verificationCompleted: Automatically handles the SMS code on Android devices.verificationFailed: Handles failure events such as invalid phone numbers or whether the SMS quota has been exceeded.codeSent: Handles when a code has been sent to the device from Firebase, used to prompt users to enter the code.codeAutoRetrievalTimeout: Handles the timeout when automatic SMS code handling fails.
Let’s handle the verificationCompleted parameter first:
verificationCompleted: (PhoneAuthCredential credential) async {
    await auth.signInWithCredential(credential).then(
        (value) => print('Logged In Successfully'),
    );
},
For the verificationFailed parameter:
verificationFailed: (FirebaseAuthException e) {
    print(e.message);
},
For the codeSent parameter:
var receivedID = '';

void verifyUserPhoneNumber(){
    auth.verifyPhoneNumber(
        //.......
        codeSent: (String verificationId, int? resendToken) {
        receivedID = verificationId;
        otpFieldVisibility = true;
        setState(() {});
        },
    )
}
Here we created a variable receivedID which will hold the verificationId. We also set the otpFieldVisibility to true and called setState to update our user interface.
Lastly, for the codeAutoRetrievalTimeout parameter:
codeAutoRetrievalTimeout: (String verificationId) {
    print('TimeOut');
},
With all that done, we need to create a function that we can use to verify if the user’s OTP is correct.
Future<void> verifyOTPCode() async {
PhoneAuthCredential credential = PhoneAuthProvider.credential(
    verificationId: receivedID,
    smsCode: otpController.text,
);
await auth
    .signInWithCredential(credential)
    .then((value) => print('User Login In Successful'));
}
In the code above, we check to see if the provided OTP Code is correct, then we print “User Login In Successful” on our terminal.
For all this to have an effect, we need to call these functions on our ElevatedButton’s onPressed parameter.
ElevatedButton(
    onPressed: (){
        if(otpFieldVisibility){
            verifyOTPCode();
        } else{
            verifyUserPhoneNumber();
        }
        FocusManager.instance.primaryFocus?.unfocus();
    }
)
Here, we made an if check to see if the otpFieldVisibility is set to true; then, we call the verifyOTPCode function; else, we call the verifyUserPhoneNumber function.
Testing The Application
With all the implementations complete, let us test our application. On your terminal, run the code below:
flutter run
You can see the output on your terminal: User Log In Successful.

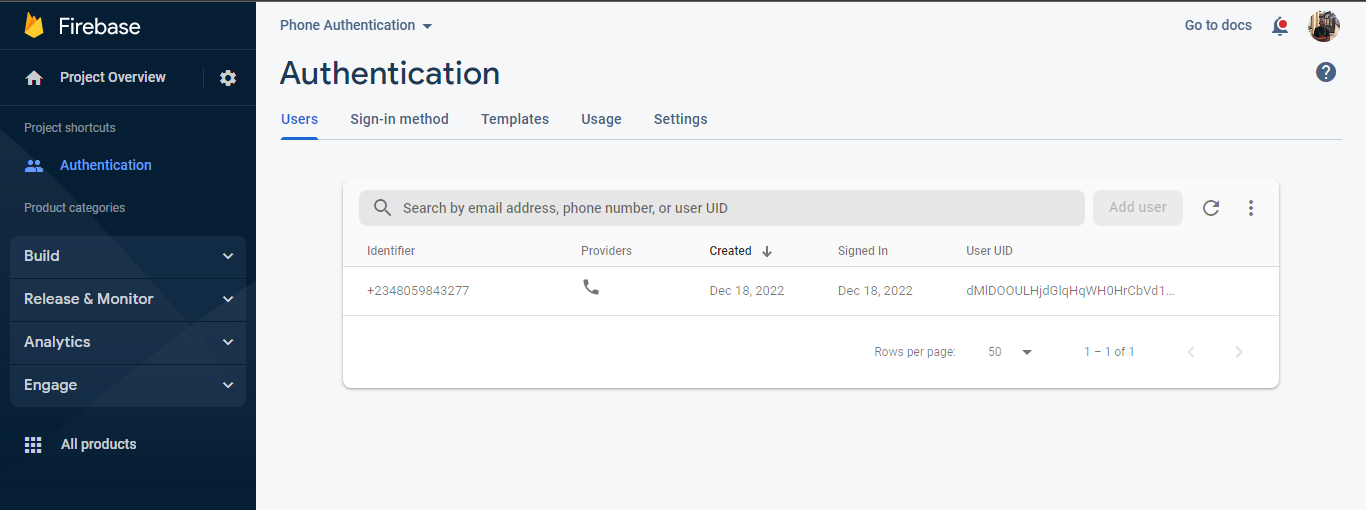
On your Firebase console, head to the Authentication tab and refresh the browser; there you can see your users.
Conclusion & Resources
In this article, we learned how to implement phone authentication in a Flutter Application with the help of Firebase. Here is a link to the GitHub Source Code.
A TIP FROM THE EDITOR: For other ways of doing authentication in Flutter, don’t miss Fingerprint Authentication For Your Flutter Applications and Implementing Facebook Authentication For Flutter!
Gain Debugging Superpowers
Unleash the power of session replay to reproduce bugs and track user frustrations. Get complete visibility into your frontend with OpenReplay, the most advanced open-source session replay tool for developers.