Prevent spam and detect bots with ReCAPTCHA


Recently, there have been different implementations to prevent spamming of different web services. One of these implementations is using a reCAPTCHA feature. A reCAPTCHA is an automated test to determine if the user of a web application is a human or a bot. This way, privileges or access are only granted to human users, thus reducing unwanted usage.
In this tutorial, readers will learn what reCAPTCHA’s are and how to implement them in a web application.
What is reCAPTCHA?
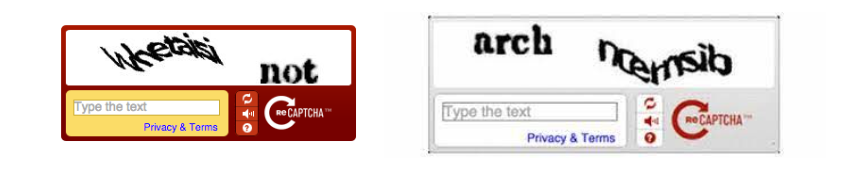
A reCAPTCHA is a CAPTCHA (Completely Automated Public Turing Test to Tell Computers and Humans Apart) system that is free, easy to add, and an advanced site security feature owned by Google. It was developed to manage unwanted site usage from bots and prevent spamming by implementing various techniques to identify if a webpage user is a human or a bot. These techniques involve presenting the user with a test that is easy for humans to solve but difficult for bots or malicious software to ascertain. Implementing this security feature in a webpage prevents site abuse while still allowing human users to use the site as they ought to, i.e., legitimate users can go about their normal activities of accessing and utilizing the website after passing the reCAPTCHA test. The GIF below contains examples of reCAPTCHA types you may have encountered on a webpage:
Implementing the reCAPTCHA security feature in a website will provide the following benefits:
- Prevents automated software from abusing certain activities. Examples of such are polls, news comments, or a survey. reCAPTCHA technology will prevent repeated actions by bots as a new reCAPTCHA test will be required for a new user session.
- reCAPTCHAs serve as a spam-restrictive measure.
- Having a reCAPTCHA feature assists in distinguishing fake and real traffic generated on a webpage.
- reCAPTCHAs prevent users from running brute-force operations on a website as the software would be unable to pass the security test each time it runs.
Overall, reCAPTCHAs are secured, as they have no predictable patterns in the selected test presented to the user.
Different reCAPTCHA types and modes of operation
Over time, there have been developments in the versions of reCAPTCHA, with each new version adding a new user testing technique. So far, Google has released three versions of reCAPTCHA; v1, v2, and v3.
-
v1 of reCAPTCHA was designed to display an image and a text field. The users were expected to key in what they could see in the image. This image usually contains a set of characters, with these characters either warped, stretched, or slightly less visible. The reason for manipulating the visual aspect of the text is to make it impossible for software to identify the text written in the image. If the text entered in the text field matches the characters in the image, the test would be successful. Else the user will be required to take a new test.
-
The second version of reCAPTCHA v2 is still used today. V2 had two different types: a test where a user has to check a checkbox to confirm a text saying “I’m not a robot”, and the second type being a security challenge where the user is presented with different sets of images and is required to select images that correspond to specific objects. These objects could be boats, fire hydrants, street lights, planes, etc. The user is verified upon selecting all corresponding images, and the test is considered successful.

For this version, reCAPTCHA monitors the user’s site behavior. If the user uses the site suspiciously, they are presented with the image reCAPTCHA; otherwise, they are presented with the checkbox variant.
- v3 is an invisible form of reCAPTCHA. This version of reCAPTCHA will monitor a site’s traffic to determine if a user’s actions are suspicious. If the user’s actions are determined non-suspicious, no challenges are displayed and vice-versa.
Integrating reCAPTCHA with Next.js
To demonstrate the reCAPTCHA feature, we will have a form that uses a CAPTCHA to allow only legitimate users to submit data. To follow this tutorial, clone the starter form code from the GitHub repo and run npm install in the project directory to install all the necessary dependencies.
We will need two things: the first, an API key to access reCAPTCHA, and the second, the react-google-recaptcha dependency.
To get your access key, navigate in your browser to here:
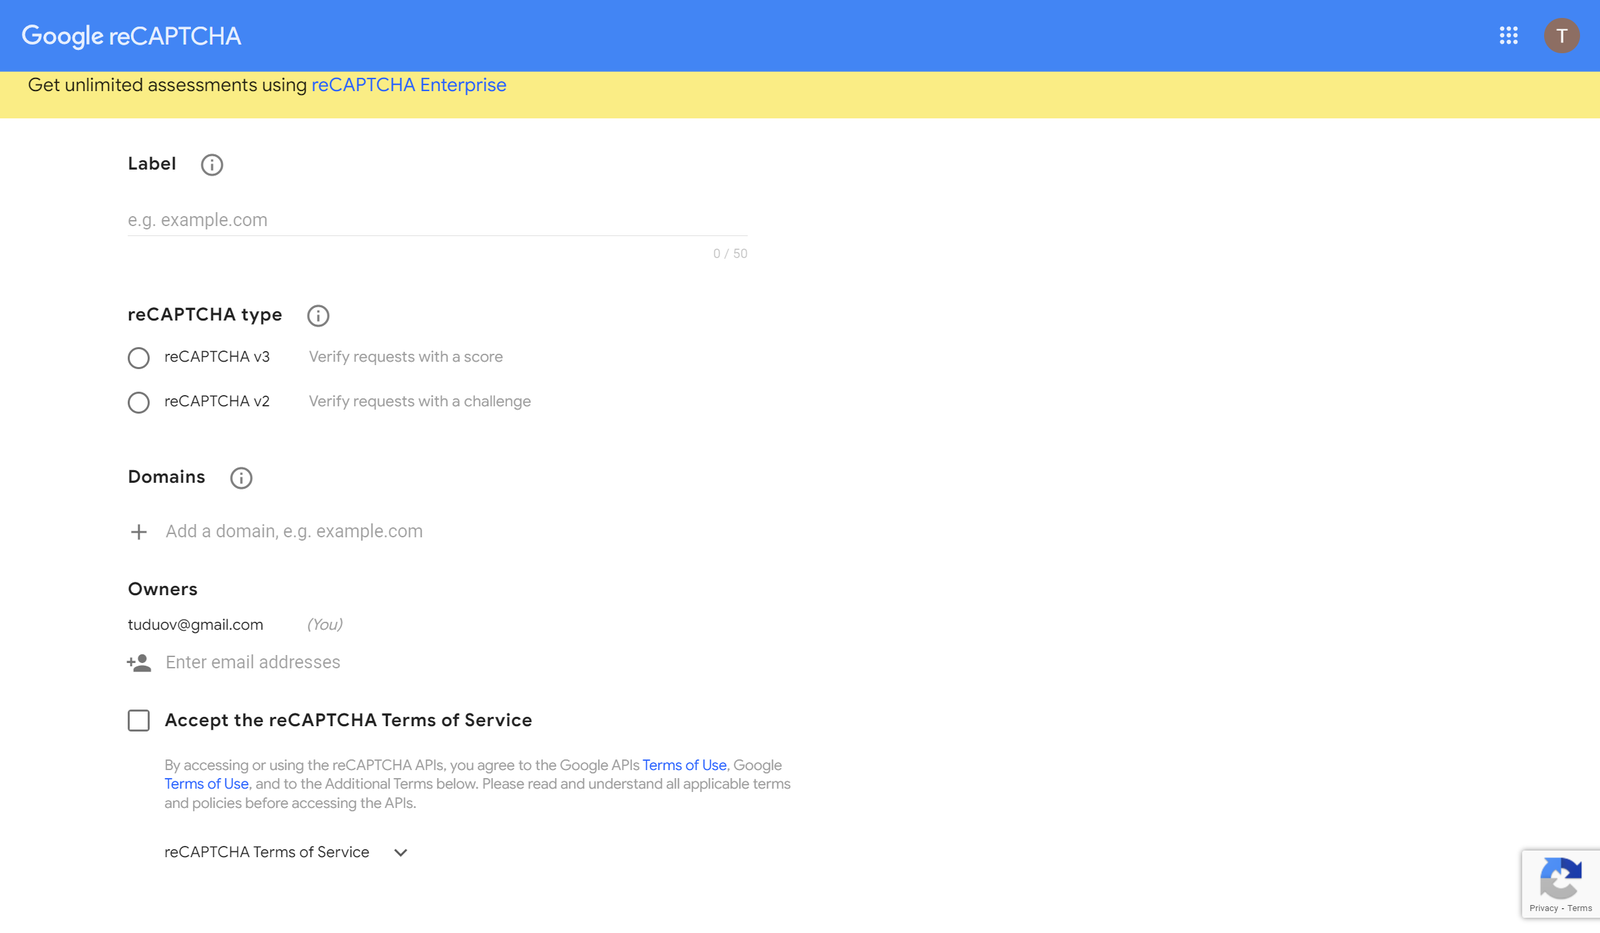
On this page, we are required to enter the title of our key in the Label field. For the reCAPTCHA type, we will use the v2 “I’m not a robot” variant. In the Domain field, we will enter “localhost” and finally click on the “Submit” button to generate the key. Copy the generated keys as we will be using them in our application.
Next, install the react-google-recaptcha dependency with the following command in CLI:
npm install --save react-google-recaptcha After installation is completed, we can import and use this package in Index.js:
import ReCAPTCHA from "react-google-recaptcha";Next, add the ReCAPTCHA component in the form just below the login button:
//....
<input
type="text"
placeholder="Doe"
value={value}
onChange={(e) => {
setValue(e.target.value);
}}
/>
</span>
<button className="submit">Log in</button>
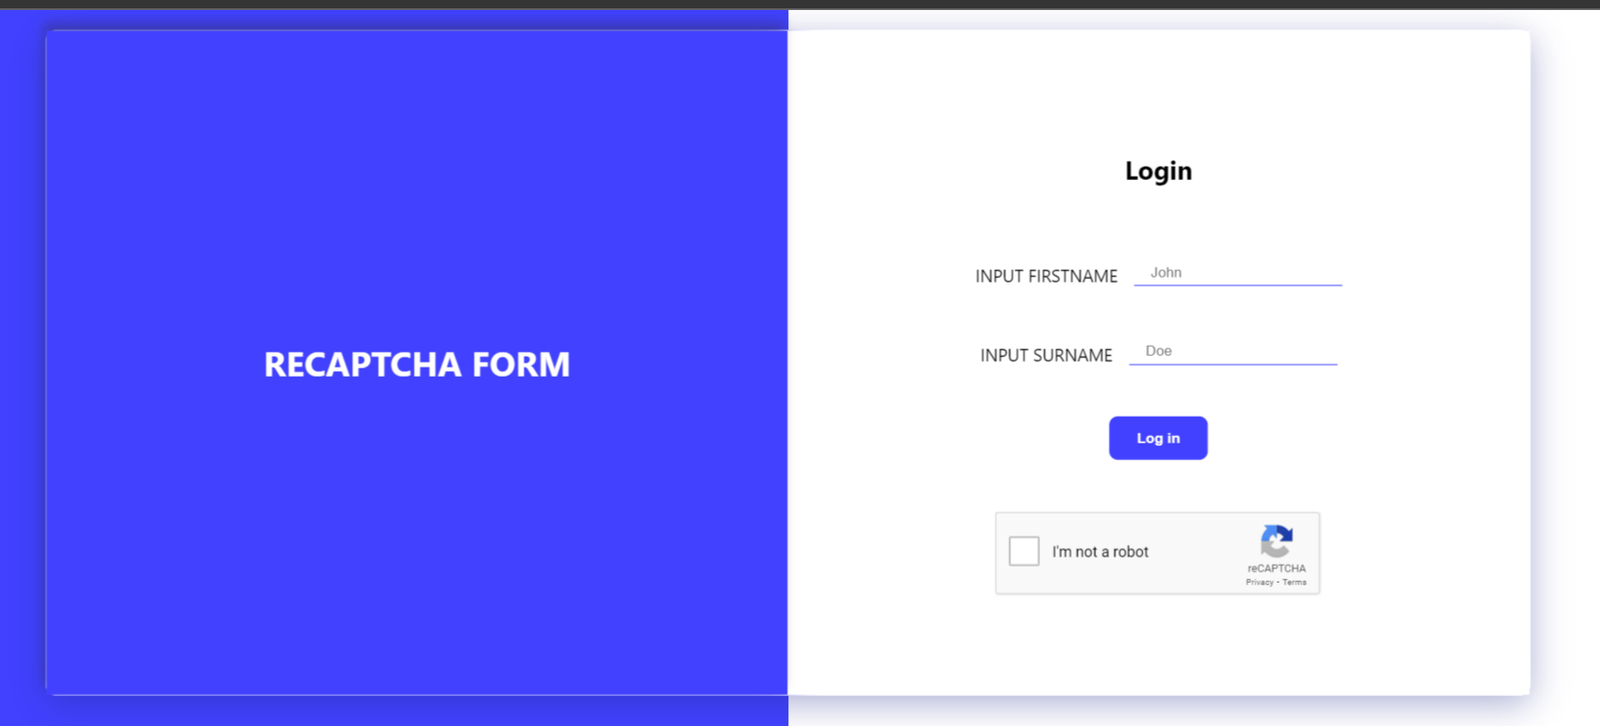
<ReCAPTCHA sitekey="your app site key"/>The ReCAPTCHA component requires a sitekey property to be able to make use of it. Now, if we run the application with the npm run dev command, we will get a result similar to the image:
The ReCAPTCHA component allows us to customize the behavior and appearance of the ReCAPTCHA using different properties. Some of these properties include:
- Theme: This takes a
lightordarkvalue. By default, the reCAPTCHA is displayed using a light theme, but adding athemeproperty with a value ofdarkwill render a dark-looking reCAPTCHA instead. - onChange: This executes a callback function when the user completes the reCAPTCHA.
- Size: This property takes in any of the following values:
compact,normalorinvisible. It specifies the size of the reCAPTCHA or determines if the reCAPTCHA would be invincible. - Type: This specifies if the reCAPTCHA would use an image or audio.
Open Source Session Replay
OpenReplay is an open-source, session replay suite that lets you see what users do on your web app, helping you troubleshoot issues faster. OpenReplay is self-hosted for full control over your data.

Start enjoying your debugging experience - start using OpenReplay for free.
Handling Form Submit
For the form, we want the user to be able to submit only when they have completed the reCAPTCHA. Whenever a user completes a reCAPTCHA, a token gets generated. This token is valid for two minutes and can only be used once. We would access this token in our application to allow the user to submit the form after completing the reCAPTCHA. To capture this token, we will use the useRef hook from React:
//first we add an import for useRef
import { React, useState, useRef } from "react";
After this, we will create a variable where we will store the value of the token, using useRef:
const getCaptchaRef = useRef(null);Then add this variable to the ref property of the reCAPTCHA component:
<ReCAPTCHA
  sitekey= "your site key here"
  ref={getCaptchaRef}
/>
The ref property returns different helper functions. Some of these functions and their corresponding purposes include:
excecuteAsync(): This function sends a request that returns the token or an error(if any occurs). Though, this function is only applicable to invisible reCAPTCHAs. For visible reCAPTCHA, thegetValue()function is used to return the token.getValue(): As the name implies, this function returns the value of the reCAPTCHA field.reset(): This is used to reset the reCAPTCHA and is applicable in case of subsequentreCAPTCHAchecks.
We can use the ref to get our token as shown below:
<ReCAPTCHA
  sitekey= "your site key"
  theme="dark"
  ref={getCaptchaRef}
  onChange={() => {
    reCaptchaValue();
  }}
/>
Here, we added a function in our component’s onChange property. We will use this function to set the value of our token:
const reCaptchaValue = async () => {
  const token = getCaptchaRef.current.getValue();
};
Next, we must verify the generated token before enabling the submit feature. To do this, we need to make a POST request to https://www.google.com/recaptcha/api/siteverify using Node.js on the backend. Create a new file, Server.js, in the root directory of your application. For the server, we will require two dependencies; Axios to handle our POST request and Express to manage the server routes. We can install these dependencies with the following CLI commands:
npm i express axios corsNext, create a file Server.js in the root directory of the project folder. In Server.js, enter the following code:
const express = require("express");
const axios = require("axios");
const cors = require("cors");

const router = express.Router();
const app = express();
const port = 5000;

app.use(cors());
app.use(express.json());
app.use(express.urlencoded({ extended: true }));
app.use("/", router);

router.post("/status", async (req, res) => {
  const { token } = req.body; // get token from the request we will create in index.js
  const secret = "SITE SECRET";
  await axios.post(
    `https://www.google.com/recaptcha/api/siteverify`, // URL
    {
        secret: secret,
        response: token,
    }, // URL parameters
  );
  //return response based on the status of the post request
  if (res.status(200)) {
    res.send(true);
  } else {
    res.send(false);
  }
});
app.listen(port, () => {
  console.log(`server is listening on ${port}`);
});
In the code above, we created a server that runs on port 5000 and listens to route /status. Using this server, we will make a post request to determine if the token is valid and then return a response. If the token is valid, the server will return a proper response. Else it would return a response false. Open up the terminal and start the server with node Server.js.
With this in place, we will initiate our request in index.js in our reCaptchaValue function, as shown below:
const [valid, setValid] = useState(false)
const reCaptchaValue = async () => {
  const token = getCaptchaRef.current.getValue();
  console.log(token);
  await axios
    .post("http://localhost:5000/status", {
      response: token,
    })
    .then((res) => {
      console.log(res);
      setValid(res.data)
    })
    .catch((err) => {
      console.log(err);
    });
};
In the code, we made a post request to our server URL with the token returned by the reCAPTCHA. Then we set the value of a state valid equal to the res.data returned from the server, either “true” or “false.”

Finally, we will add an onClick handler to our button to perform different operations based on the value of valid:
<button className="submit" onClick={()=>{handleSubmit()}}>Log in</button>And in the handleSubmit() function:
const handleSubmit = ()=>{
  if(valid){
  alert("welcome user " + value + " " + value2)
  }
  else{
    alert("please verify you are not a robot")
  }
}
If we run our application now, we get the following result:

If the user fails the reCAPTCHA, it simply requests that the user retries until the test is successful.
Conclusion
This tutorial taught us about reCAPTCHA and how we can integrate this security feature into a Next application.
Resources
The entire source code used in this tutorial can be found here.