
Recognizing Speech in a Flutter App


Modern technology has always ensured we have a stress-free life by digitalizing our way of life, thus reducing the stress and time used to perform specific tasks. This includes Speech recognition, a digital way of typing documents, and running commands using our voice.
What is Speech Recognition
Speech Recognition, often known as Speech-to-Text, is the ability of software to recognize words spoken aloud and translate them into legible text or run actions based on specific keywords in the speech. This feature makes it possible to type text and run some commands more quickly since it typically does it at a rate that is far faster than a person can type, thus creating a friendly user experience for users.
Despite the great features of Speech recognition and how awesome it is, some limitations affect the efficiency of speech recognition. They include background noise, accents, and numerous speakers; all these problems result in poor recognition and inefficiency. Also, how to add this feature is not well known, so it’s less used.
In this article, we’ll build a Speech recognition app that will use certain voice commands to execute some programs and write notes based on our spoken words. To follow along in this tutorial, you must have a basic understanding of Flutter and Dart.
Here is the link to a working demo of the application we’re about to build.
| Email and Browsing | Dictating text |
|---|---|
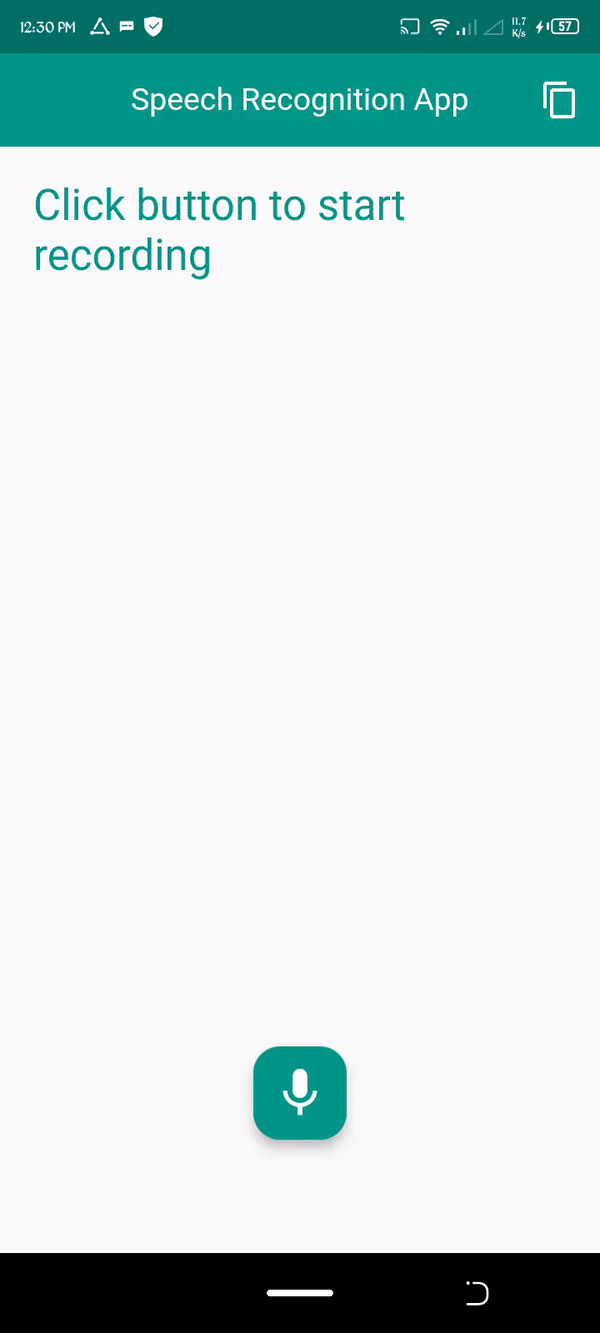 |  |
Setting up the project
Let’s get started by creating our Flutter project. Open and run the command below in your terminal to create and generate a Flutter project.
flutter create speech_recognition_app Once the command above finishes installing the necessary dependencies, change the directory into the project folder using the command below.
cd speech_recognition_app Based on the command above, we’re installing a couple of packages to aid our development process. Let’s get to know what the installed packages are.
- speech_to_text: The
speech-to-textpackage contains the speech recognition features. - url_launcher: The
url_launcherpackage launches and redirects external url links from an application. - clipboard: The
clipboardpackage is responsible for copying our text to our device clipboard. - avatar_glow: This package gives our application a quick glowing animation to any component it uses.
- substring_highlight: This package is responsible for Text highlights.
Project Architecture
Before writing some code, let’s take a second to study our file structure. We’ll create three files in the lib/ folder.
📦lib
  ┣ 📜commands.dart
  ┣ 📜homepage.dart
  ┣ 📜main.dart
  ┗ 📜speech.dart
Based on the diagram above, we’ll be having three files in this tutorial, namely:
commands.dart: This will hold our voice commands and utils needed in our app.homepage.dart: This is the home page of our application.main.dart: Our application’s default root and entry file.speech.dart: This will contain the speech recognizer class and all its methods.
We’ll have to configure some permissions in our application for both Android and iOS. Head over to the android/app/src/main/AndroidManifest.xml file and paste the code below before the <application tag.
<uses-permission android:name="android.permission.RECORD_AUDIO"/>
<uses-permission android:name="android.permission.INTERNET"/>
<uses-permission android:name="android.permission.BLUETOOTH"/>
<uses-permission android:name="android.permission.BLUETOOTH_ADMIN"/>
<uses-permission android:name="android.permission.BLUETOOTH_CONNECT"/>
Next, head over to ios/Runner/Info.plist file and paste the code below into the <dict> tag.
<key>NSSpeechRecognitionUsageDescription</key>
<string>Speech Recognition is required</string>
<key>NSMicrophoneUsageDescription</key>
<string>Microphone is required to record audio</string>
Finally, head over to the android/app/build.gradle file under the defaultConfig object and change the minSdkVersion to 21
android {

        ...

    defaultConfig {
        minSdkVersion 21

        ...
    }
}
Open Source Session Replay
OpenReplay is an open-source, session replay suite that lets you see what users do on your web app, helping you troubleshoot issues faster. OpenReplay is self-hosted for full control over your data.

Start enjoying your debugging experience - start using OpenReplay for free.
Setting up Speech recognition
Let’s get started with the Logical part of our application before getting to the User Interface. In this section, we’ll utilize the Speech recognition feature in the speech-to-text package.
With all the configurations done, create a speech.dart file in the lib folder as shown in the Project Architecture, and copy and paste the code below.
import 'package:flutter/material.dart';
import 'package:speech_to_text/speech_to_text.dart';

class Speech {
  static final _speech = SpeechToText();

  static Future<bool> toggleRecording(
      {required Function(String text) onResult,
      required ValueChanged<bool> onListening}) async {

    final isAvailable = await _speech.initialize(
        onStatus: (status) => onListening(_speech.isListening),
        onError: (error) => print('Error $error'));

    if (_speech.isListening) {
      _speech.stop();
      return true;
    }

    if (isAvailable) {
      _speech.listen(onResult: (value) => onResult(value.recognizedWords));
    }

    return isAvailable;
  }
}
In the code block above, we created a Speech class and instantiated our SpeechToText to the _speech variable, then created a toggleRecording method. The toggleRecording method requires two parameters: an onResult function and a boolean onListening, and returns a bool isAvailable. In the toggleRecording method, we’re initializing the speech recorder when the toggleRecording method is called. It returns a true or false value depending on the speech recorder’s state.
We’re also stopping the speech recorder if it is already initialized and recording on calling of the function and finally recognizing the voiced speech in the _speech.listen() method if the speech recorder is true.
With our Speech recognizer setup, let’s train the speech recognizer to run some commands on certain keywords.
Create a commands.dart in the lib folder and paste the code below into it.
import 'package:url_launcher/url_launcher_string.dart';

class Command {
  static final commands = [
    email,
    browser,
    launchUrl,
  ];

  static const email = 'write email', browser = 'open', launchUrl = 'go to';
}

class Utils {
  static String _executeCommand({
    required String text,
    required String command,
  }) {
    final commandIndex = text.indexOf(command);
    final finalIndex = commandIndex + command.length;

    if (commandIndex == -1) {
      return '';
    } else {
      return text.substring(finalIndex).trim();
    }
  }

  static Future _launchUrl(String url) async {
    if (await canLaunchUrlString(url)) {
      await launchUrlString(url);
    }
  }

  static Future openEmail(String body) async {
    final url = 'mailto: ?body=${Uri.encodeFull(body)}';
    await _launchUrl(url);
  }

  static Future openLink(String url) async {
    if (url.trim().isEmpty) {
      await _launchUrl('https://google.com');
    } else {
      await _launchUrl('https://$url');
    }
  }

  static void scanVoicedText(String voicedText) {
    final text = voicedText.toLowerCase();

    if (text.contains(Command.email)) {
      final body = _executeCommand(text: text, command: Command.email);

      openEmail(body);
    } else if (text.contains(Command.browser)) {
      final url1 = _executeCommand(text: text, command: Command.browser);
      openLink(url1);
    } else if (text.contains(Command.launchUrl)) {
      final url2 = _executeCommand(text: text, command: Command.launchUrl);
      openLink(url2);
    }
  }
}
Let’s understand the code block above by breaking it into functional segments.
- To train our app to recognize certain keywords and run commands based on them, we created a list of keywords. The
Commandclass has those commands, and we’ll perform specific actions on the application whenever these keywords are mentioned. - The
Utilsclass comes next, with some methods. - The
_executeCommand()function takes in two parameters: the text and the command, which is later used to get the command index and thefinalIndex. This helps scan and trim the text for the command keyword in our speech. - The
_launchUrl()function is responsible for launching the scanned URL found in our speech after the command trigger. It works withlaunchUrlStringmethod imported from the'package:url_launcher/url_launcher_string.dart'library. - The
openEmail()andopenLink()functions are responsible for launching our URL and application after the voice command. The former launches the email application after the email command, while the latter launches the URL in a browser or default application. - Finally, the
scanVoicedText()function takes in avoicedTextstring, converts it to lowercase, and checks if it contains any of the command keywords. If thevoicedTextcontains any keyword, it runs the associated command.
Building User Interface
With all our Logical aspects of the application done, let’s bring our app to life by building our user interface.
In this section, we’ll build our UI and integrate our logic into it. Create a homepage.dart in the lib folder and paste the code below into it.
import 'package:avatar_glow/avatar_glow.dart';
import 'package:clipboard/clipboard.dart';
import 'package:flutter/material.dart';
import 'package:speech_recognition_app/commands.dart';
import 'package:speech_recognition_app/speech.dart';
import 'package:substring_highlight/substring_highlight.dart';
class HomePage extends StatefulWidget {
const HomePage({Key? key}) : super(key: key);
@override
State<HomePage> createState() => _HomePageState();
}
class _HomePageState extends State<HomePage> {
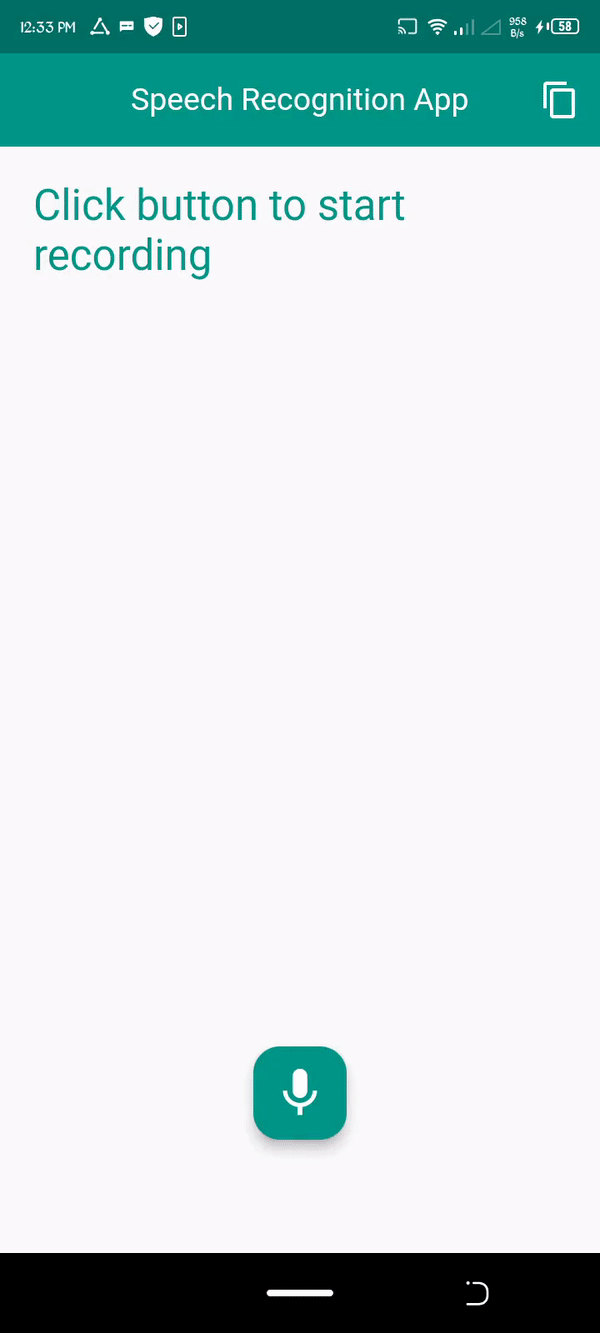
String textSample = 'Click button to start recording';
bool isListening = false;
@override
Widget build(BuildContext context) {
return Scaffold(
appBar: AppBar(
backgroundColor: Colors.teal,
centerTitle: true,
title: const Text(
'Speech Recognition App',
style: TextStyle(color: Colors.white),
),
actions: [
IconButton(
onPressed: () async {
await FlutterClipboard.copy(textSample);
ScaffoldMessenger.of(context).showSnackBar(
const SnackBar(content: Text('Text Copied to Clipboard')),
);
},
icon: const Icon(
Icons.copy,
color: Colors.white,
),
),
],
),
floatingActionButton: AvatarGlow(
endRadius: 80,
animate: isListening,
glowColor: Colors.teal,
child: FloatingActionButton(
onPressed: toggleRecording,
child: Icon(
isListening ? Icons.circle : Icons.mic,
size: 35,
),
),
),
floatingActionButtonLocation: FloatingActionButtonLocation.centerFloat,
body: SingleChildScrollView(
reverse: true,
child: Padding(
padding: const EdgeInsets.all(20.0).copyWith(bottom: 140),
child: SubstringHighlight(
text: textSample,
terms: Command.commands,
textStyle: const TextStyle(
color: Colors.teal,
fontSize: 30,
),
textStyleHighlight: const TextStyle(
color: Colors.blue,
fontSize: 30,
fontWeight: FontWeight.bold),
),
)),
);
}
Future toggleRecording() => Speech.toggleRecording(
onResult: (String text) => setState(() {
textSample = text;
}),
onListening: (bool isListening) {
setState(() {
this.isListening = isListening;
});
if (!isListening) {
Future.delayed(const Duration(milliseconds: 1000), () {
Utils.scanVoicedText(textSample);
});
}
});
}In the code block above, we call the toggleRecording function in the FloatingActionButton. On click of the button, it toggles the device recording state to on or off and also triggers the AvatarGlow widget from the avatar_glow package, which identifies us if the app is currently listening. We’re also copying the text from the app to our device’s clipboard using the clipboard package.
To identify the command keywords in our speech, we’re using the SubstringHighlight from the substring_highlight package to highlight any word that contains our commands.
The toggleRecording function above uses the toggleRecording method from our Speech class and manipulates our textSample text and isListening variable, setting the textSample to our speech input while displaying in the SubstringHighlight widget and scanning it after 1 second of delay in our scanVoicedText function for command keywords. It also sets the isListening value to the state of the speech recorder.
To finish up, let’s update our main.dart file and import the homepage.
Head over to the main.dart and replace the entire code with the code block below.
import 'package:flutter/material.dart';
import 'package:speech_recognition_app/homepage.dart';

void main() {
  runApp(const MyApp());
}
class MyApp extends StatelessWidget {
  const MyApp({Key? key}) : super(key: key);
  // This widget is the root of your application.
  @override
  Widget build(BuildContext context) {
    return MaterialApp(
      title: 'Speech Recognition App',
      debugShowCheckedModeBanner: false,
      theme: ThemeData(
        primarySwatch: Colors.teal,
        useMaterial3: true,
      ),
      home: const HomePage(),
    );
  }
}
The code block above is our app entry. With a few modifications, we changed the title to our app name, changed the primarySwatch color to teal, enabled the Material3 design, and assigned the HomePage widget as our home screen.
Let’s see our progress by running the application on an actual device since emulators don’t support voice recording. Connect your device to your laptop or desktop using a cord and run the command below.
flutter runOr build and install the app on your device using the command below.
flutter build apkNavigate to the build/app/outputs/flutter-apk/ folder and copy the app-release.apk file to your android device and install it.
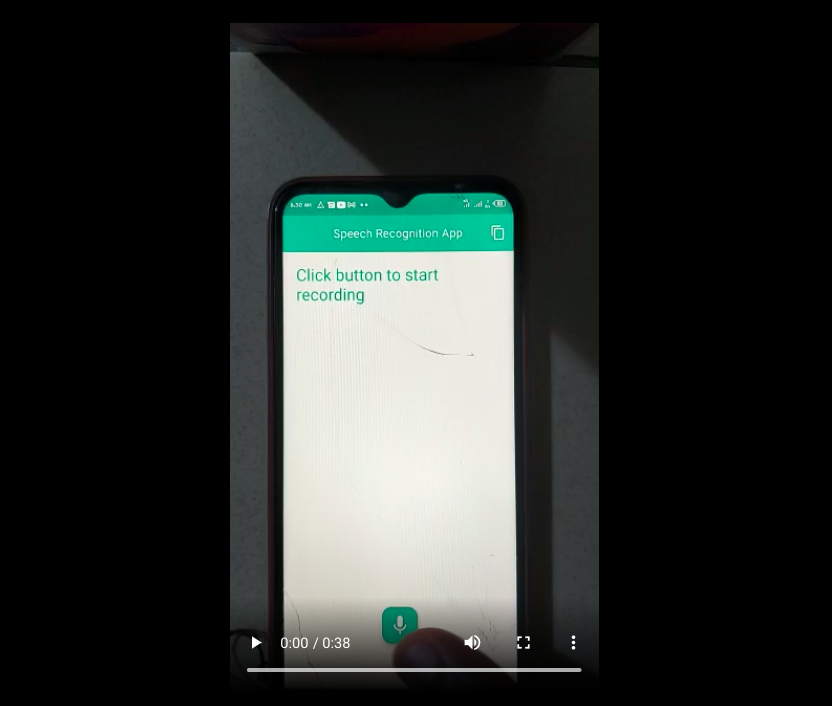
See below a working demo of the application we just built.
Resources
Here is the link to the complete project on Github.
Conclusion
In this tutorial, we’ve been able to build a Speech recognition application that listens to our voice, records our speech, and runs certain commands based on specific keywords using Speech recognition technology. We’ve also been able to generate texts from our speech, which helps a lot when typing seems tiresome. Have fun with the application. Congrats
A TIP FROM THE EDITOR: If interested in Flutter, look at our Implementing Facebook Authentication for Flutter, Push Notifications in Flutter with Native Notify, and Building a digital Signature pad and Signature Images with Flutter articles.