Sending emails from React with Formspree


Contact forms have always been a way of reaching out to companies or individuals from their portfolio page. Finding a suitable implementation to send details from a contact form to its client is crucial for developers. An SMTP service that can effortlessly handle this task is Formspree. Formspree runs on the cloud and sends mails without worrying about technical details or email servers.
In this article, readers will learn how they can easily send messages from a React application using Formspree.
Installing dependencies
We will build our application using the React JavaScript framework and TailwindCSS. They can be installed via CLI with the following commands:
npx create-react-app formspree
npm install -D tailwindcss postcss autoprefixer
npx tailwindcss init -p
To install Formspree:
npm i @formspree/reactWhen the installation is completed, we can open the project folder with the cd formspree command. Next, we edit the tailwind.config.js file to offer support for jsx files:
module.exports = {
  content: [
    "./src/**/*.{js,jsx,ts,tsx}",
  ],
  theme: {
    extend: {},
  },
  plugins: [],
}
Add the following imports to the index.css file to add the Tailwind directives:
@tailwind base;
@tailwind components;
@tailwind utilities;
Building a contact form
We will create a folder components for the contact form in the project folder src directory. In it, we will create a Contactform.js file to house the contact form of the application.
import React from "react";
const Contactform = () => {
  return (
    <form
      className=" bg-gradient-to-t from-blue-600 to-blue-400 h-[100vh] w-full flex justify-center items-center"
      id="Contact"
    >
      <div className=" bg-white/20 backdrop-blur-lg h-[450px] w-[300px] md:h-[550px] md:w-[400px] rounded-xl shadow-xl relative">
        <div className=" text-center text-3xl font-light mt-10">
          Send a Message
        </div>
        <span className=" w-full flex justify-center flex-col items-center">
          <input
            className=" outline-none mt-16 mb-9 rounded-md backdrop-blur-xl bg-white/20 shadow-md px-3 py-3 w-3/4"
            placeholder="your email"
            required
          />
          <div className=" w-3/4">
            <textarea
              className=" outline-none area rounded-md backdrop-blur-xl bg-white/20 shadow-md px-3 py-3 w-full h-40 md:h-52"
              placeholder="your message"
              required
            />
          </div>
          <div className=" w-3/4 flex justify-end mt-4">
            <button className=" bg-blue-600 w-max px-4 py-2 rounded-md underbar flex items-center flex-row gap-4 hover:shadow-xl">
              <h2 className=" text-sm font-medium text-white">Get in touch</h2>
            </button>
          </div>
        </span>
      </div>
    </form>
  );
};
export default Contactform;
To render our contact form, we will add an import for this component in App.js as shown below:
import './App.css';
import React from 'react';
import Contactform from './components/Contactform';
function App() {
return (
<div>
<Contactform />
</div>
);
}
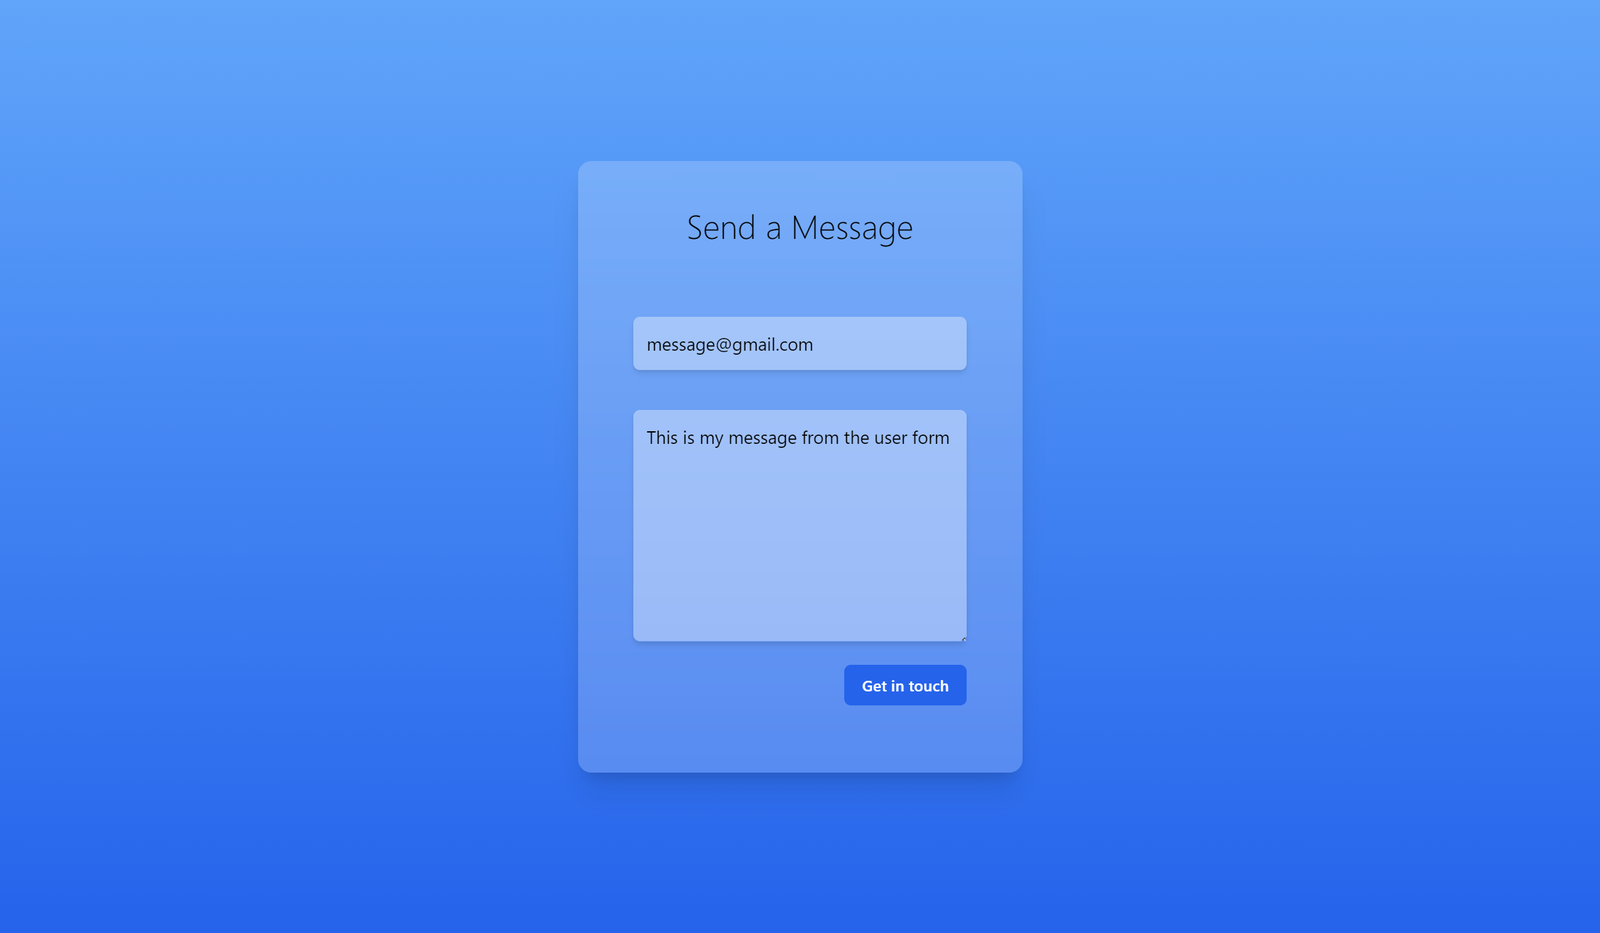
export default App;Now, if we run our application with npm start command, we get a result similar to the below image:

Open Source Session Replay
OpenReplay is an open-source, session replay suite that lets you see what users do on your web app, helping you troubleshoot issues faster. OpenReplay is self-hosted for full control over your data.

Start enjoying your debugging experience - start using OpenReplay for free.
Setting up an SMTP Service
Nodemailer has been a popular SMTP service for a while, but its usage is being discontinued by its creators. As such, we won’t be using it in this article. To send details from the form to an email, we can use SendGrid or Formspree. Both are popular SMTP providers, but the former is better suited for sending transactional and marketing emails. The latter, Formspree, is more suitable for different types of messages and is easier to set up and implement. Due to recent policies update, SendGrid requires some verifications to use its API. These verifications could take a while to be completed and accepted, which is not a quick walk-around solution.
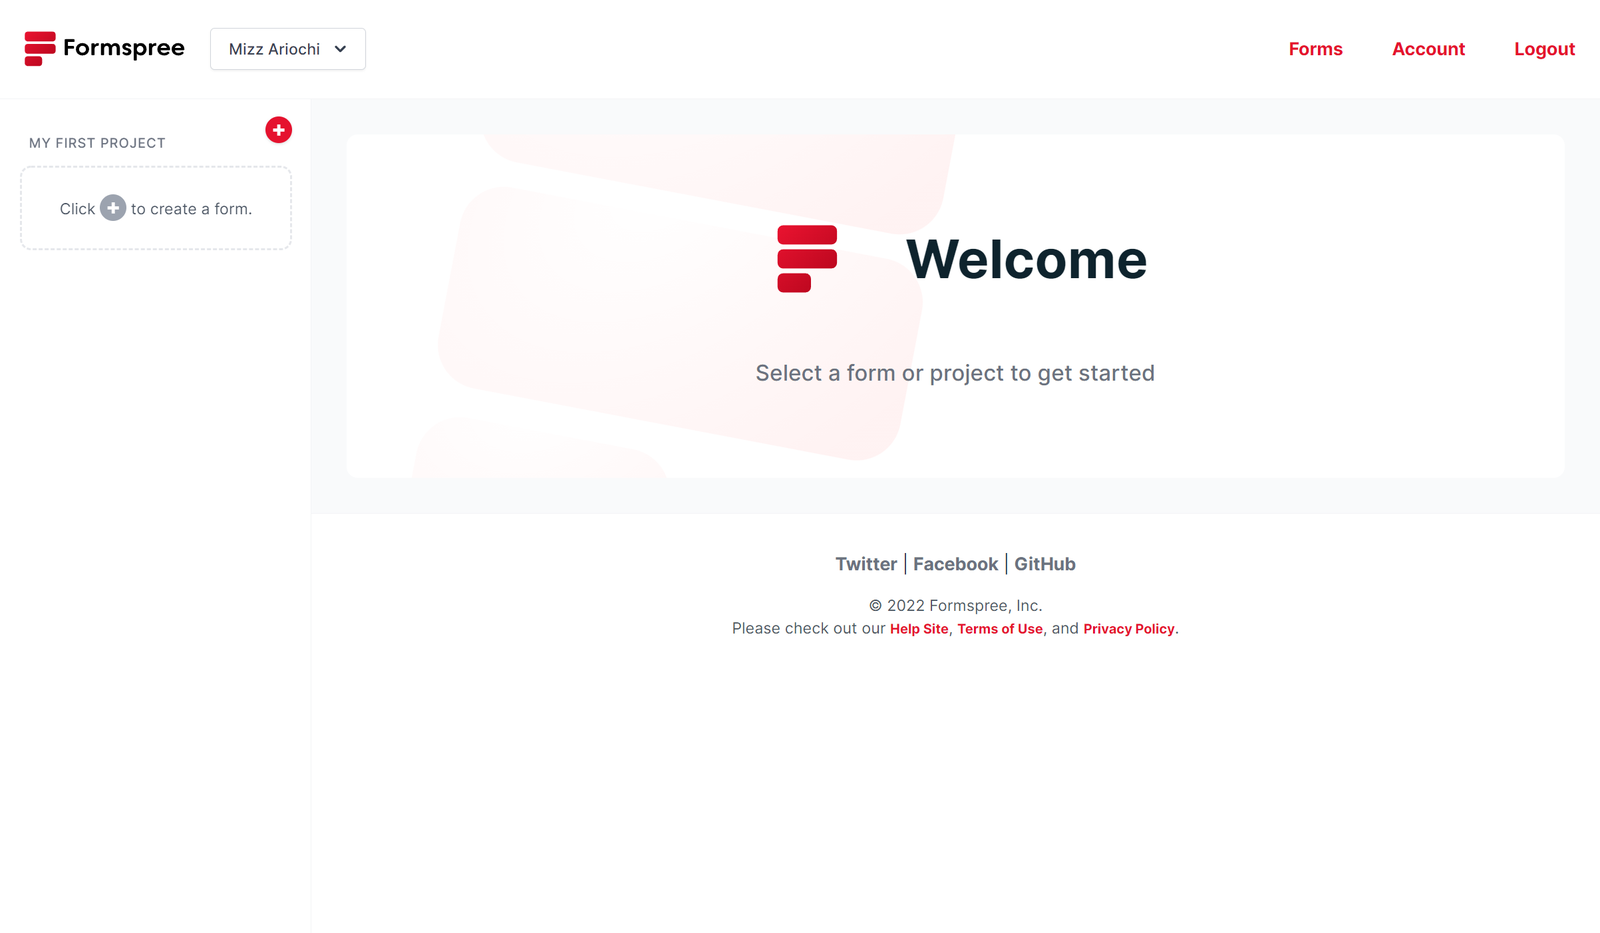
To set up a Formspree user account, navigate your browser to Formspree and fill out the form. Upon creating an account, you will be directed to the dashboard.
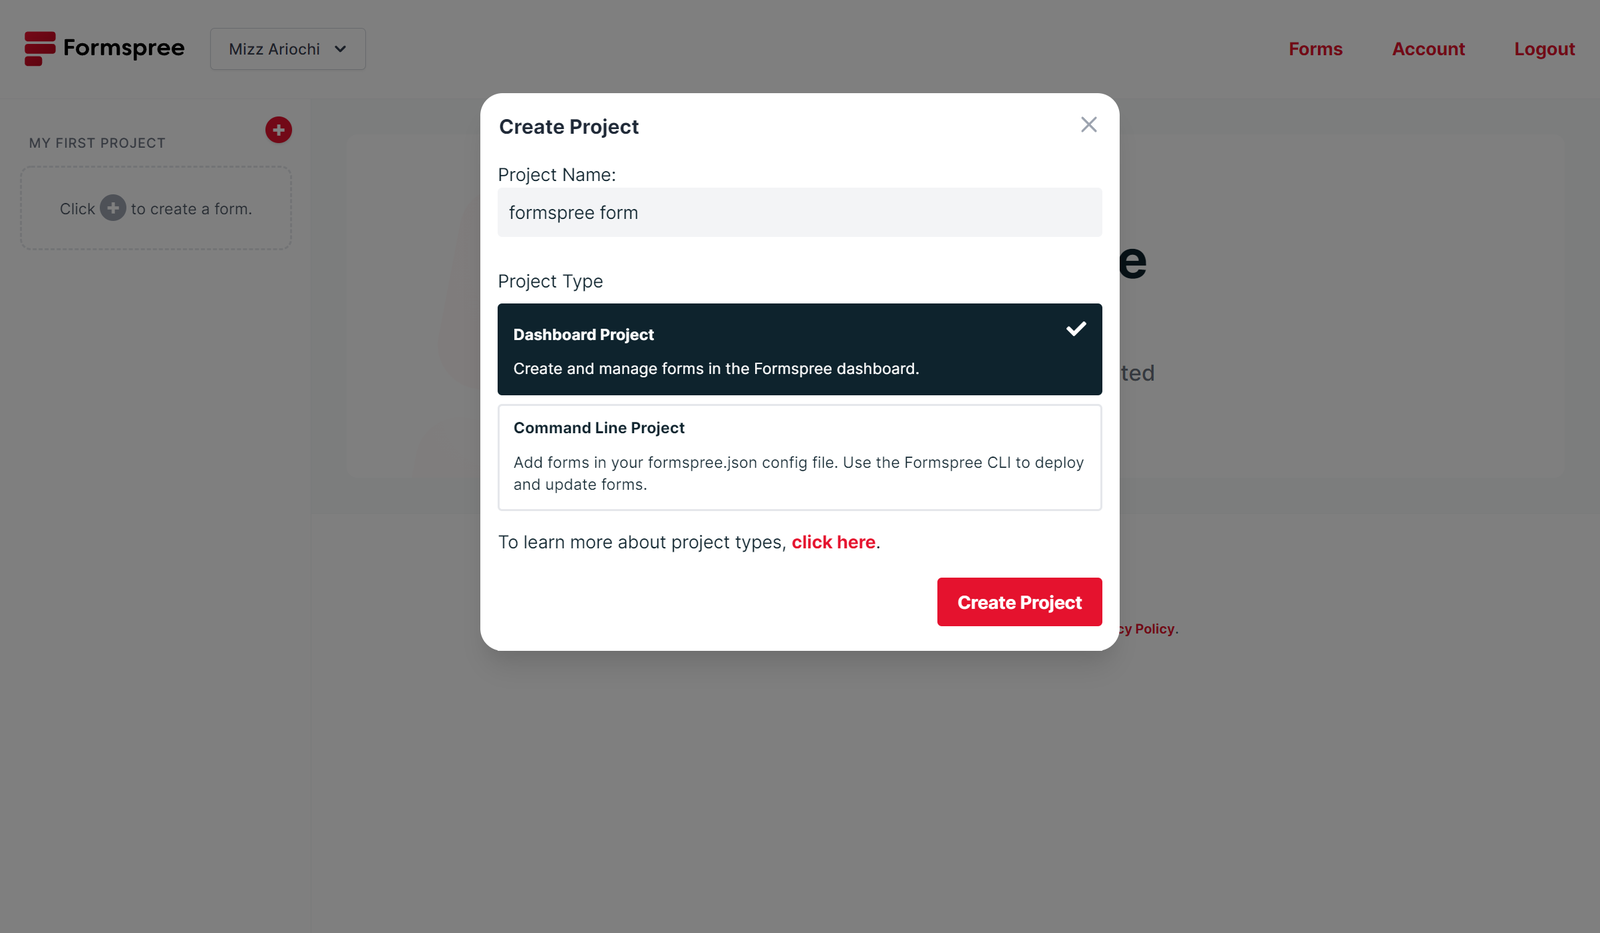
Click the red + icon button and select new project from the dropdown menu. Enter the name of your project and click on New Project.
When this is done, click on the red + button once more and select New form. You will be prompted to link an email in the accounts setting. This is where we can add the email address to which we want the form to send the mails. Multiple emails can be added, and a particular email address can be assigned to receive a particular form’s data. After adding and verifying an email address, we can now create a New form:

In the send emails to field, we enter the email address added we just added to the accounts section. This would link this form’s data to be sent to that particular mail address. Click the Create Form button to create a new form titled “Contact form”.
Sending mails with Formspree
Back in the Contactform.js file, we will modify our code to implement Formspree for sending messages:
import { useForm, ValidationError } from "@formspree/react";
const Contactform = () => {
  const [state, handleSubmit] = useForm("xpzbbgrn");
  if (state.succeeded) {
    return <p>Thanks for Sending a message! We'll get back to you shortly</p>;
  }
return (
    <form
//...
The above code returns a paragraph element if state.succeeded returns true. Its initial value is “false”, which will change when the user clicks on the submit button. To handle submits, we will add an onSubmit handler to the form element:
<form
  className=" bg-gradient-to-t from-blue-600 to-blue-400 h-[100vh] w-full flex justify-center items-center"
  id="Contact"
  onSubmit={handleSubmit}
>
//...
Formspree automatically searches and takes values from inputs. All we need to do is add a name attribute defining what kind of input is being taken by the field, such as name, email, phone number, etc.
<input
  className=" outline-none mt-16 mb-9 rounded-md backdrop-blur-xl bg-white/20 shadow-md px-3 py-3 w-3/4"
  placeholder="your email"
  name="email"
  required
/>
<div className=" w-3/4">
  <textarea
    className=" outline-none area rounded-md backdrop-blur-xl bg-white/20 shadow-md px-3 py-3 w-full h-40 md:h-52"
    placeholder="your message"
    name="message"
    required
  />
</div>
To prevent the user from mistakenly submitting the form more than once, we will add a disabled property to the submit button and set it’s value to be state.submitting:
<button
  className=" bg-blue-600 w-max px-4 py-2 rounded-md underbar flex items-center flex-row gap-4 hover:shadow-xl"
  disabled={state.submitting}
>
  <h2 className=" text-sm font-medium text-white">Get in touch</h2>
</button>
With this, if we add details in our form as shown below:
And click on the Get in touch button, we will get the paragraph element for state.succeeded:

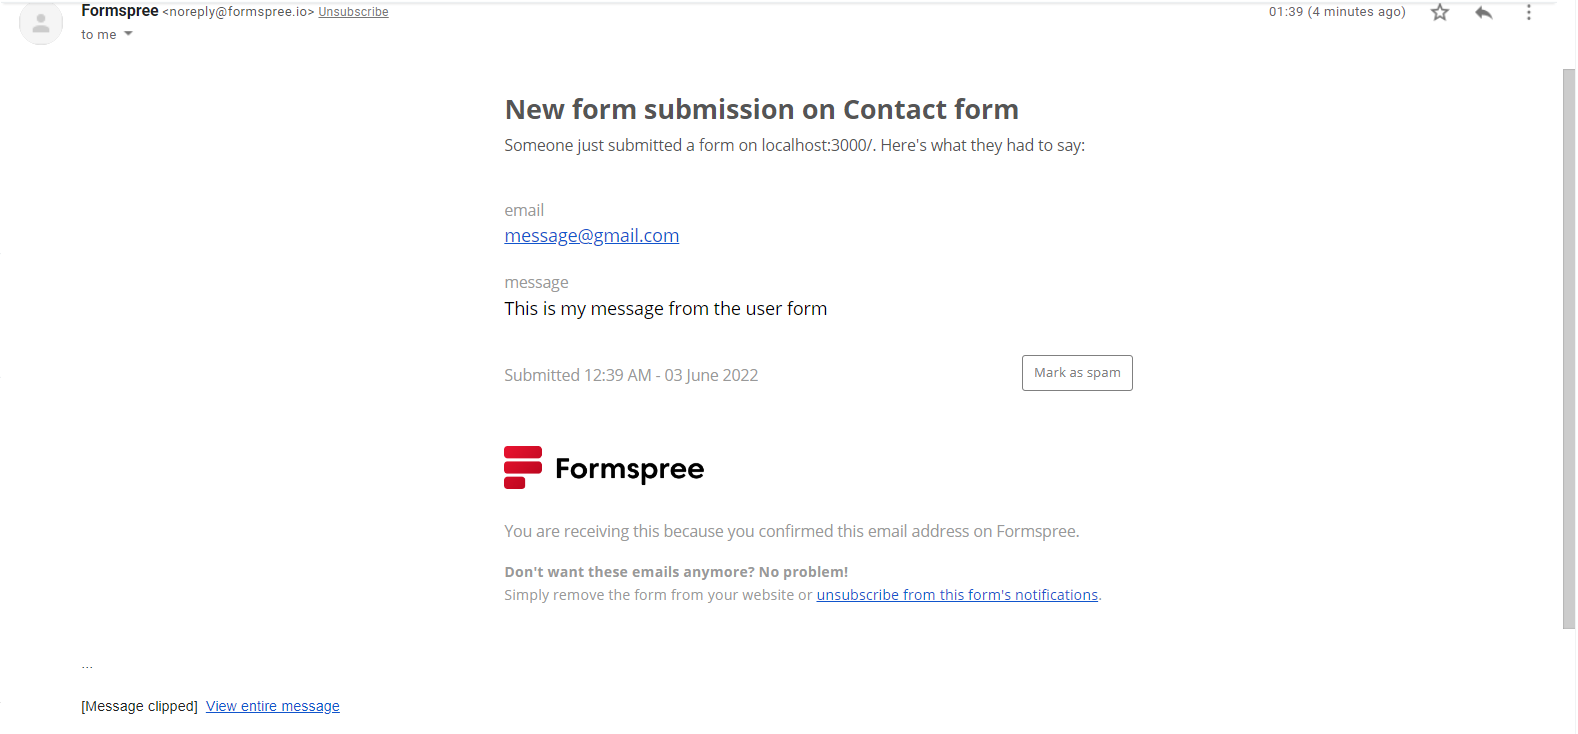
We also received this message in the mailbox of the email address that we added:
Conclusion
We have come to the end of this tutorial; in it we built a contact form and learned how to send emails from it using Formspree SMTP service.