Serving Dynamic HTML using Embedded JavaScript (EJS)
Learn how to use the powerful EJS templating engine

Embedded JavaScript (EJS) is a JavaScript templating engine that lets you generate dynamic HTML plain JavaScript and EJS tags.
Unlike some templating engines, its syntax is very similar to HTML, which makes it easy to learn. It is also faster than many templating engines, making it perfect for some performance-intensive rendering.
Additionally, this templating engine has an inbuilt smart error-handling system which makes development easier.
This article will teach you how to use EJS to serve dynamic HTML files in your applications.
Setting up your Development Environment
Before using it, you have to set up a basic server that your application will make requests to and receive responses from.
Start by creating a project directory and cd into it:
mkdir ejs-tutorial
cd ejs-tutorial
Next, you’ll initialize npm in your project’s root directory:
npm init -yThe -y flag will initialize npm with all its defaults.
Next, you will need to install EJS and Express. Express is a NodeJS framework that makes it easier to create a back-end for our application.
npm install ejs expressNext, create an index.js file and add the following code to your file.
//index.js
const express = require("express");
const app = express();

app.listen(3000, () => {
  console.log("App running on port 3000");
});
The code-block above creates a basic Express server.
Next, you’ll have to specify the view engine you’d like your application to use. Here, you’ll set it to EJS.
Add the following code to your index.js file:
//index.js
app.set("view engine", "ejs");
All your view files will have the .ejs file extension, for example, index.ejs.
Next, you can optionally set a directory where you’ll store your .ejs files. By default, this module looks in a “views” folder for .ejs files to render.
You can override this behavior using the syntax below and store your templates in a different folder:
app.set("views", "name of your preferred directory")Alternatively, you can download a browser build of the latest EJS version (download the ./ejs.js or ./ejs.min.js file) and use it in a script tag.
Like so:
<!DOCTYPE html>
<html lang="en">
<head>
    <meta charset="UTF-8">
    <meta http-equiv="X-UA-Compatible" content="IE=edge">
    <meta name="viewport" content="width=device-width, initial-scale=1.0">
    <title>EJS</title>
    <!-- Using EJS in a Script Tag -->
    <script src="ejs.js"></script>
</head>
<body>

</body>
</html>
<script>
    // EJS code
</script>
Next, create a “views” (If you changed the default setting, create a folder with the new name you assigned) in your project’s root directory. This folder will be where you store all your .ejs files.
Open Source Session Replay
OpenReplay is an open-source, session replay suite that lets you see what users do on your web app, helping you troubleshoot issues faster. OpenReplay is self-hosted for full control over your data.

Start enjoying your debugging experience - start using OpenReplay for free.
The EJS Syntax
The EJS syntax is similar to HTML in many ways, but it still introduces a lot of new syntax like tags.
EJS Tags
To follow along with this section, add the following code to your index.js file:
//index.js
const person = {
  name: "Kevin",
  age: 17,
  canCook: true,
};

//route handler
app.get("/home", (req, res) => {
  res.render("home", {
    person,
  });
});
In the code block above, you defined a person object and a GET route handler for the /home route. The res.render method takes three arguments: the view, an information object, and an optional callback function. The person object passed into the res.render method is where EJS will get its dynamic data from
The information in the code block above will be used to demonstrate what each tag can do and how you can use it in your template.
Scriptlet Tag (<% %>): The scriptlet tag is the EJS tag used for control flow. In other words, it is used to house JavaScript code within the template.
For example:
<body>
    <% if (person.age >= 18 ) { %>
    <p>Hey, you can drive</p>
    <% } else {%>
    <p>Sorry, you need to be at least 18 to drive</p>
    <% } %>
  </body>
The scriptlet tag in the code block above will tell EJS to evaluate the JavaScript code enclosed within it. In this case, the age property on the person object is less than 18. Therefore, the second <p> tag will be rendered in the browser.
Note: Notice that the scriptlet tag (opening and closing) appears on every line of non-HTML code. If you miss any line, the browser will throw an error, and your view will not be rendered.
Output Tags (<%= %>, <%- %>): The output tags, unlike the scriptlet tag, evaluates a value and render the result in the browser. EJS has two output tags, <%= and <%-. <%= outputs the HTML escaped value into the template, while <%- outputs the unescaped value into the template.
For example:
<p>I am <%= person.age %> years old</p>This will output “I am 17 years old” to the browser.
Comment Tag (<%# %>): The comment tag provides explanatory information about your source code. Hence, the code wrapped in the comment tag won’t be executed.
For example:
<%# EJS is fun %>EJS will ignore the code block above during template injection.
Partials
A partial is a reusable piece of HTML code that can be injected into other views. Using partials in your templates makes your code cleaner and maintains the DRY principle by allowing you to use the same piece of code across multiple templates without writing it more than once.
To use partials in EJS, you must create a “partials” folder in your “views” folder.
Then, create the template you want to reuse, such as headers or footers.
Finally, add the partial to your template by enclosing the include keyword inside the <%- output tag and passing the relative file path to the partial as an argument to the include keyword.
For example:
<%# home.ejs %>
<%- include('./partials/header') %>
This will display the content in the header partial in the home.ejs template.
Layouts
A layout is an HTML page used as a container with placeholders where dynamic data is injected at runtime.
EJS does not support layouts out of the box, but they can be implemented by creating partials for each template and including them in your supposed “layout” file.
For example:
 <%- include('./partials/header'); -%>
 <h1>Hi, I'm <%= person. name %></h1>
 <p>I am <%= person.age %> years old.</p>
 <%- include('./partials/footer'); -%>
EJS will inject the partials at runtime and render the final HTML.
Loops and Conditional Rendering with EJS
Recall that scriptlets can house any valid JavaScript code. This feature can be used to implement loops and conditionals, among other things.
Loops
A loop is a programmed sequence of instructions that repeatedly execute while it satisfies a condition.
Remember that you can house JavaScript code inside scriptlets. This applies to all valid JavaScript code.
Assuming you have an array of data, you need to iterate over and render it in your browser. You can use scriptlets and any valid JavaScript looping method.
For example, update the person object to the array below:
const person = [{
  name: 'Kevin',
  age: 17,
  canCook: true,
}, {
  name: 'Gavin',
  age: 19,
  canCook: true,
}, {
  name: 'Sean',
  age: 10,
  canCook: false,
}, {
  name: 'Dave',
  age: 29,
  canCook: true,
}];
Looping over the array:
<h2>EJS Tutorial</h2>
<% person.forEach(person => { %>
<li>Hi, I'm <%= person. name %>. I'm <%= person.age %> years old.</li>
<% }); %>
This would be rendered in your browser:
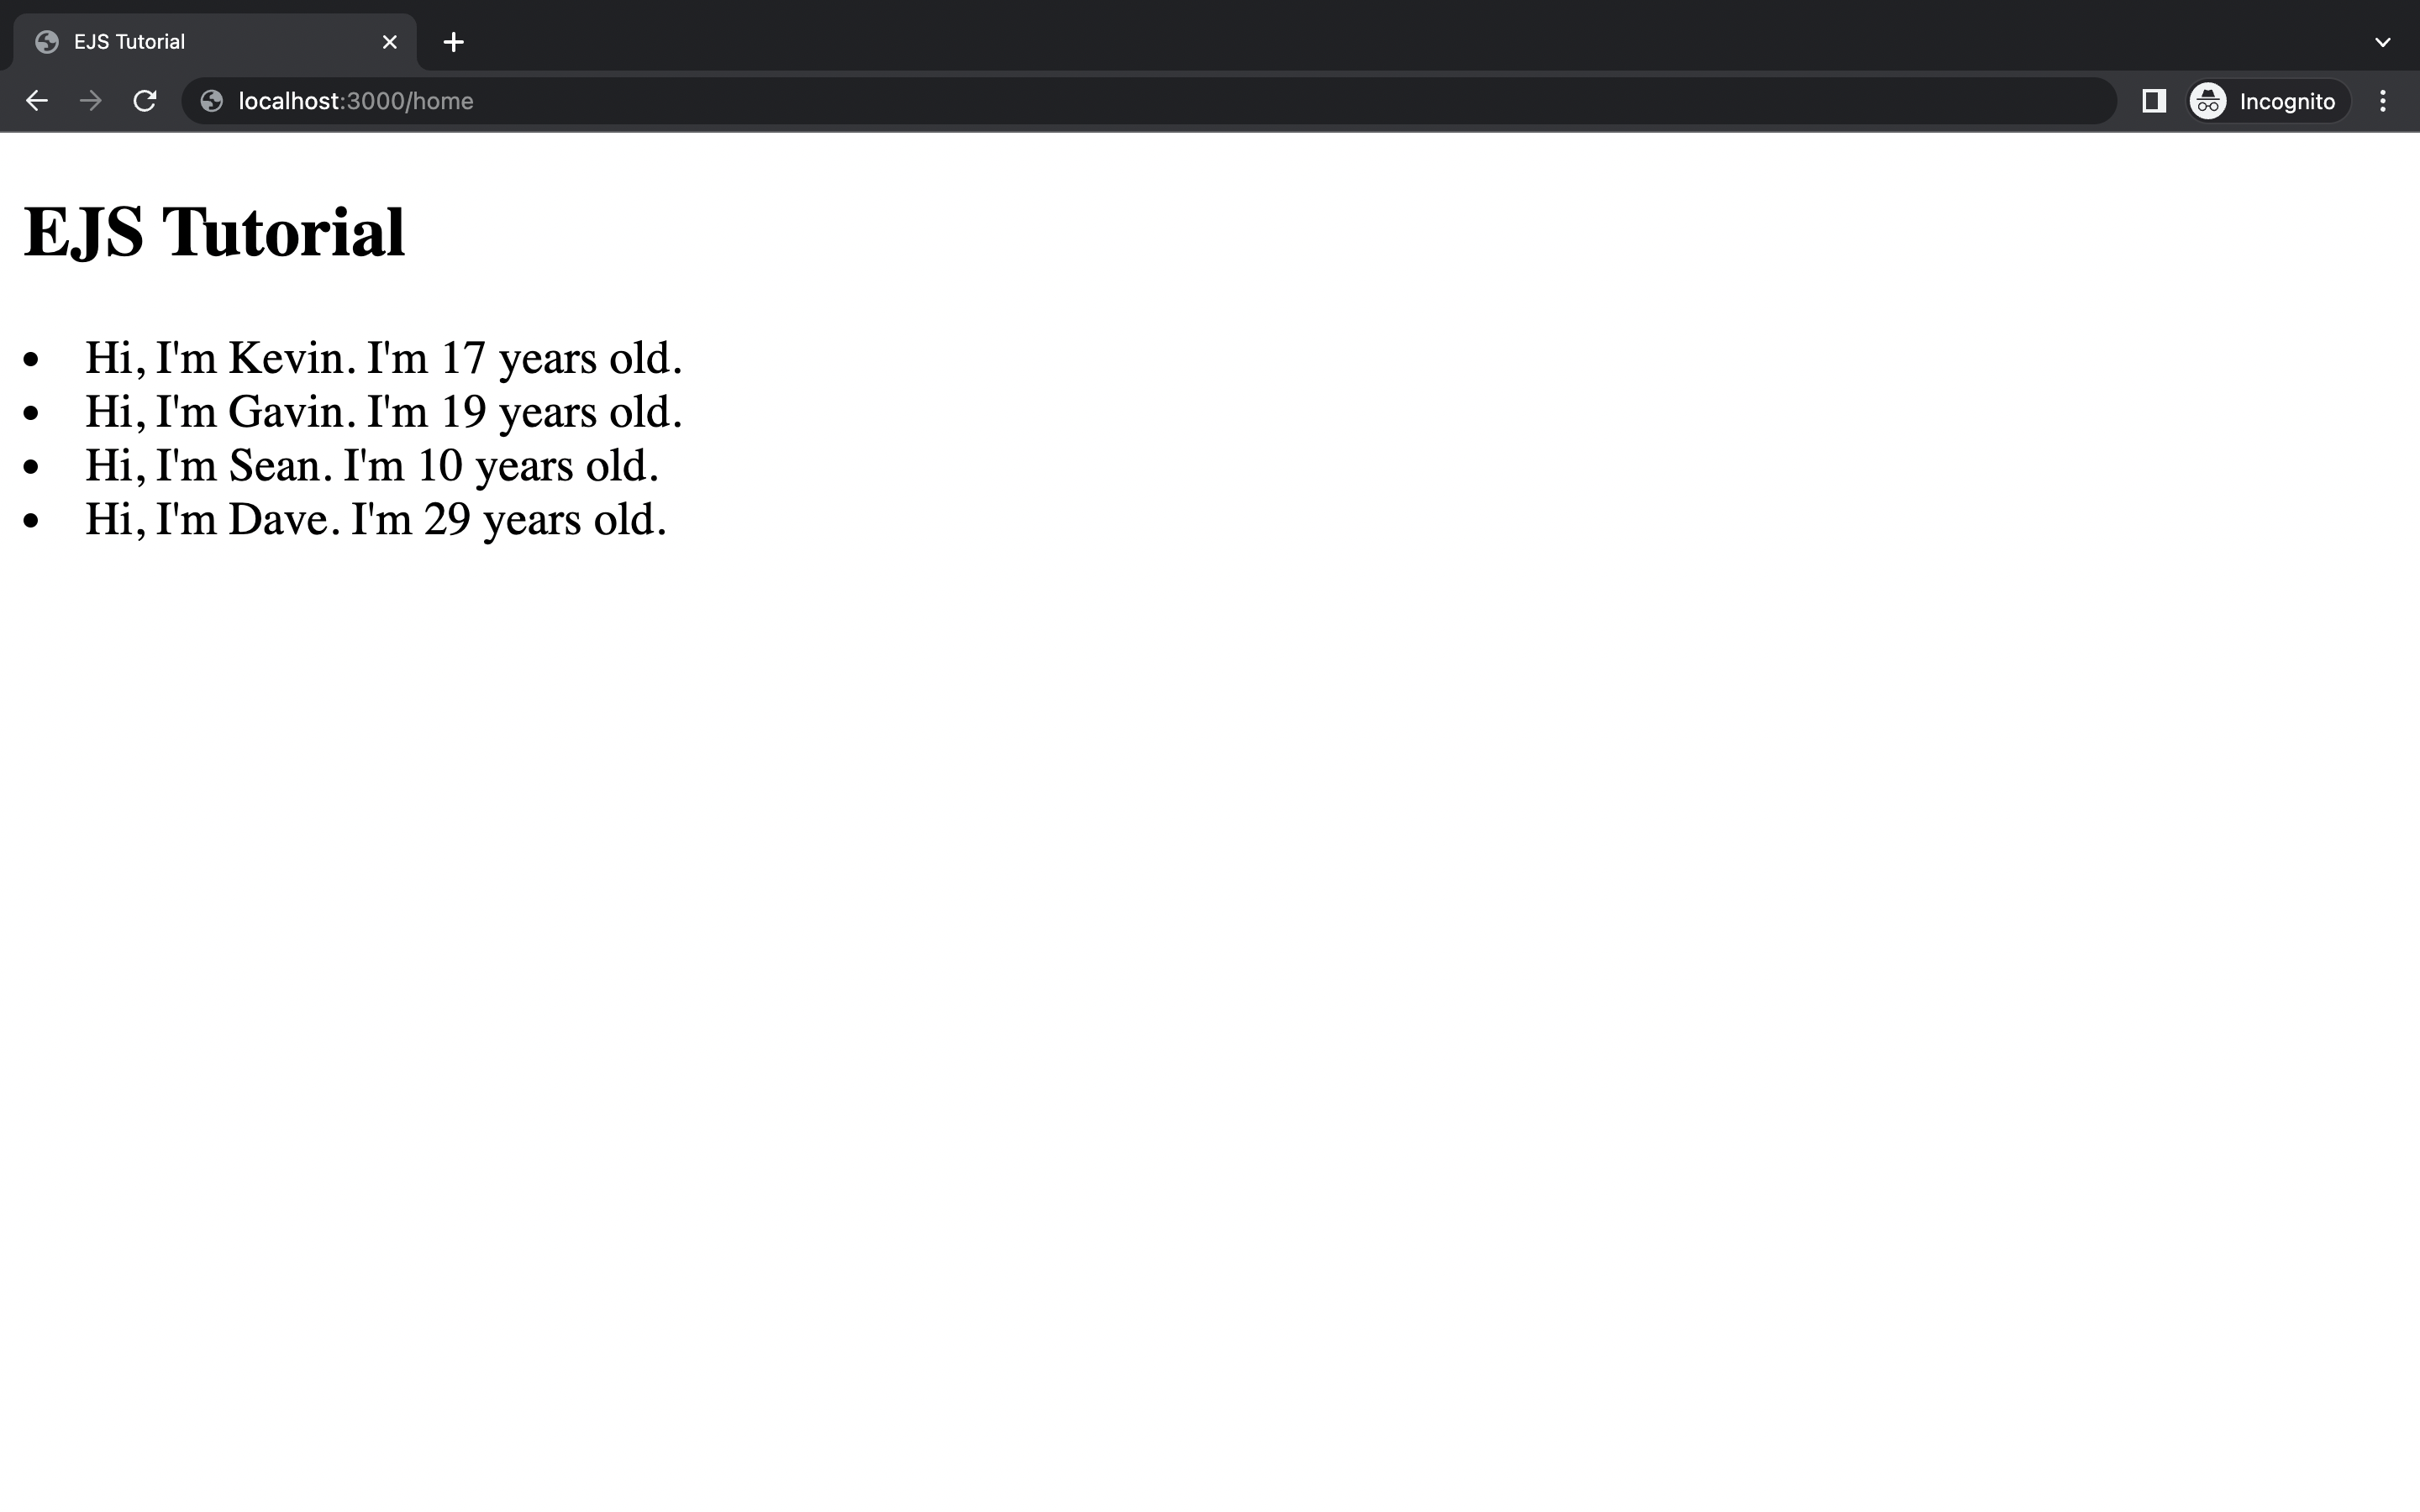
As you can see, the array was iterated over, and each array member was rendered in its own <li>.
Conditionals
A conditional is a piece of code executed if a particular condition is satisfied. Again using scriptlets, you can render a block of HTML code conditionally.
For example:
<% if (condition) { %>
<p><b>Render this block, if condition is true</b></p>
<% } else {%>
<p><b>Render this block, if condition is false</b></p>
<% } %>
The code block above will render either <p> tag, depending on whether the condition is true or not.
You can pass the value of condition into the res.render information object.
For example:
res.render('home', {
    person,
    condition: true,
  });
This would be rendered in your browser:
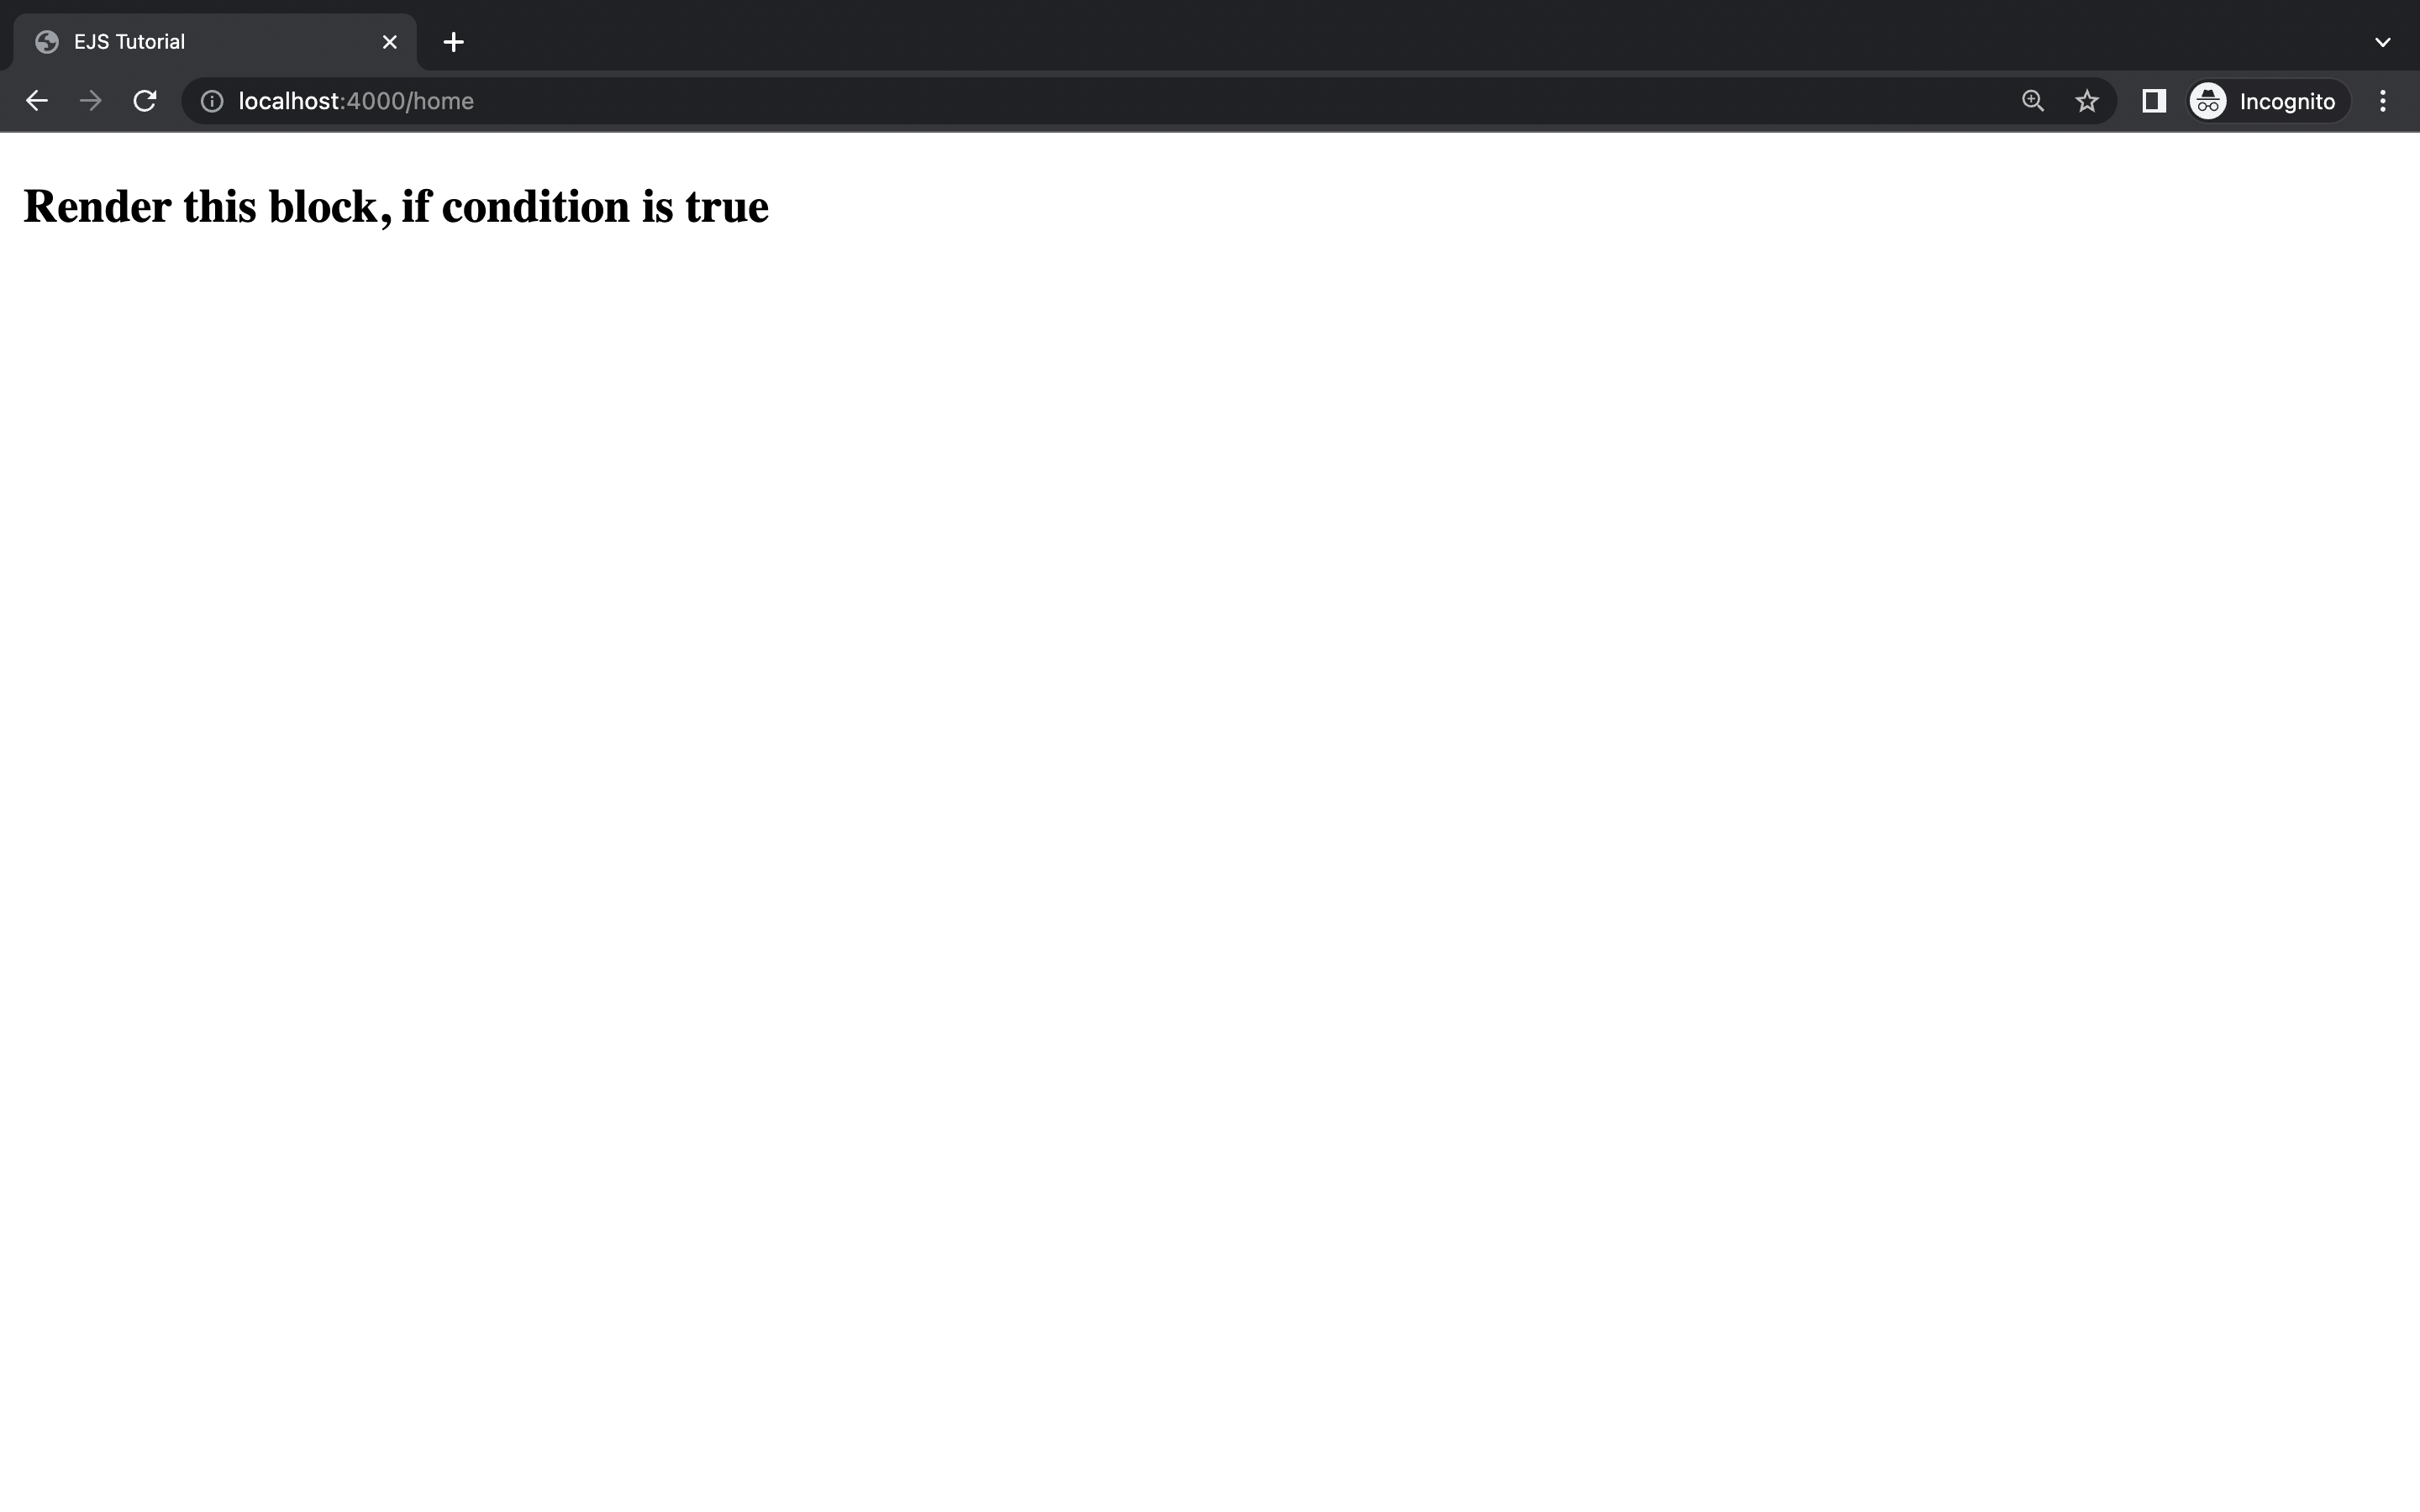
Changing condition to false would render the second <p> tag.
Adding Static Files to your Template
You can also add static files (CSS, images, JavaScript files) to your templates to improve the UI of your application.
To add static files to your template, open your index.js file and add the following code:
app.use(express.static('public'));The express.static method takes two arguments: The root directory where your static files will be stored (conventionally, a “public” folder) and an optional options object.
This built-in middleware allows express to serve static files.
Then, create a “public” folder, and inside it, create a style.css file.
Finally, link the stylesheet to your template or partial header (if you use partials).
Like so:
<link rel="stylesheet" href="/style.css" />Conclusion
Now you have a basic understanding of the Embedded JavaScript (EJS) templating engine and how to use it in your applications. Now, you can efficiently serve dynamic HTML in your applications.
A TIP FROM THE EDITOR: For another take on using templating, give a look at our Integrating Bootstrap page templates into our React websites article.