Visualize Your Elastic Errors in OpenReplay
How to use OpenReplay to playback your Elastic errors alongside your user replays and debug more effectively.


A large part of any engineering team’s efforts is spent monitoring, troubleshooting and debugging issues. Using a Log Management platform makes it easier to find and identify problems in complex architectures.
Elastic Stack (formerly ELK Stack) is the most popular open source logging platform. Consisting of Elasticsearch, Logstash, Kibana and Beats, the tool centralizes all the logs coming in from multiple sources (your servers, virtual machines and containers), all at the same time. It then collects, enriches and transforms a wide array of different data types into a defined destination for storage.
How it works

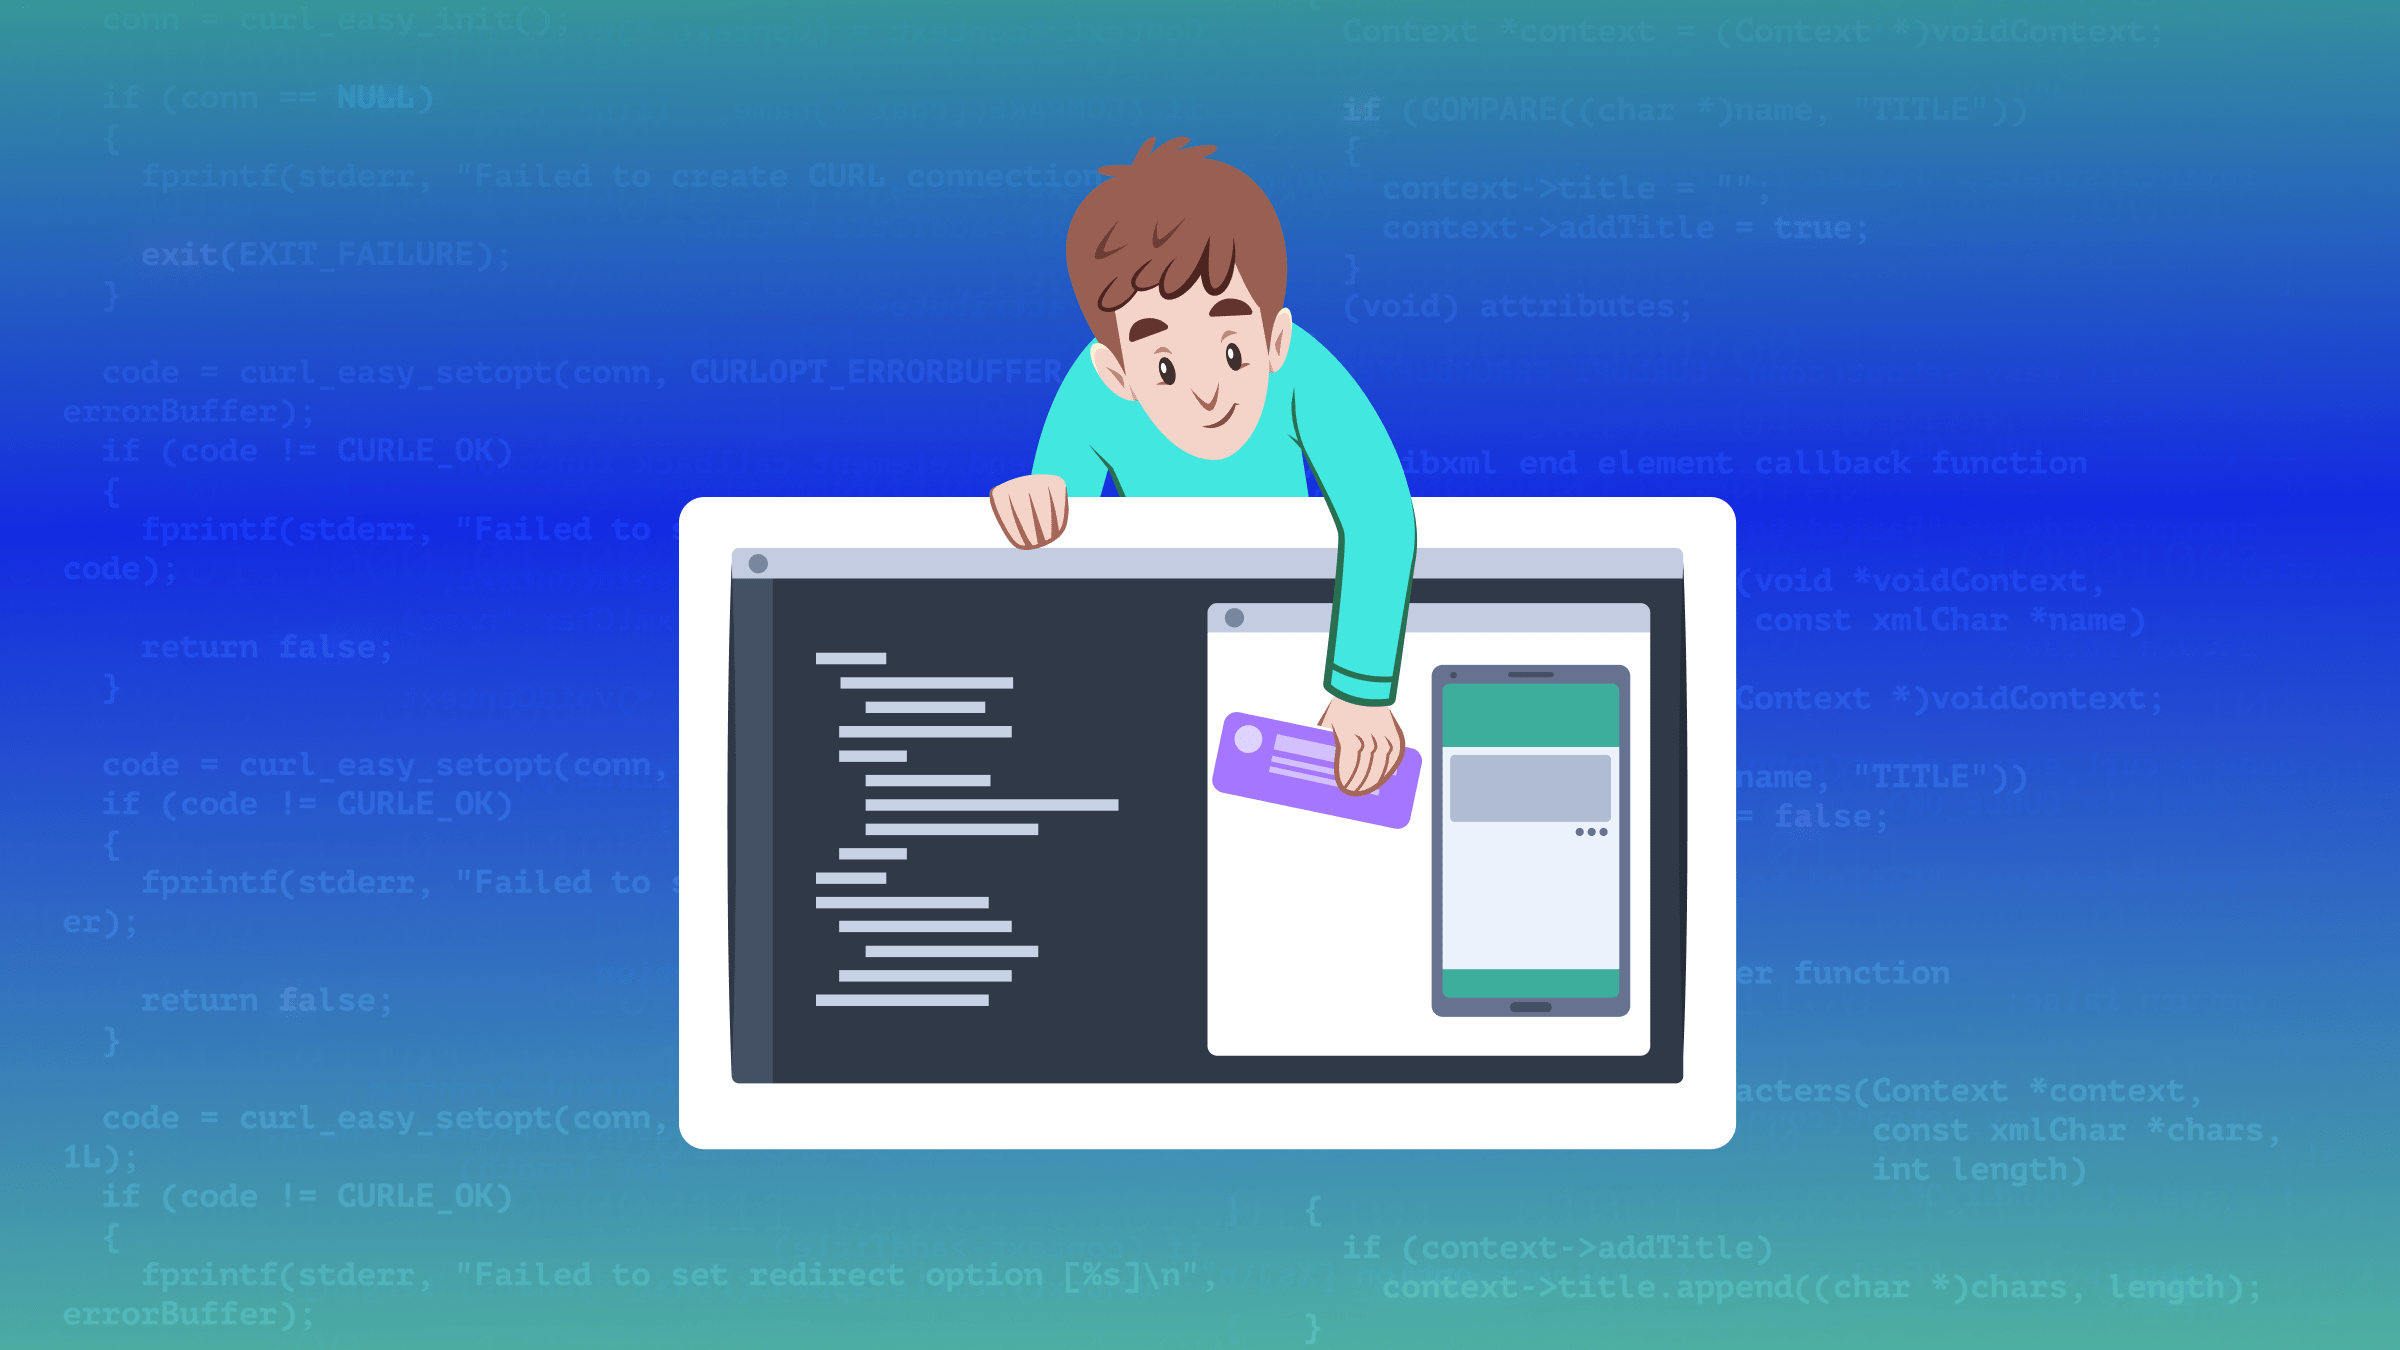
OpenReplay is an observability tool that helps engineers debug more easily. It records and lets you replay user sessions alongside the behavior from the rest of your stack. Our new integrations allows you to associate your Elastic stack events and logs with the individual user session so that you can see exactly what the user did, and how the rest of your stack behaved (frontend, network activity, redux and more).
By associating your Elastic Stack events with the session replay, you can easily grasp the full context of every issue and get to the root cause instantly.
Setting it up
1. Create a new API key
From your Kibana dashboard, head over to Dev Tools > Console and execute the following query:
POST /_security/api_key
{
  "name": "asayer-api-key",
  "role_descriptors": {
    "asayer-role": {
      "cluster": [
        "all"
      ],
      "index": [
        {
          "names": [
            "*log*"
          ],
          "privileges": [
            "read"
          ]
        }
      ]
    }
  }
}
This will generate an id and the api_key needed for the integration.
2. Enable Elasticsearch in OpenReplay
In the OpenReplay Dashboard, head over to Preferences > Integrations and put in your host address, port, id and api_key.

3. Propagate asayerSessionId
To link and Elastic Stack event with its recorded user session, you need to propagate a unique id from your frontend to your backend for each request you want to track using a custom HTTP header.
For example you can use the fetch function:
const headers = {
  Accept: 'application/json',
  'Content-Type': 'application/json',
};
if (window.asayer && window.asayer.id()) {
  headers['X-Session-Id'] = window.asayer.id(); // Inject asayer_session_id
}
fetch('www.your-backend.com', {
  'GET',
  headers,
});
To link Elastic logs with the recorded user session, you need to propagate a unique ID as part of each backend error you wish to track.
Here is an example using Python with Monkey Patching:
import sys
import traceback

old_tb = traceback.print_exception
old_f = sys.stdout
old_e = sys.stderr
ASAYER_SESSION_ID = None

class F:
    def write(self, x):
        if ASAYER_SESSION_ID is not None and x != '\n':
            old_f.write(f"[asayer_session_id={ASAYER_SESSION_ID}] {x}")
        else:
            old_f.write(x)

    def flush(self):
        pass

def tb_print_exception(etype, value, tb, limit=None, file=None, chain=True):
    if ASAYER_SESSION_ID is not None:
        value = type(value)(f"[asayer_session_id={ASAYER_SESSION_ID}] " + str(value))
    old_tb(etype, value, tb, limit, file, chain)

traceback.print_exception = tb_print_exception

sys.stderr = F()
Head over to our documentation for more detailed instructions.
Happy debugging !