Cool Things You Can Do with the Web Serial API
Web Serial API examples for monitors, firmware flashers, G-code streamers, telemetry dashboards, display controllers, and device config UIs.

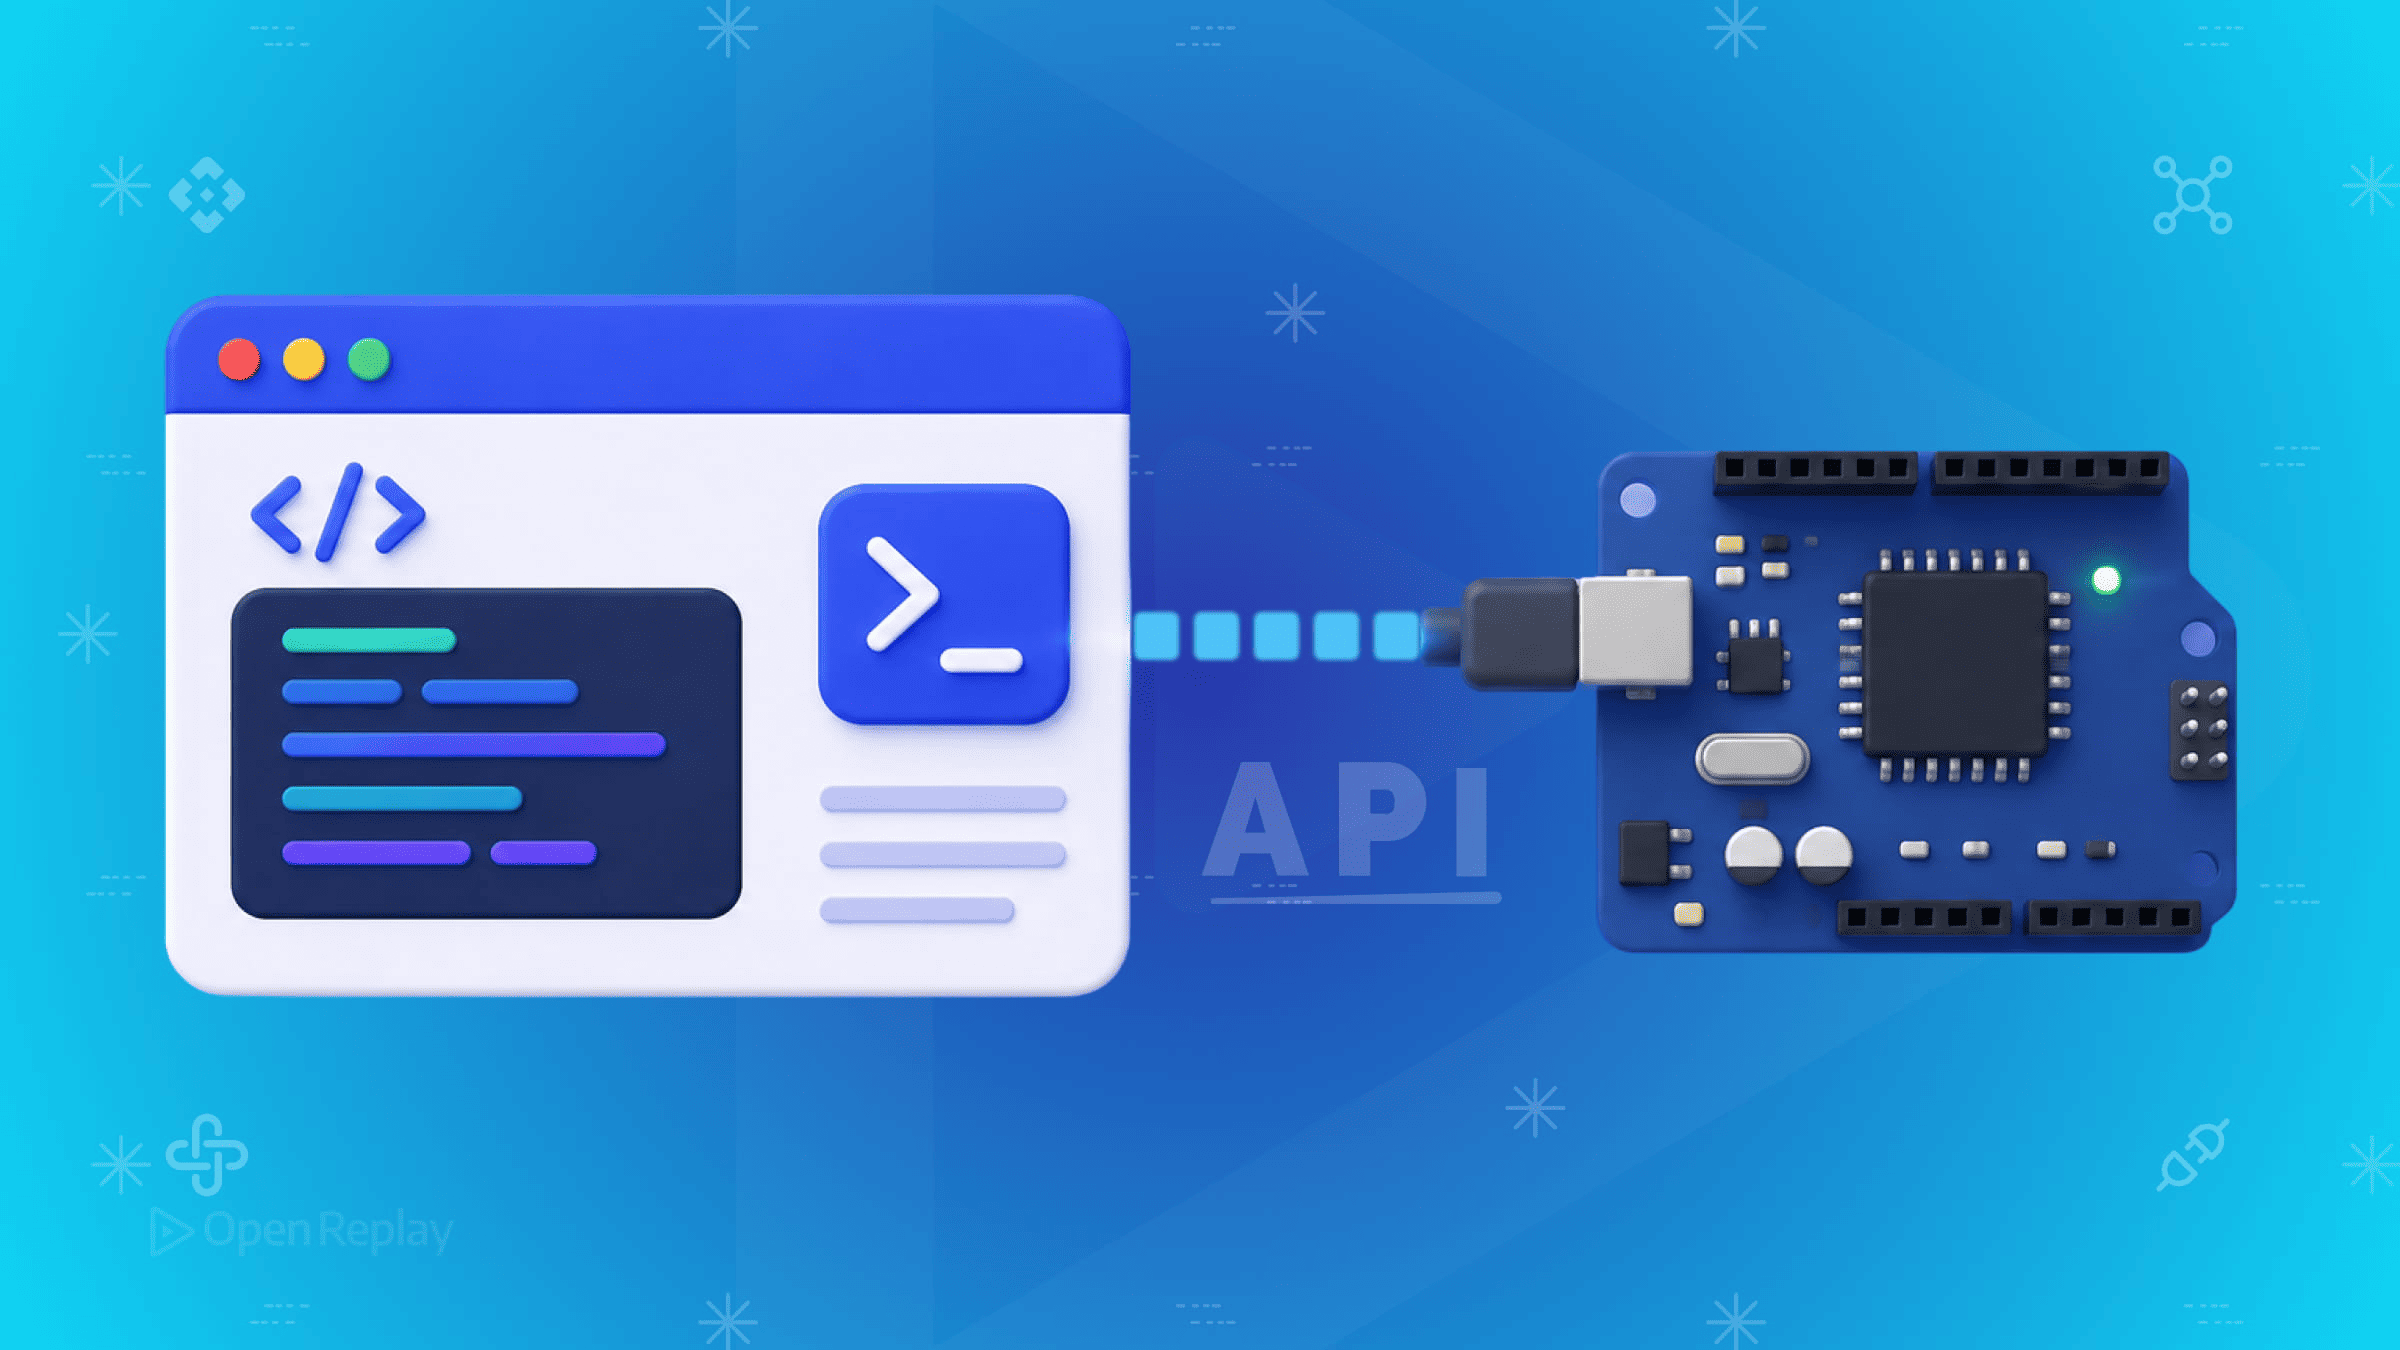
The Web Serial API lets a web page open a read/write byte stream to a physical device that speaks serial — a USB-to-serial dongle, a microcontroller dev board, a 3D printer, or a paired Bluetooth Classic device — without a native app or a browser extension. It sits in the same lineage of browser hardware-access APIs as MediaDevices (cameras and microphones), WebUSB (raw USB interfaces), and WebHID (gamepads and keyboards): the page requests access, the browser shows a permission dialog, and the user picks the device.
Before you sketch a weekend project, the support story sets the boundaries. Web Serial is supported on desktop in Chrome 89+, Edge 89+, Opera 75+, and Firefox 151+, per the MDN browser compatibility table; Safari has no announced support. The API requires a secure context (HTTPS or localhost) and a user gesture to call requestPort() — you cannot prompt for a port on page load. This article maps six concrete project categories you can build on top of that, each with the Web Serial–specific code, the hardware pairing, and the one gotcha that bites first.
Key Takeaways
- Web Serial is supported on desktop in Chrome 89+, Edge 89+, Opera 75+, and Firefox 151+; Safari has no announced support, and the API requires both a secure context and a user gesture to call
requestPort(). - Web Serial exists separately from WebUSB because operating-system serial drivers claim USB-to-serial adapters before WebUSB can reach them, so devices that enumerate as COM ports or
/dev/ttynodes need Web Serial. - Calling
reader.releaseLock()beforeport.close()avoids the “port already open” errors that leaked stream locks cause on reconnect. - Since Chrome 117, Web Serial can talk to paired Bluetooth Classic RFCOMM/SPP devices through
allowedBluetoothServiceClassIdsandbluetoothServiceClassIdfilters — wireless serial with no separate WebBluetooth call. - Chrome 130 added
SerialPort.connected, a boolean for distinguishing a port that is physically present from one the app has closed.
The minimal connect-read-write-cleanup pattern
Every Web Serial project starts from the same four moves: request a port, open it at a baud rate, read or write through the stream, and clean up by releasing the lock before closing. The snippet below is the reference the rest of this article points back to. It uses the optional filters argument to narrow the browser’s port picker by USB vendor and product ID — per the SerialPortRequestOptions definition in the WICG Web Serial specification, this excludes unrelated serial ports so the user sees only relevant devices.
// Must run inside a user-gesture handler (e.g. a click listener).
const port = await navigator.serial.requestPort({
  filters: [{ usbVendorId: 0x2341 }], // optional; omit for "any port"
});
await port.open({ baudRate: 115200 });

const reader = port.readable.getReader();
try {
  while (true) {
    const { value, done } = await reader.read();
    if (done) break;          // reader was cancelled
    console.log(value);       // value is a Uint8Array chunk
  }
} finally {
  reader.releaseLock();       // release BEFORE closing
  await port.close();
}
Failing to call reader.releaseLock() before port.close() is a common cause of “port already open” errors on reconnect — the lock holds the readable stream, and close() rejects while a stream is still locked, per the SerialPort.close() steps in the spec. For text protocols, pipe the streams through TextEncoderStream and TextDecoderStream instead of decoding raw Uint8Array chunks by hand; MDN’s Web Serial guide covers the encoding details.

Discover how at OpenReplay.com.
Web Serial API examples: six projects worth a weekend
Web Serial’s six strongest project categories are read-heavy debugging tools, write-heavy protocol clients, long-running streaming loops, live visualization, render-from-browser displays, and device configuration UIs. Each entry below isolates the Web Serial–specific logic rather than walking through a full application.
1. A browser-based serial monitor
A serial monitor is the read-heavy debugging tool that replaces the Arduino IDE’s Serial Monitor or screen /dev/ttyUSB0 with a browser tab. It opens a port, streams incoming bytes through a decoder, and appends decoded lines to the DOM. It is the simplest project here and the best first build, because it exercises the read loop without the complications of a write protocol.
Hardware/protocol pairing: any UART device — an Arduino, an ESP32, a USB-to-serial adapter — emitting newline-delimited text.
const port = await navigator.serial.requestPort();
await port.open({ baudRate: 9600 });

const decoder = new TextDecoderStream();
port.readable.pipeTo(decoder.writable);
const reader = decoder.readable.getReader();

let buffer = "";
while (true) {
  const { value, done } = await reader.read();
  if (done) break;
  buffer += value;
  const lines = buffer.split("\n");
  buffer = lines.pop() ?? "";        // keep the partial last line
  lines.forEach(line => appendToLog(line));
}
Gotcha: serial data arrives in arbitrary chunk boundaries, not whole lines — a single read() can return half a line or three lines, so buffer until you hit a delimiter before rendering.
2. A firmware flasher
A firmware flasher writes a compiled binary to a microcontroller’s flash over serial, the way an esptool-in-the-browser tool does for ESP32 chips. It is write-heavy and protocol-bound: before any payload moves, the chip has to be put into its bootloader, and the data is framed according to the chip’s flashing protocol.
Hardware/protocol pairing: ESP32/ESP8266 over the SLIP-framed serial bootloader protocol; the entry sequence is driven by the DTR and RTS control signals.
const port = await navigator.serial.requestPort();
await port.open({ baudRate: 115200 });

// Toggle control signals to force the ESP into download mode.
// See Espressif's documented boot-mode sequence.
await port.setSignals({ dataTerminalReady: false, requestToSend: true });
await port.setSignals({ dataTerminalReady: true, requestToSend: false });
// ...now send the framed bootloader commands over port.writable
ESPTool-style browser flashers must toggle the DTR and RTS control signals in a specific sequence to force the chip into download mode before any write commands are sent; Espressif documents the boot-mode signal behavior, and Web Serial exposes the toggles through SerialPort.setSignals().
Gotcha: skip the DTR/RTS bootloader sequence and the chip stays in its application firmware instead of entering the serial bootloader, so flashing cannot proceed correctly.
3. A G-code job streamer
A G-code streamer sends a print or cut job to a 3D printer or CNC machine one line at a time, waiting for the firmware to acknowledge each line before sending the next. It is a long-running write loop with flow control, which makes it a meaningfully harder build than a fire-and-forget writer.
Hardware/protocol pairing: Marlin or GRBL firmware over USB serial, exchanging line-based G-code with ok acknowledgments.
const encoder = new TextEncoderStream();
encoder.readable.pipeTo(port.writable);
const writer = encoder.writable.getWriter();

const decoder = new TextDecoderStream();
port.readable.pipeTo(decoder.writable);
const reader = decoder.readable.getReader();

for (const line of gcodeLines) {
  await writer.write(line + "\n");
  // Block until the firmware reports it consumed the line.
  let ack = "";
  while (!ack.includes("ok")) {
    const { value } = await reader.read();
    ack += value;
  }
}
G-code streamers must wait for the printer’s ok acknowledgment after each line before sending the next; the RepRap G-code reference defines this handshake, and flooding the serial buffer without it overruns the firmware’s command queue mid-job.
Gotcha: the ok can arrive interleaved with temperature reports and other unsolicited lines, so match on the token rather than assuming the next line you read is the acknowledgment.
4. A live telemetry dashboard
A telemetry dashboard reads a continuous sensor stream off a serial port and renders it as a live in-browser chart — temperature, voltage, accelerometer axes, GPS fixes. The Web Serial half is just a read loop; the value is in piping decoded values straight into a charting library running in the same tab.
Hardware/protocol pairing: any sensor-equipped microcontroller emitting CSV lines, or a GPS module emitting NMEA 0183 sentences.
const decoder = new TextDecoderStream();
port.readable.pipeTo(decoder.writable);
const reader = decoder.readable.getReader();

let buffer = "";
while (true) {
  const { value, done } = await reader.read();
  if (done) break;
  buffer += value;
  let nl;
  while ((nl = buffer.indexOf("\n")) >= 0) {
    const [t, v] = buffer.slice(0, nl).split(",");
    pushSample(Number(t), Number(v));   // feed your chart
    buffer = buffer.slice(nl + 1);
  }
}
Gotcha: a fast sensor can emit lines faster than the chart can repaint; batch samples and update on requestAnimationFrame rather than re-rendering on every read(), or the main thread stalls.
5. A display or visual controller
A display controller renders pixels or frames from the browser and pushes them to a physical display — an LED matrix, an OLED, or an ePaper panel. Here the browser is the rendering engine: you compute a bitmap or a brightness array in JavaScript and write the bytes the display’s controller expects.
Hardware/protocol pairing: a MAX7219-driven LED matrix, an SSD1306 OLED, or an ePaper module behind a microcontroller that accepts framebuffer bytes over UART.
const writer = port.writable.getWriter();

// 8x8 frame as one byte per row (bit set = LED on).
function renderFrame(rows: number[]) {
  return writer.write(Uint8Array.from(rows));
}

await renderFrame([
  0b00111100, 0b01000010, 0b10100101, 0b10000001,
  0b10100101, 0b10011001, 0b01000010, 0b00111100,
]);
Gotcha: writes are not automatically paced to the display’s refresh, so animating from the browser can tear or drop frames; send a full frame per update and let the microcontroller handle the display’s own timing rather than streaming partial rows.
6. A device configuration UI
A device configuration UI reads and writes settings on a serial-connected device — flight-controller parameters on a drone, channel memories on a ham radio, register values on an IoT module. This is where the VID/PID filter pattern earns its keep: configuration apps target a known device, so filtering the port picker by vendor and product ID means the user sees only their device, not every COM port on the machine.
Hardware/protocol pairing: a flight controller speaking MSP, a radio’s CAT/CI-V protocol, or any module with a documented register-access command set — selected with requestPort filters.
// Narrow the picker to one known vendor/product.
const port = await navigator.serial.requestPort({
  filters: [{ usbVendorId: 0x10c4, usbProductId: 0xea60 }], // example CP210x
});
await port.open({ baudRate: 115200 });

const writer = port.writable.getWriter();
await writer.write(buildReadConfigCommand());   // request current settings
// ...read the response, populate form fields, write back on save
Passing filters: [{ usbVendorId, usbProductId }] to requestPort() narrows the dialog to matching ports, per the SerialPortRequestOptions spec. To skip the dialog entirely on a return visit, navigator.serial.getPorts() returns ports the user has already approved.
Gotcha: the vendor/product IDs in the picker come from the USB-to-serial bridge chip (FTDI, CP210x, CH340), not the end device, so several unrelated products can share the same usbVendorId — filter on both usbVendorId and usbProductId when you can.
When Web Serial is the right tool versus the alternatives
Use Web Serial when the device enumerates as a COM port or /dev/tty node — that is, when the OS has already loaded a serial driver for it. Web Serial exists separately from WebUSB because operating-system serial drivers claim USB-to-serial adapters before WebUSB can reach them, a gap the WICG Web Serial explainer describes directly. For other device classes, reach for a different API.
| API | Device type | Permission model | Browser support | Best for |
|---|---|---|---|---|
| Web Serial | Devices on a serial/COM/tty port | User-gesture picker | Chrome/Edge 89+, Opera 75+, Firefox 151+ | Microcontrollers, printers, USB-serial dongles |
| WebUSB | Raw USB interfaces (no OS driver) | User-gesture picker | Chromium-based | Custom USB devices without a serial driver |
| WebHID | Human-interface devices | User-gesture picker | Chromium-based | Gamepads, keyboards, custom HID peripherals |
| Web Bluetooth | Bluetooth Low Energy (GATT) | User-gesture picker | Chromium-based | BLE sensors, beacons, wearables |
| WebSocket + backend daemon | Anything | Server-mediated | All browsers | Cross-browser reach, server-side parsing |
If you need Firefox and Safari users today and the device logic can live server-side, a small native daemon exposing a WebSocket is the portable fallback — at the cost of an install step that Web Serial avoids.
Recent additions worth knowing
Chrome 117 added Bluetooth Classic RFCOMM/SPP support to Web Serial, and Chrome 130 added the SerialPort.connected boolean for distinguishing physically-present ports from app-closed ones. Both are missing from most existing tutorials, so they are worth building around.
Since Chrome 117 on desktop, Web Serial can communicate with paired Bluetooth Classic RFCOMM/SPP devices: pass allowedBluetoothServiceClassIds (or a filters: [{ bluetoothServiceClassId }] entry) to surface custom RFCOMM services in the requestPort() picker, with the service class readable via port.getInfo().bluetoothServiceClassId — and no separate WebBluetooth call required. This Bluetooth path is Chromium-only (Chrome/Edge 117+, Opera 103+) and is still marked experimental on MDN; Firefox 151’s general Web Serial support does not yet include the Bluetooth service-class options. The details are in Chrome’s Serial over Bluetooth on the web post. This turns wireless serial into the same read/write stream you already wrote for USB.
Chrome 130 added SerialPort.connected, a boolean that is true when the port is physically present but not necessarily open. It lets reconnection UX distinguish “device unplugged” from “port closed by the app” — pair it with the connect and disconnect events to drive a live connection indicator without polling.
requestPort() rejects silently when the user dismisses the Web Serial permission dialog, and most implementations don’t render that rejection as a visible state, so the connect button just returns to its default and the page appears to do nothing. This single UX failure mode cuts across all six project categories above. Session replays of Web Serial connection flows often surface a signature pattern of users clicking the connect button two or three times in succession before dropping off — a tell that the rejection isn’t being communicated. Catch the requestPort() rejection and show an explicit “no device selected” or “port in use” message; ports held by another process (the Arduino IDE, screen, or ModemManager) fail the same quiet way.
Pick one category, wire up the minimal connect-read-write-cleanup block from the top of this article, and confirm the support matrix matches your audience before you commit a weekend to it. The fastest path to a working build is a serial monitor against a board you already own — once the read loop and cleanup are solid, the other five categories are variations on the same byte stream. Web Serial is the wrong tool, though, when your audience includes Safari users, when the device doesn’t enumerate as a COM or /dev/tty node (reach for WebUSB, WebHID, or Web Bluetooth instead), or when the parsing logic genuinely belongs server-side — for any of those, a small native daemon behind a WebSocket gets you broader reach at the cost of an install step.
FAQs
Why does dismissing the Web Serial permission dialog leave my connect button doing nothing?
Dismissing the permission dialog causes the requestPort() promise to reject rather than resolve, and most implementations never surface that rejection as a visible state, so the button silently returns to its default. Wrap the requestPort() call in a try or catch and render an explicit 'no device selected' message on rejection. Ports already held by another process such as the Arduino IDE, screen, or ModemManager fail the same quiet way.
What is the difference between Web Serial and WebUSB for connecting to an Arduino?
Use Web Serial for an Arduino because the operating system loads a serial driver that claims the USB-to-serial adapter, making the board enumerate as a COM port or a /dev/tty node that WebUSB cannot reach. WebUSB is for raw USB interfaces that have no OS serial driver, such as custom USB devices. If a device shows up as a COM port, it needs Web Serial, not WebUSB.
Can I reconnect to a previously approved serial port without showing the permission dialog again?
Yes. Call navigator.serial.getPorts() to retrieve the array of ports the user has already approved in earlier sessions, then open one directly without prompting. This skips the user-gesture picker entirely for return visits. In Chrome 130 and later, SerialPort.connected returns a boolean indicating whether the port is physically present, letting reconnection UX distinguish a device that was unplugged from one the app simply closed.
Does Web Serial work in Firefox and Safari?
Web Serial runs on desktop in Chrome 89+, Edge 89+, Opera 75+, and Firefox 151+, per MDN's browser compatibility data. Safari has no announced support and no published roadmap. The API also requires a secure context, meaning HTTPS or localhost, and a user gesture to call requestPort(). If you need broad Firefox and Safari coverage today, a native daemon exposing a WebSocket is the portable fallback at the cost of an install step.
Why do I get a 'port already open' error when reconnecting to the same device?
A 'port already open' error on reconnect almost always means a stream lock was leaked. If you call port.close() while a reader still holds the readable stream, the close rejects because the stream is locked. Always call reader.releaseLock() before port.close(), ideally inside a finally block, so the lock is released regardless of how the read loop exits. The same applies to writers obtained from port.writable.
Gain control over your UX
See how users are using your site as if you were sitting next to them, learn and iterate faster with OpenReplay — the open-source session replay tool for developers. Self-host it in minutes, and have complete control over your customer data.
Star on GitHub12k