Working with CSS Float and Clear properties
Control positioning of elements on web pages with these CSS properties

Clear and float are vital CSS properties because they control the positioning and formatting of content on the page and shape how floating elements behave. These two properties change the normal flow and behavior of elements. In addition, they enable you to wrap inline elements around HTML elements such as paragraphs, lists, blockquotes, tables, spans, and divs. Therefore, these two properties go together, and when you float a factor, you let the following elements try and flow around it, resulting in unusual layouts. It’s essential to note that with these two properties, it is possible to specify what elements can float by the side of a removed element and on which side. But before jumping into this subject, it is necessary to understand the clear and float properties values in CSS and how they apply on either the left or right of its container.
In this article, we’ll review several examples showing their usage so that you can apply them successfully to your own pages.
How clear and float work
The float property places a factor on either left or right side of its container, permitting words and inline elements to wrap around it. The feature is taken off the normal flow of the page but remains a part of the flow. Instead, it is shifted to the left or right until it touches the edge of its containing box or another floated element. You should also know that float does not support the bottom, top, and center values. This is because a float cannot float an element to the container’s top, bottom, or center. You can check this link for in-depth knowledge of float.
An element is taken out of normal flow, causing the other parts to display beside it. To avoid this, you need an explicit property to clear it; you can achieve this with the clear property to specify which sides of a component the floating elements are not allowed to flow. You need to clear the float property to enable you to control the floating elements by preventing overlapping.
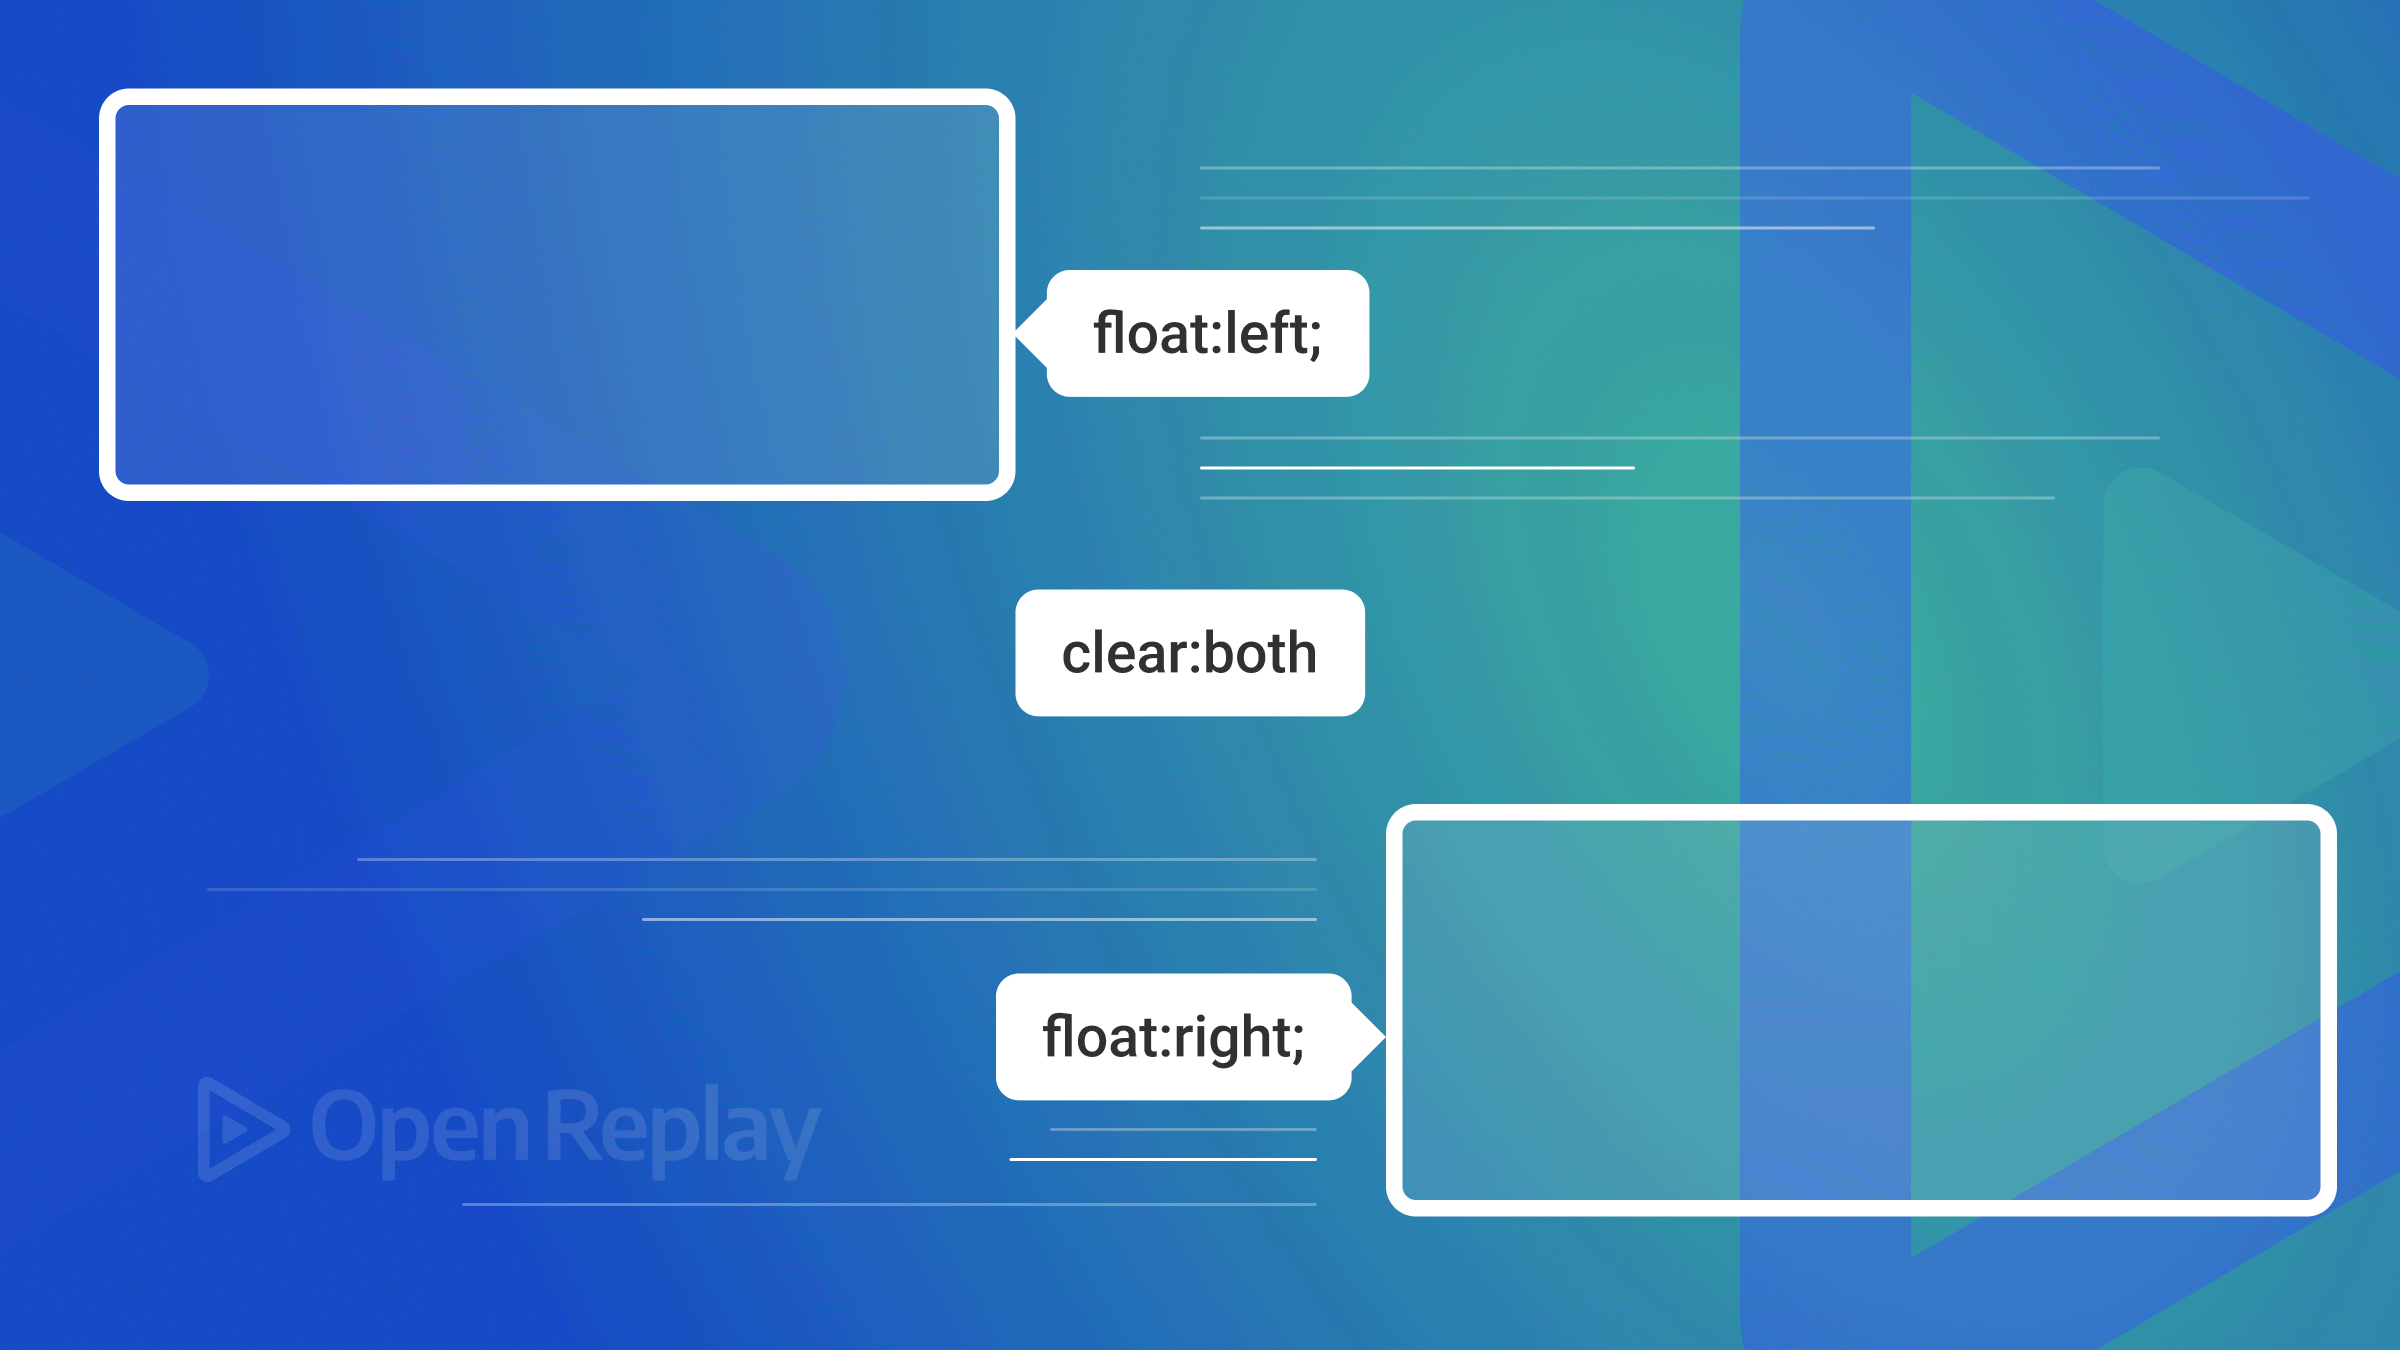
The clear property shapes floating elements’ behavior. Though float and clear properties go together, when you float a factor, you let the following elements try and flow around it, resulting in unusual layouts. For example, if you are clearing floats, it is necessary to match the clear to the float, and when the element floats to the left, you should clear to the left. Also, your floated element will continue to flow, but the removed element will appear below it on the web page. With the CSS clear and float properties, you can ascertain what elements can float by the side of a cleared element and on which side.
Types of CSS Float property value
The float property has the following values:
none(default): This type of element does not float. Instead, it is only displayed where it occurs in the text.left: In this situation, an element is responsible for floating only to its container’s left.right: The right float is the situation that conditions an element to only float to the right of its container.inherit: This element inherits the exact value from its parent element, causing it only to display where it occurs in the text (it does not float).
Let’s see how to float elements left and right, which are the interesting cases.
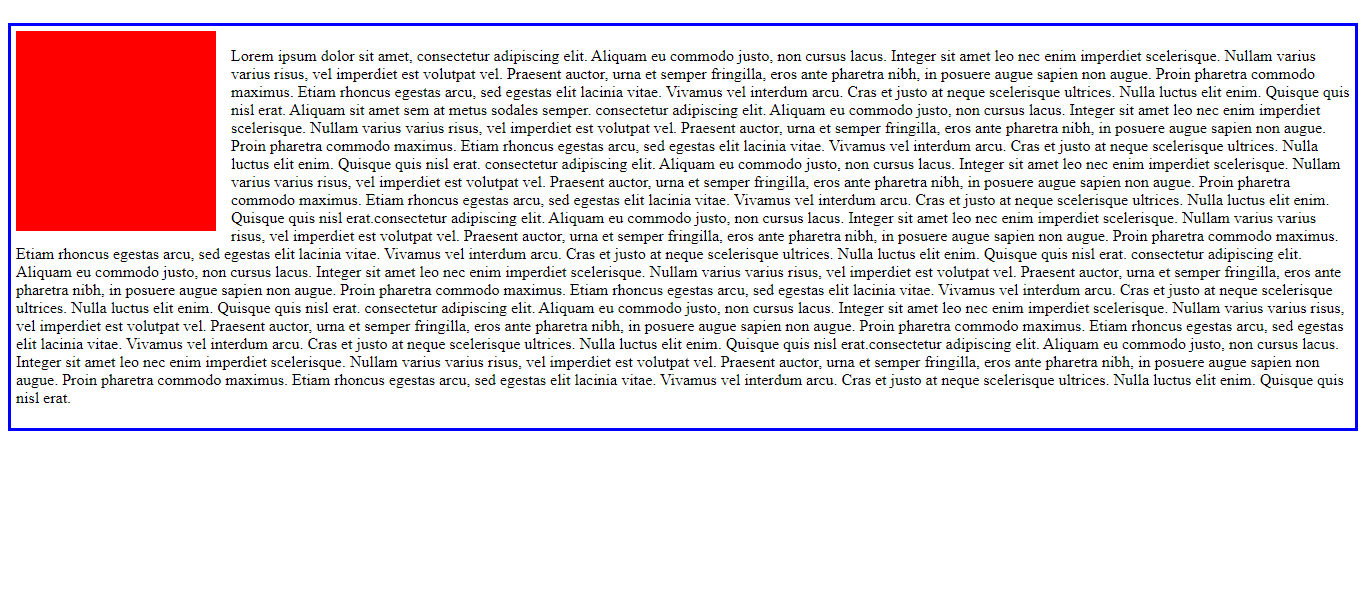
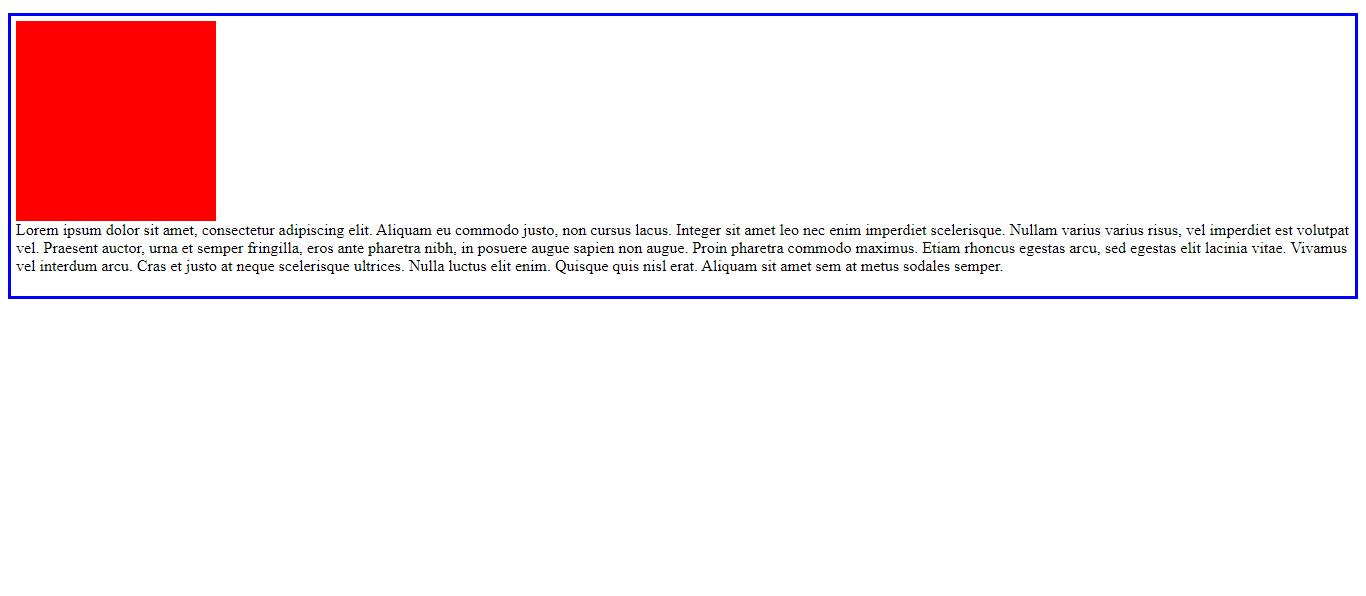
To float an element to the left:
<html>
  <head>
    <style>
      .container {
        border: solid thin blue;
        padding: 5px;
      }
      .image {
        background-color: red;
        float: left;
        height: 200px;
        margin-right: 11px;
        width: 200px;
      }
      p {
        color: black;
        font-size: 30px;
      }
    </style>
  </head>
  <body>
    <div class="container">
      <div class="image"></div>
      <p class="text">
        Lorem ipsum dolor sit amet, consectetur adipiscing elit. Aliquam eu
        commodo justo, non cursus lacus. Integer sit amet leo nec enim imperdiet
        scelerisque. Nullam varius varius risus, vel imperdiet est volutpat vel.
        Praesent auctor, urna etsemper fringilla, eros ante pharetra nibh, in
        posuere augue sapien non augue. Proin pharetra commodo maximus. Etiam
        rhoncus egestas arcu, sed egestas elit lacinia vitae. Vivamus vel
        interdum arcu. Cras et justo at neque scelerisque ultrices. Nulla luctus
        elit enim. Quisque quis nisl erat. Aliquam sit amet sem at metus sodales
        semper.
      </p>
    </div>
  </body>
</html>
And here is the result:
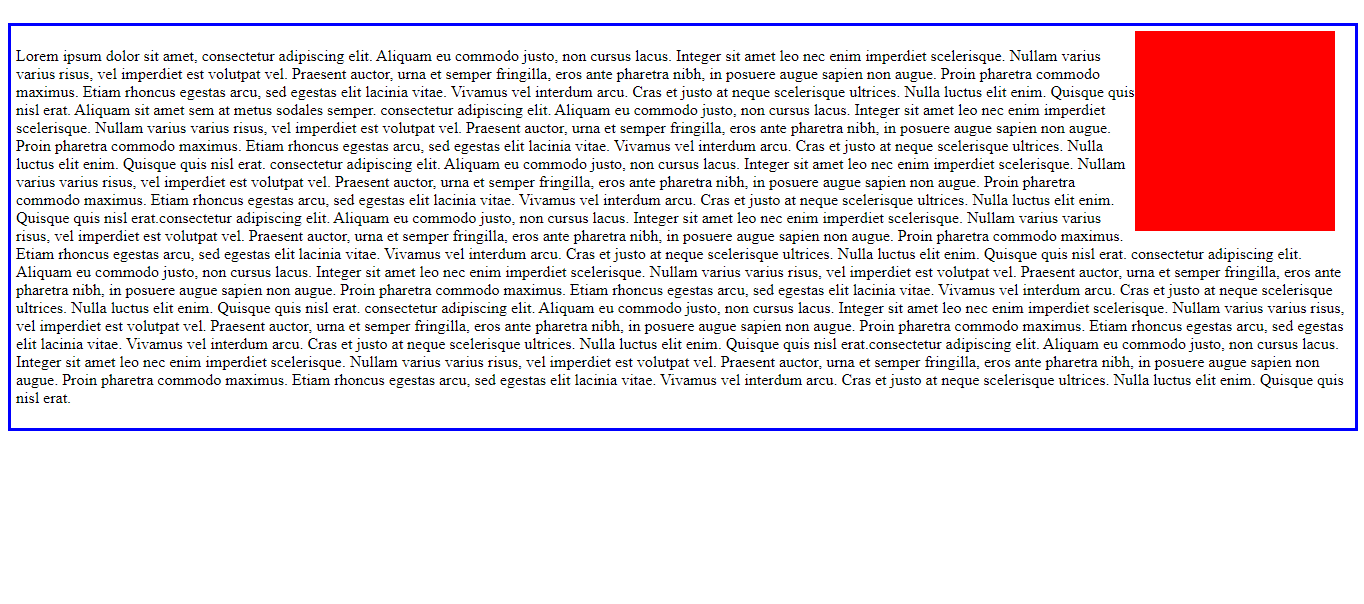
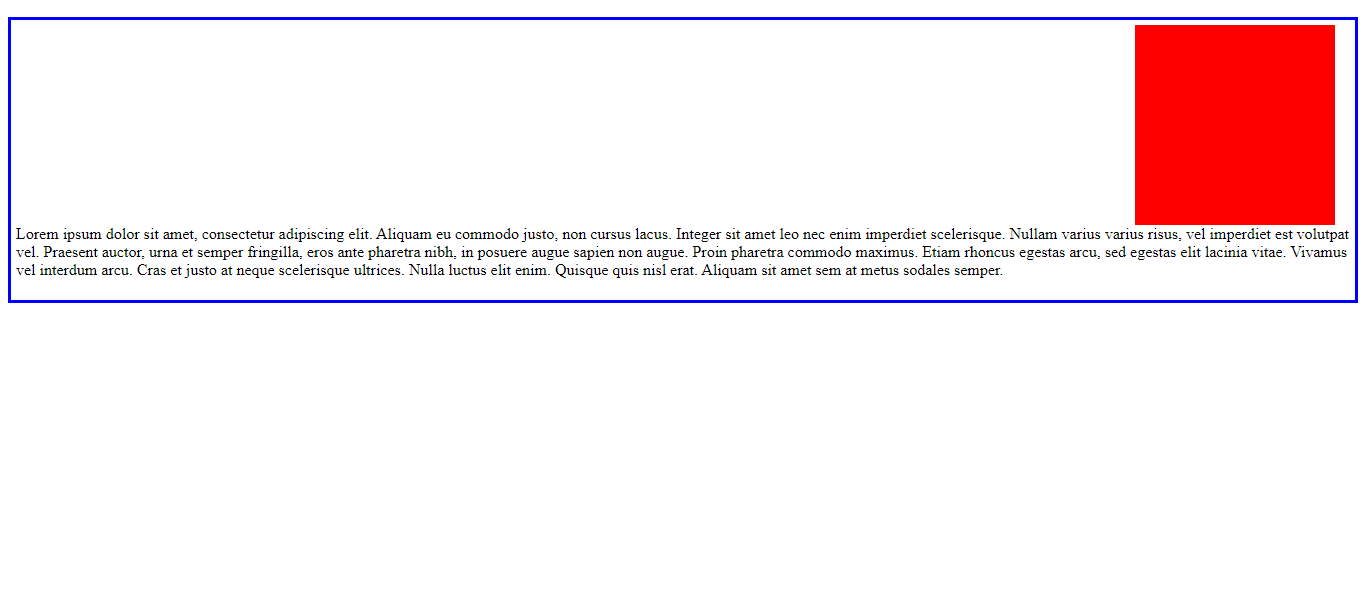
Let’s float an element to the right; note the slight change in the style.
.image {
  background-color: red;
  float: right;
  height: 200px;
  margin-right: 15px;
  width: 200px;
}
Here’s the outcome:
Types of Clear property value
These are the clear property values:
none: This value specifies that the element will not move left or right to the floating elements.left: This situation conditions an element to move to clear over left float.right: This value indicates the element move to clear over right floats.both: The value does not permit elements to float on either side of a cleared part: it removes all floats.inherit: Inherit permits an element that inherits the precise value of its parent element (it does not move left or right to the floating elements).
Let’s see how to apply left, right, and both, which are the relevant cases.
Let’s float to the left and clear to the left.
<html>
  <head>
    <style>
      .container {
        border: solid thin blue;
        padding: 5px;
      }
      .image {
        background-color: red;
        float: left;
        height: 200px;
        margin-right: 15px;
        width: 200px;
      }
      .text {
        clear: left;
      }
    </style>
  </head>
  <body>
    <div class="container">
      <div class="image"></div>
      <p class="text">
        Lorem ipsum dolor sit amet, consectetur adipiscing elit. Aliquam eu
        commodo justo, non cursus lacus. Integer sit amet leo nec enim imperdiet
        scelerisque. Nullam varius varius risus, vel imperdiet est volutpat vel.
        Praesent auctor, urna etsemper fringilla, eros ante pharetra nibh, in
        posuere augue sapien non augue. Proin pharetra commodo maximus. Etiam
        rhoncus egestas arcu, sed egestas elit lacinia vitae. Vivamus vel
        interdum arcu. Cras et justo at neque scelerisque ultrices. Nulla luctus
        elit enim. Quisque quis nisl erat. Aliquam sit amet sem at metus sodales
        semper.
      </p>
    </div>
  </body>
</html>
Here is the outcome.
Now let’s float to the right and clear to the right by changing the CSS slightly.
.image {
  background-color: red;
  float: right;
  height: 200px;
  margin-right: 15px;
  width: 200px;
}
.text{
  clear: right;
}
Here is the result.
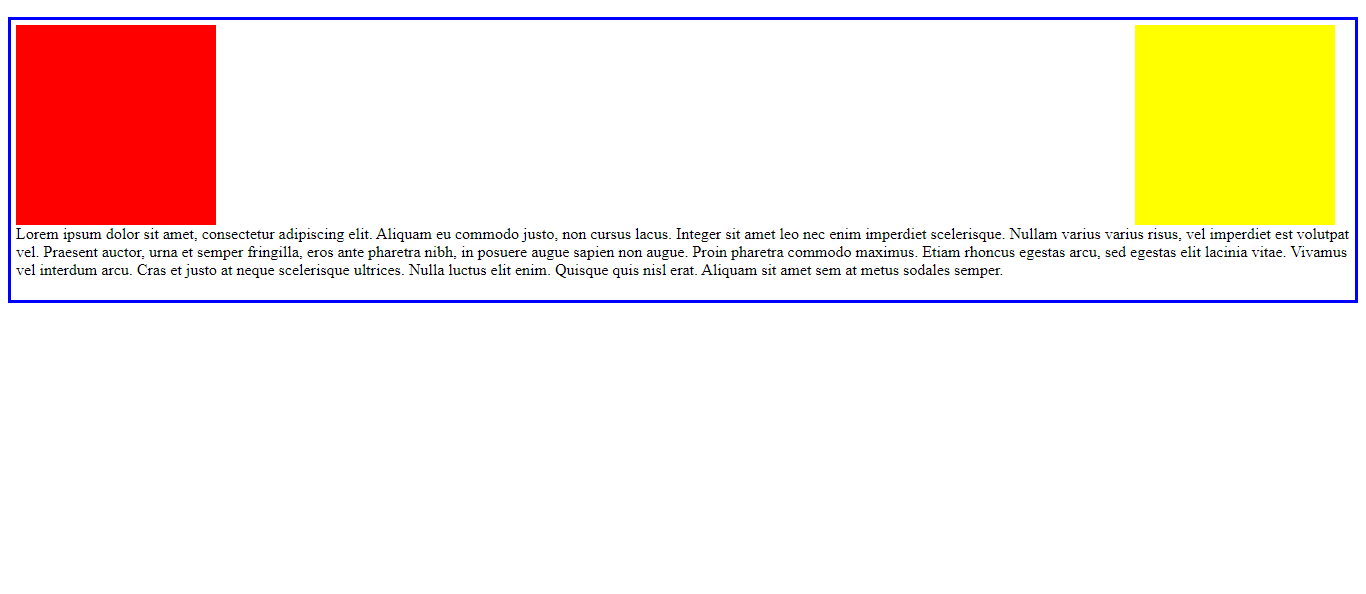
Finally, let’s float to the left and right and clear both.
.image1 {
  background-color: red;
  float: left;
  height: 200px;
  margin-right: 15px;
  width: 200px;
}
.image2 {
  background-color: yellow;
  float: right;
  height: 200px;
  margin-right: 15px;
  width: 200px;
}
.text{
  clear: both;
}
Here is the result.
Open Source Session Replay
OpenReplay is an open-source, session replay suite that lets you see what users do on your web app, helping you troubleshoot issues faster. OpenReplay is self-hosted for full control over your data.

Start enjoying your debugging experience - start using OpenReplay for free.
Clearfix
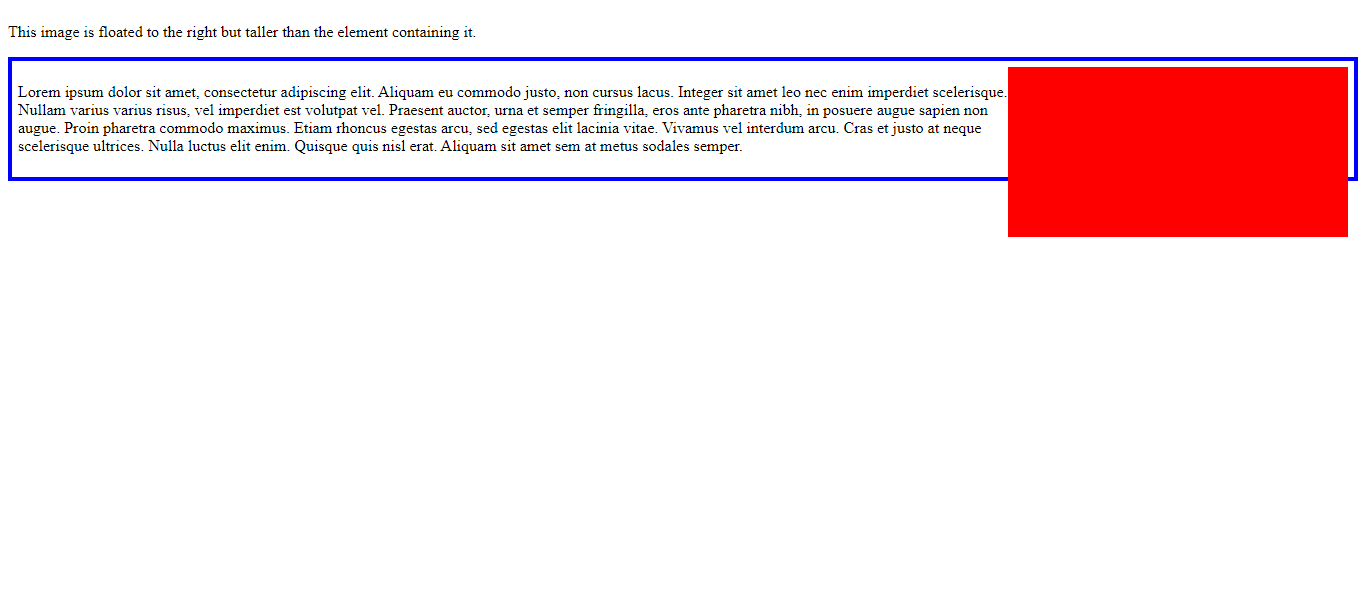
Clearfix is a system by which an element automatically clear or fix its aspects so that it does not need to add extra markup. For example, you can use this when a floated element is taller than the containing element and will “overflow” outside the container. In addition, if the element is taller than the element containing it, then use the overflow property of CSS by setting its value as auto to overcome and fix the problem. The link here will help you to follow up on how to use clearfix for better understanding.
Let’s look at an example of a floated element without clearfix:
.image{
  float: right;
  width: 170px;
  background-color: red;
  height: 170px;
}
Here is the result.
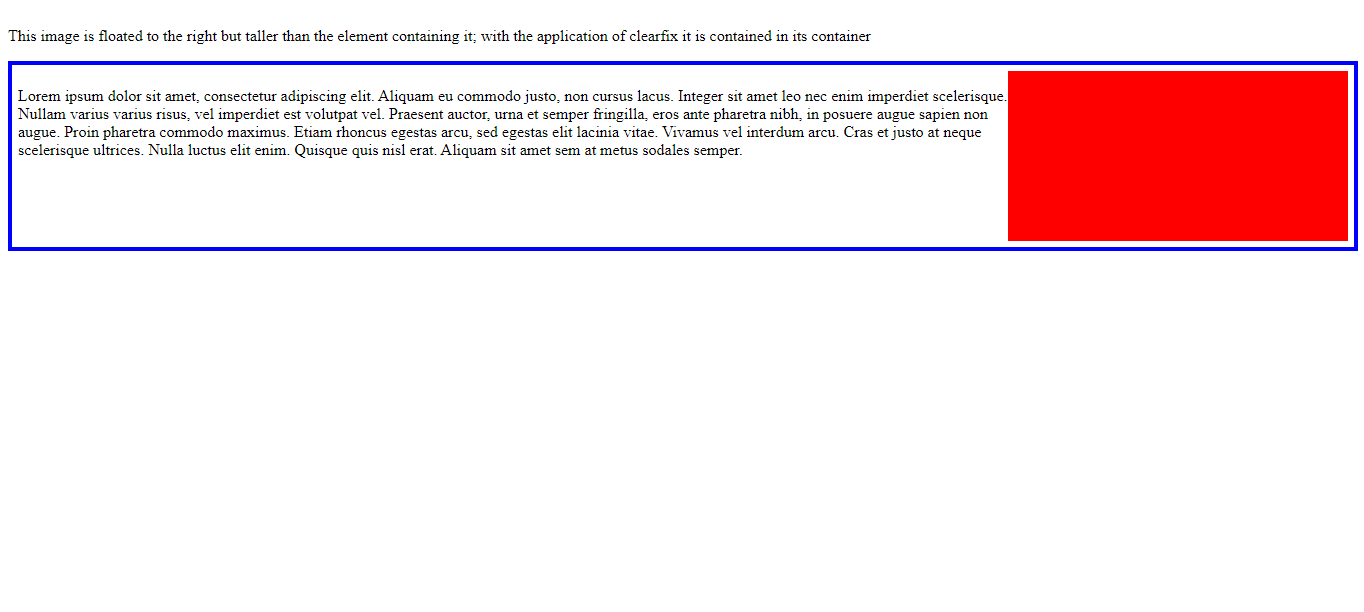
Now, let’s look at an example of a floated element with clearfix:
.image {
  float: right;
  width: 170px;
  background-color: red;
  height: 170px;
}
.clearfix{
  overflow: auto;
}
Here is the outcome.
Understanding CSS Float positioning
Floated elements are still a section of the flow of the page; aside from wrapping text around elements, floats create web layouts. This property lets you float an image while allowing the text to flow to accommodate any image changes. The float) property structures and elements moved out of the document flow and can cause undesirable behavior if the container no longer contains floated elements. To use float in CSS, you need a CSS selector and the defined float property inside the brackets, for example:
.image {
  background-color: red;
  height: 200px;
  margin-right: 15px;
  width: 200px;
}
Here is an example:

Conclusion
Clear and float properties are collectively used to position and format content on the page and shape how floating elements behave and what happens to the floating elements in the Left, Right, and both directions. Now you can enjoy working with these important properties.
A TIP FROM THE EDITOR: For more on accurately positioning elements with CSS, do not miss our Understanding CSS positioning article.