
Google OAuth with Firebase in React Native


Authentication is a process where a user has to prove their identity in an application to gain access to a particular resource. There are many authentication strategies. However, the most notable ones provide one-click signups and logins for web and native mobile apps.
OAuth stands out as one-time click authentication without the need to provide passwords. OAuth is an open-source convention for using tokens for authentication and authorization. You can implement many OAuth providers in your apps, including Google, Facebook, Twitter, and GitHub.
These providers are well-packaged with cloud-hosted platforms such as Firebase. Firebase SDK supports Google sign-in, making it extremely easy to implement one-click authentications.
In this article, we will build a React Native application that will have Google OAuth using Firebase.
To follow along with this tutorial, it is important to have the following:
- Node.js installed on your computer.
- React Native development setup done.
- Basic knowledge of working with JavaScript.
Setting up the application
Let’s dive and create a React Native application using Command Line Interface. React Native provides a built-in CLI to create an application. In this guide, we will use NPX to scaffold the project.
From your preferred directory, run the following command to initialize the React Native project:
npx react-native init react_native_googleauthNote: while using this command and still you have a specific version of the CLI globally on your computer, you may run into unexpected issues. To avoid that, ensure you have the global CLI installed. You can run the following command to do so:
npm uninstall -g react-native-cli @react-native-community/cliWe need some packages to be able to communicate between Firebase and React Native. These include:
- @react-native-firebase/app: Firebase package
- @react-native-firebase/auth: Firebase authentication package
- @react-native-google-signin/google-signin: Google sign-in package
We will use the above packages to access Firebase and execute Google OAuth on a React Native front end. To install them navigate to the newly created project directory:
cd react_native_googleauthThen run:
npm i @react-native-firebase/app @react-native-firebase/auth @react-native-google-signin/google-signinSetting up Firebase
To implement this application, we need a working Firebase project. We just have a few steps. Let’s dive in and set up Firebase.
- Proceed to your Firebase console from here
- Click on the new project card.
- Enter the application name, i.e., react_native_auth_app
- Check the confirmation check box, then click on Continue.
Feel free to toggle between enabling or disabling google analytics in the project.
- The project will be created in the next step. Once it is done, click on continue.
- Once done, you will be directed to the dashboard page:
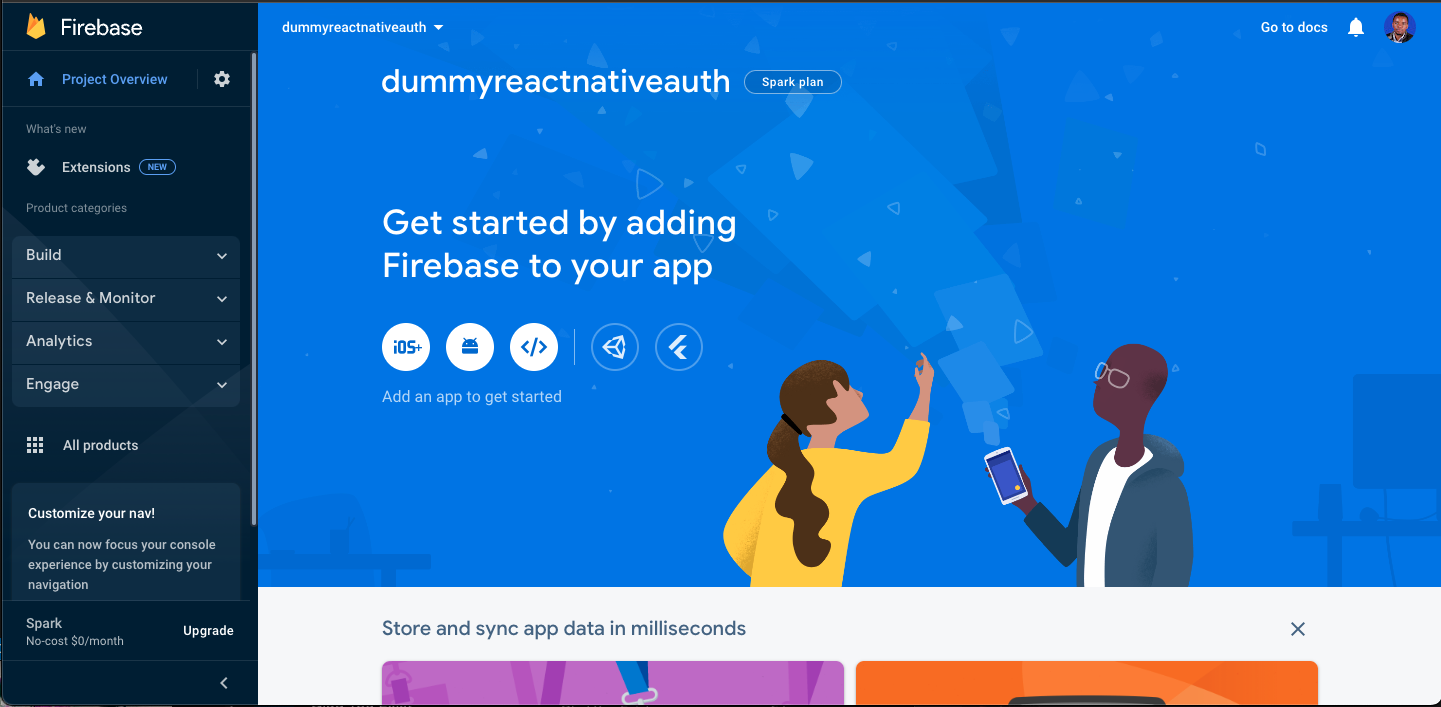
- Click on the Android icon to set up the application.
For Android package name, check your android/app/src/main/AndroidManifest.xml file in your React Native project and enter the package name as such:

Feel free to enter any application nickname.
- Generate a signing certificate by running the following command from the terminal on your React Native project folder:
cd android && ./gradlew signingReport-
On the generated certificates, Copy the SHA-1 that has: Task labeled as
:app:signingReport, Variant asdebugAndroidTest, and Config asdebug. -
Paste it in the certificate field, then click Register app.
-
Download the
google-services.jsonfile and place it under theandroid/appdirectory of React Native project. -
From there, click on Next and then continue to the console.
-
From the application dashboard, click on authentication:
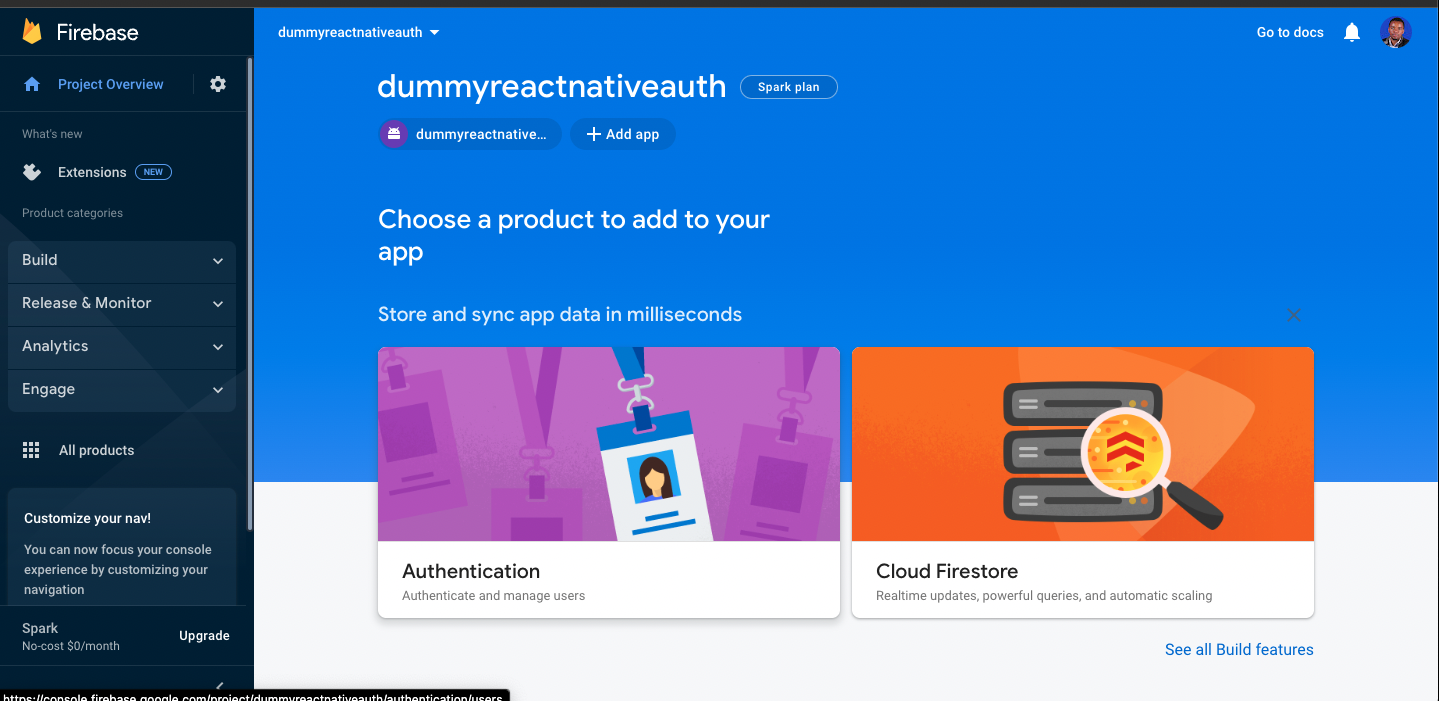
-
On the resulting page, click on Get Started.
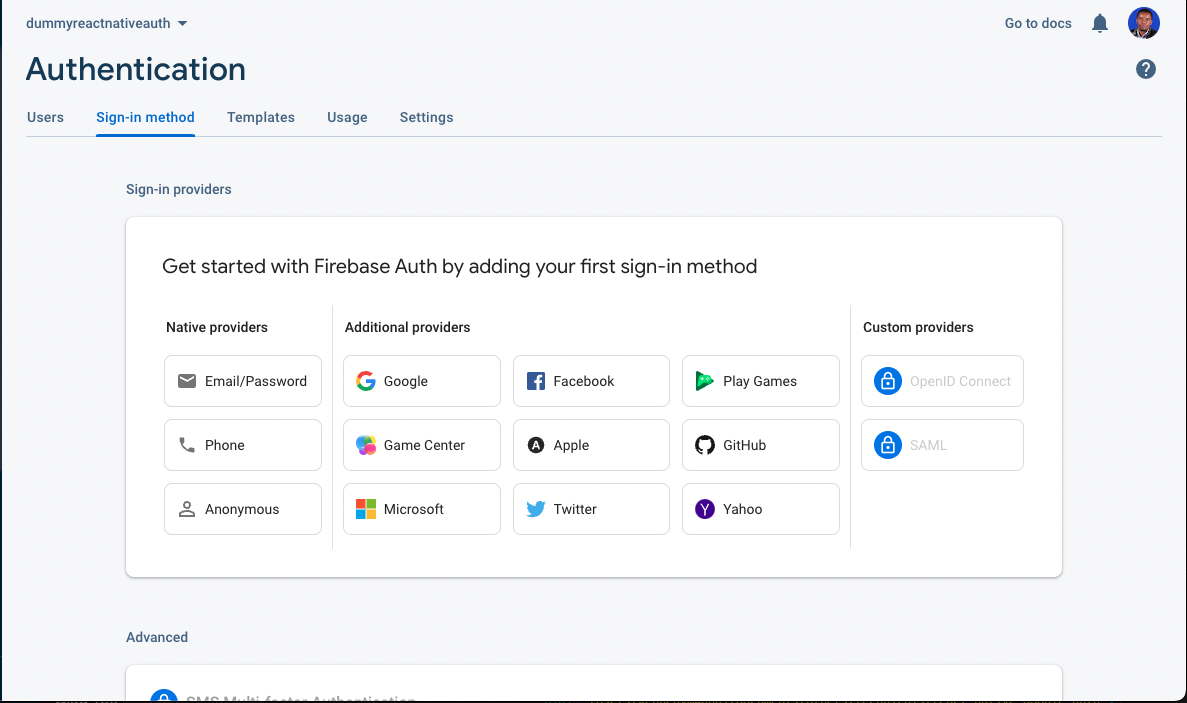
-
In the Sign in method tab, select Google as an additional provider:
- On the resulting page, click on enable:
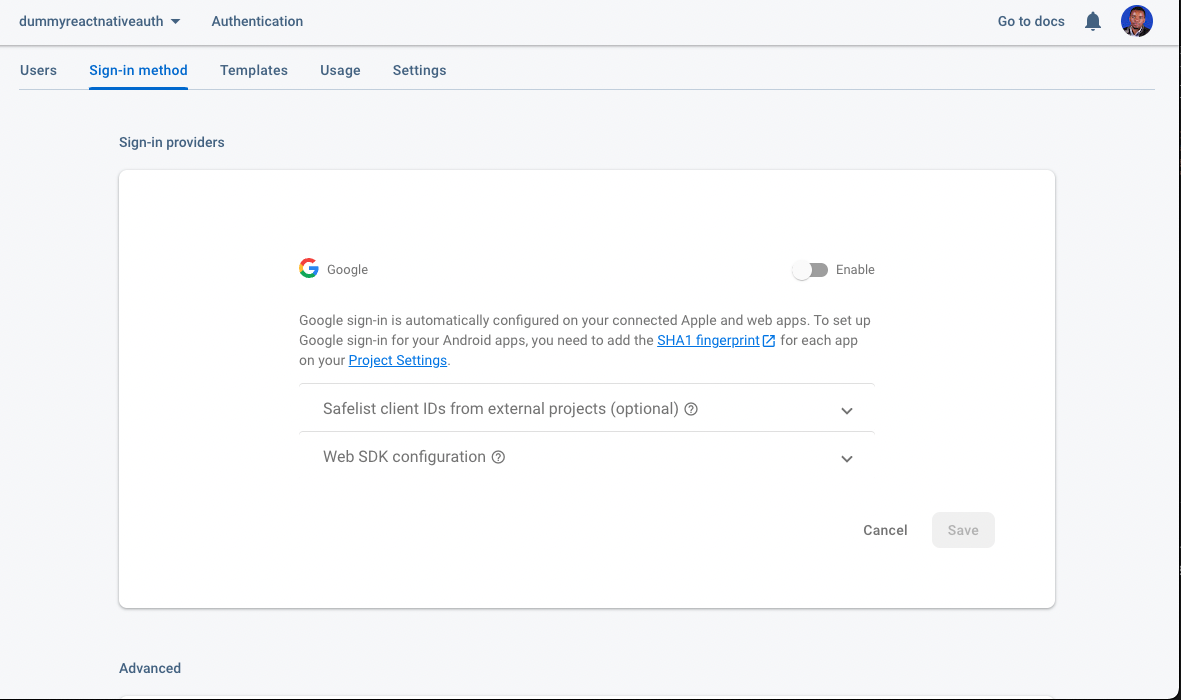
- Select a project support email. Then click Save.
Configuring Firebase with React Native
Once Firebase is set, first, add the google-services plugin as a dependency in android/build.gradle as follows:
buildscript {
    dependencies {
        // ... the other dependencies
        classpath' com.google.gms:google-services:4.3.3'
    }
}
Then add the following properties on your android/app/build.gradle file to execute the ‘google-services’ plugin:
apply plugin: "com.android.application"
apply plugin: 'com.google.gms.google-services'
Finally, define the authentication module as a dependency:
dependencies {
    // add the following
    implementation platform('com.google.firebase:firebase-bom:26.3.0')
    implementation' com.google.firebase:firebase-auth'
}
Setting up the app screens
We have Firebase ready and configured with React Native. Let’s create screens to handle Google Oauth.
In the project root folder, create a screens directory. Here we will create two screens:
- For handling authentication. In the
screensdirectory, create anAuthenticate.js' file: we will log in a user here. Go ahead and create a button usingGoogleSigninButton` as follows:
import React from 'react';
import { StyleSheet, View, Text } from 'react-native';
import { GoogleSigninButton } from '@react-native-google-signin/google-signin';
export default function Authenticate(props) {
return (
<View style={styles.screen}>
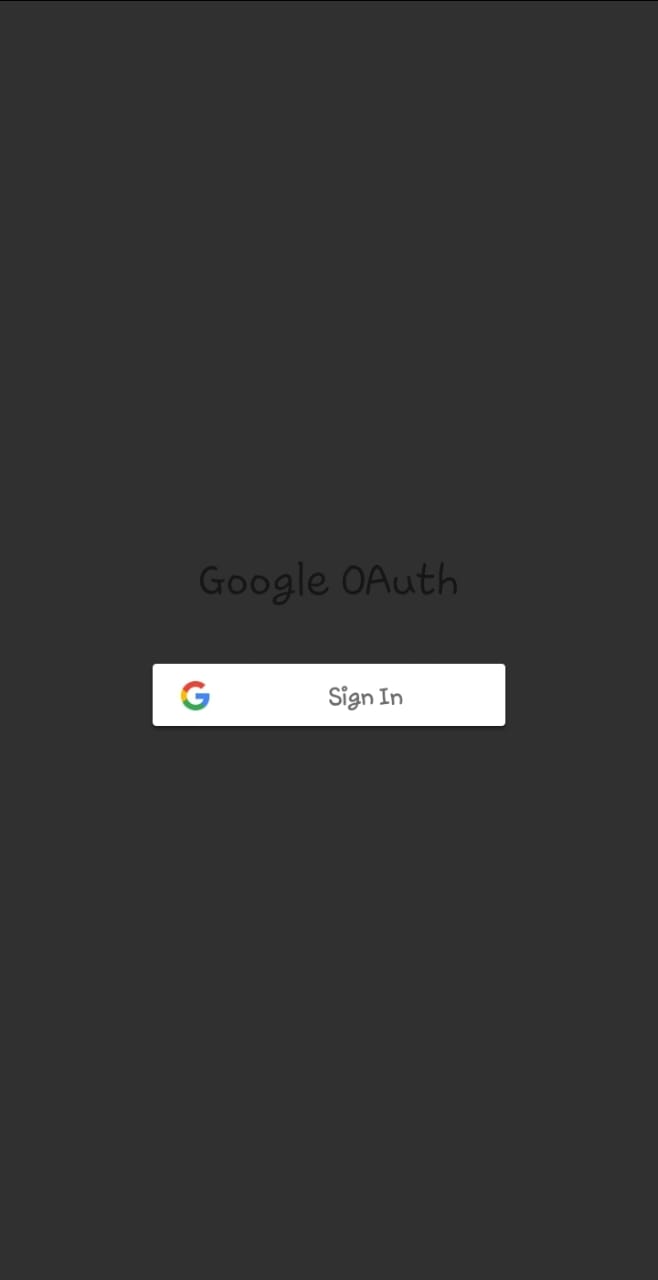
<Text style={styles.title}>Google OAuth</Text>
<GoogleSigninButton onPress={props.handleGoogleButtonPress} />
</View>
)
}
const styles = StyleSheet.create({
screen: {
display: 'flex',
flex: 1,
justifyContent: 'center',
alignItems: 'center'
},
title: {
fontSize: 25,
marginBottom: 30
}
})- Handling authenticated user screen. Once a user is signed in, we will show details of the authenticated user and log out. In the
screensdirectory, create anAuthenticated.jsand add the following component to display user details.
import React from "react";
import { StyleSheet, Text, View, Image, Button } from 'react-native';
import auth from '@react-native-firebase/auth';
export default function Authenticated() {
const user = auth().currentUser;
return (
<View style={styles.screen}>
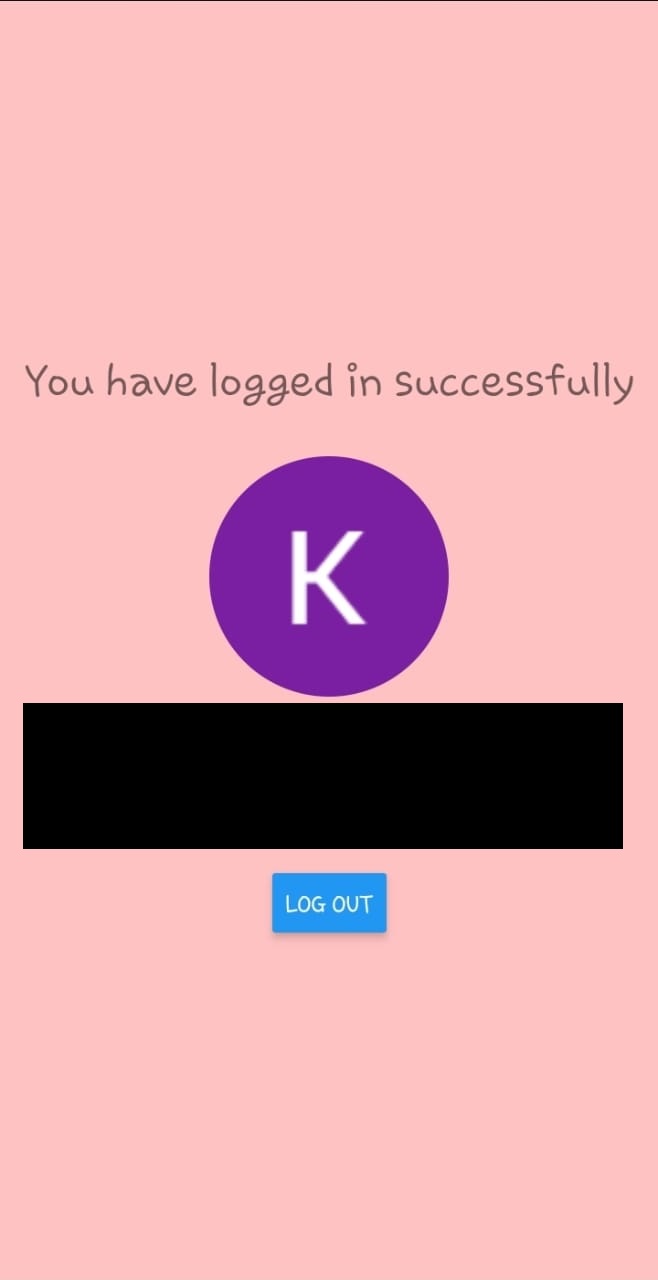
<Text style={styles.title}>You have logged in successfully</Text>
<Image source={{ uri: user?.photoURL }} style={styles.image} />
<Text style={styles.text}>{user?.displayName}</Text>
<Text style={styles.text}>{user?.email}</Text>
<View style={{ marginTop: 30 }}>
<Button title= "Log out"/>
</View>
</View>
)
}
const styles = StyleSheet.create({
screen: {
flex: 1,
justifyContent: "center",
alignItems: "center",
backgroundColor: "#ffc2c2",
},
title: {
fontSize: 25,
marginBottom: 30,
},
image: {
height: 150,
width: 150,
borderRadius: 150,
marginBottom: 20,
},
text: {
fontSize: 20,
},
});Session Replay for Developers
Uncover frustrations, understand bugs and fix slowdowns like never before with OpenReplay — an open-source session replay tool for developers. Self-host it in minutes, and have complete control over your customer data. Check our GitHub repo and join the thousands of developers in our community.
Handling Google Sign-in Authentication
To handle user sign-in, navigate to App.js and import the necessary modules.
import React,{useState} from 'react';
import auth from '@react-native-firebase/auth';
import { GoogleSignin } from '@react-native-google-signin/google-signin'
import Authenticate from './screens/Authenticate';
import Authenticated from './screens/Authenticated';
Configure GoogleSignin with your webClientId:
GoogleSignin.configure({
    webClientId: "your_webclient_id"
});
To get your WebClient id, click on Authentication from your Firebase app dashboard from the left pane. Click on the Sign-in method. Click on Google. Under Web SDK configuration, the Web client ID is a form field with a value in it. Copy the value and paste it in the above GoogleSignIn configuration as your your_webclient_id.
Define a state for checking whether the user is authenticated or not:
const App = () => {
    const [authenticated,setAuthenticated] = useState(false);
}
Define a listener for checking whether the user is logged in or not:
auth().onAuthStateChanged((user) => {
    if (user) {
        setAuthenticated(true);
    } else {
        setAuthenticated(false);
    }
});
Define a function for handling sign-in:
async function handleGoogleButtonPress() {
    try {
        // get the user id token
        const { idToken } = await GoogleSignin.signIn();
        // create a credential using the token
        const googleCredential = auth.GoogleAuthProvider.credential(idToken);
        // authenticate the user using the credential
        return auth().signInWithCredential(googleCredential);
    } catch (error) {
        console.log("error", error);
    }
}
Render the appropriate screen if the user is authenticated or not:
if (authenticated) {
    return <Authenticated />
}
return <Authenticate handleGoogleButtonPress={handleGoogleButtonPress} />
Handling Google Sign-out Authentication
To handle user Sign-out, navigate to the screens/Authenticated.js file and add auth().signOut() handler to your component. Here, ensure you import Firebase auth package:
import auth from '@react-native-firebase/auth';Then update the Authenticated component as follows:
export default function Authenticated() {
    const user = auth().currentUser;
    return (
        <View style={styles.screen}>
            <Text style={styles.title}>You have logged in successfully</Text>
            <Image source={{ uri: user?.photoURL }} style={styles.image} />
            <Text style={styles.text}>{user?.displayName}</Text>
            <Text style={styles.text}>{user?.email}</Text>
            <View style={{ marginTop: 30 }}>
                <Button title="Log out" onPress={() => {
                    auth().signOut();
                }} />
            </View>
        </View>
    )
}
Combining the sign-in and sign out
At this point, your application should be ready. Go ahead and ensure your App.js file reflects as such:
import React, { useState } from 'react';
import auth from '@react-native-firebase/auth';
import { GoogleSignin } from '@react-native-google-signin/google-signin'
import Authenticate from './screens/Authenticate';
import Authenticated from './screens/Authenticated';

GoogleSignin.configure({
    webClientId: "your_webclient_id"
});

const App = () => {
    const [authenticated, setAuthenticated] = useState(false);

    auth().onAuthStateChanged((user) => {
        if (user) {
            setAuthenticated(true);
        } else {
            setAuthenticated(false);
        }
    });


    async function handleGoogleButtonPress() {
        try {
            // get the user id token
            const { idToken } = await GoogleSignin.signIn();
            // create a credential using the token
            const googleCredential = auth.GoogleAuthProvider.credential(idToken);
            // authenticate the user using the credential
            return auth().signInWithCredential(googleCredential);
        } catch (error) {
            console.log("error", error);
        }
    }

    if (authenticated) {
        return <Authenticated />
    }
    return <Authenticate handleGoogleButtonPress={handleGoogleButtonPress} />
};

export default App;
Testing the app
The application is now ready. Start the development server using the following command:
# using Metro Bundler
npx react-native start
# Start the app on an Android emulator
npm run android
Note: Run the application base on the React Native setup configured on your computer. For additional configurations, such as Target OS, check this guide for iOS setup.
Once the application is up and running, you will be served with the Sign-in screen as follows:
Once the user is authenticated, the Authenticated screen will display the user details and button to handle Sign out as follows:
Conclusion
This guide helped you handle user authentication using Google OAuth provider. For any code references, check the application on this GitHub repository.
I hope you found this helpful. Happy coding!
A TIP FROM THE EDITOR: For another case study on authentication, don’t miss our Authentication In React 18 Using Firebase V9 article.
Gain Debugging Superpowers
Unleash the power of session replay to reproduce bugs and track user frustrations. Get complete visibility into your frontend with OpenReplay, the most advanced open-source session replay tool for developers.


