

In the dynamic world of web development, developing flexible and scalable applications is critical. One of the most important components of achieving this flexibility is learning to use dynamic routes. This article will explore the domain of
Next.js'dynamic routing, elucidating its meaning and providing a comprehensive guide to assist you in using its potential.

Discover how at OpenReplay.com.
Building web applications that can adapt to changing requirements requires dynamic routes. They enable developers to design pages with changeable paths, which makes applications more scalable and flexible. This flexibility provides a solid base for creating dynamic web applications.
To better understand dynamic routes, we will build a web app that displays a list of products. When a user navigates to the /products URL path, we should display a list of all the products. However, if the user navigates to /products/productID/, we should display details about a specific product.
For instance, navigating to /products/1 should display details about the product with ID as “1”, navigating to products/23 should display details of the product with ID as “23”, and so on. Let’s explore how to do this with Next.js dynamic routes.
Creating Dynamic Routes in Next.Js
Understanding how to construct dynamic routes in Next.js is crucial to fully utilize their potential. You can create dynamic routes by following the simple steps in this section. We’ll also look at the file name convention that Next.js needs to properly identify and manage dynamic routes.
Create a Next.js web app using the following command. At the time of writing this article, the current version is Next.js V 14.0.4. If you are using a later version, please check if there are changes in the Next.Js Docs.
npx create-next-app@latest When installing Next.js, leave everything as default by clicking enter for every prompt. Next.js comes packaged with TypeScript, ESLint, and Tailwind CSS configuration by default.
In the app directory, create a new folder and name it products. Create a file page.tsx in the’ products’ folder. This file will contain the list of products to be displayed and the following code.
import React from "react";
const ProductsList = () => {
return (
<div className="flex justify-center items-center">
<div className="bg-slate-500 w-96 text-center my-20 p-10">
<h1 className="text-xl">Products List</h1>
<hr />
<ul>
<li>Product 1</li>
<li>Product 2</li>
<li>Product 3</li>
<p>.</p>
<p>.</p>
<p>.</p>
<li>Product n</li>
</ul>
</div>
</div>
);
};
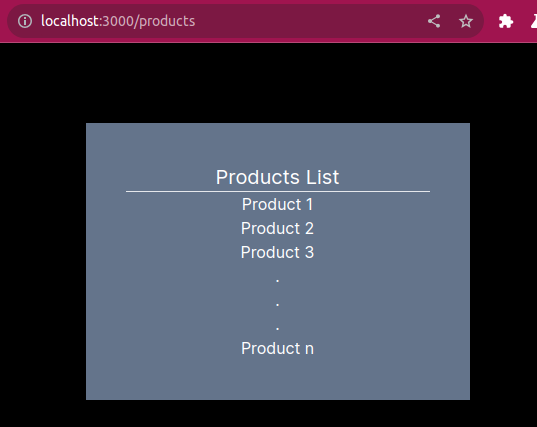
export default ProductsList;This code simply displays a list of products. So when a user navigates to /products, a product list should be displayed below. The list can contain any number of products.
The objective is to allow the user to navigate to a page that gives more details for each product in the list. An approach that can be taken is using nested routes. This is achieved by creating five separate folders in the products directory for each product in the list.
The file structure in such a case will look as follows.
> products
   > 1
      - page.tsx
   > 2
      - page.tsx
   > 3
      - page.tsx
   .
   .
   .

   > n
      - page.tsx
 -page.tsx
As you can observe, this approach is not a viable solution. Take a broader view and assume that the list has one hundred products. Creating separate folders for each one hundred product will be a hassle. The correct approach is to use a dynamic route segment.
How do we create a dynamic route in Next.js?
Create a folder in the products directory to create a dynamic route. The folder name should be enclosed with square brackets.
The folder can be named however you want, according to the context of your web app. In this case, name the folder productID so the format of the folder name will be [productID]. This is the naming convention of dynamic routes in Next.js.
This is what your file structure looks like when using dynamic segments.
> products
  >[productID]
    -page.tsx
 -page.tsx
Compare this file structure with the previous one and notice how this one is clear and less complicated.
Working With Dynamic Parameters
Next.js applications gain additional liveliness via dynamic parameters. It is necessary to comprehend these elements to develop applications that can adapt to various user inputs.
Next.js treats square brackets in a folder name as a dynamic segment, enabling us to create dynamic routes. Whatever name you use as the folder name is the dynamic parameter.
By convention, the dynamic folder names are named according to the context of your application. If, for instance, the web app consists of blogs, you may name it [blogID] etc.
In our scenario, the productID, which can be any number, should be a dynamic value that maps to a specific product in the list.
In the [productID] folder, create a new file page.tsx. This file is where we will have the logic to display the details of each product when a user navigates to the specific product through its ID.
Utilizing Route Parameters in Next.js
To utilize the route parameters from the URL path, we will write the following code on the page.tsx file we just created in the [productID] folder.
import React from "react";

const ProductDetails = ({ params }: { params: { productID: string } }) => {
  const { productID } = params;
  return (
    <div className="bg-slate-500 w-96 text-center my-20 p-10 mx-20">
      <h1>
        The Product ID is <b>{productID}</b>
      </h1>
    </div>
  );
};

export default ProductDetails;
The ProductDetails component takes a single prop named params. This prop is anticipated to be an object with a property productID of type string, so we add that as the type to avoid a red squiggly from Typescript.
Inside the component, it destructures the productID from the params object. The extracted productID is then used in the component’s return statement to dynamically display product details. Note that the extracted productID is named exactly as the dynamic folder [productID].
Simply, this component receives a params object containing a productID and renders a message indicating the ID of the specified product. For example, if params.productID is “13”, the component displays “The product ID is 13”.
The following are examples of how the ID of the products will be displayed.
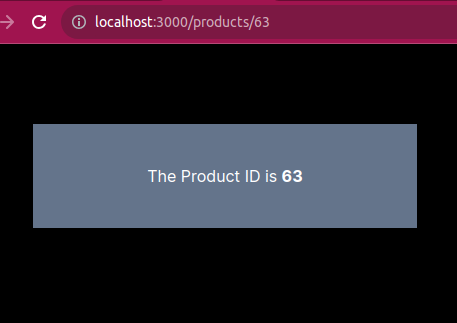
Navigating to products/63 displays the Id as “63”, while navigating to products/136 displays the Id as “136”.

The above examples demonstrate how dynamic parameters function. In the next section, we will use this understanding to display actual product details, similar to the manner used in a standard application.
Dynamic Routes and Data Fetching
A dynamic route can only be as effective as the data it can use. In our previous scenario, we kept it simple by displaying the product in the browser.
In this section, I demonstrate the amazing possibilities of dynamic routes in Next.js by illustrating how they can be connected with API calls to retrieve specific product data using unique IDs.
Using a dynamic route, I connect to a mock API created for testing. This presentation demonstrates the ease of using dynamic parameters to display relevant product information within a Next.js application.
Write the following code in the page.tsx file of the [productID] folder.
"use client";

import React, { useEffect, useState } from "react";

interface Product {
  id: number;
  title: string;
  description: string;
}

const ProductDetails = ({ params }: { params: { productID: string } }) => {
  const { productID } = params;
  const [product, setProduct] = useState<Product | null>(null);

  //Fetch details for the specified productID
  const fetchProductDetails = async () => {
    try {
      const response = await fetch(
        `https://dummyjson.com/products/${productID}`
      );
      const data = await response.json();
      setProduct(data);
    } catch (error) {
      console.log(error, "error while fetching data");
    }
  };

  useEffect(() => {
    fetchProductDetails();
  }, [productID]);

  if (!product) {
    return (
      <div>
        <h2>Product Not Found</h2>
      </div>
    );
  }

  return (
    <div className="bg-slate-500 w-96 text-center my-20 p-10 mx-20">
      <h1>
        <b>Product Details of :</b> {product.title}
      </h1>
      <hr />
      <br />
      <h2>
        <b>Product ID</b> : {product.id}
      </h2>
      <br />
      <h2>
        <b>product name :</b> {product.title}
      </h2>
      <br />
      <h2>
        <b>Product description : </b>
        {product.description}
      </h2>
    </div>
  );
};

export default ProductDetails;
The above code snippet demonstrates the utilization of dynamic routes in a Next.js application to fetch and display product details based on a specific product ID. The ProductDetails component receives the product ID as a parameter by destructuring the params prop.
The component uses the useState hook to manage the state of the retrieved product data, initially set to null. The useEffect hook triggers the asynchronous fetchProductDetails function upon mounting or when the product ID changes.
This function makes an API call to a mock endpoint - (https://dummyjson.com/products/${productID}), retrieves the product data, and updates the state. The component then conditionally renders either a “Product Not Found” message or a structured layout containing the product details, such as the product ID, name, and description.
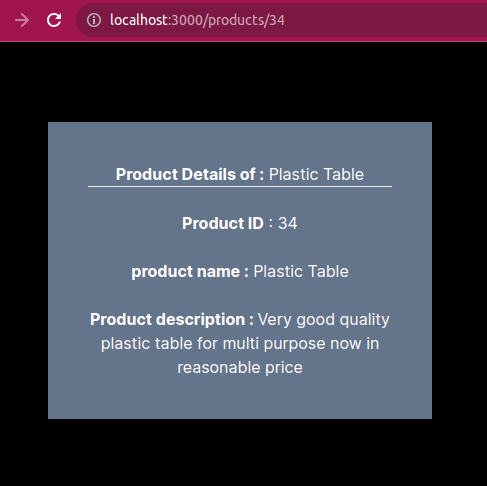
The screenshots below show the productDetails page, showcasing how the code integrates dynamic routing and API calls.
Example 1 (product ID = 34)
Example 2 (product ID = 93)
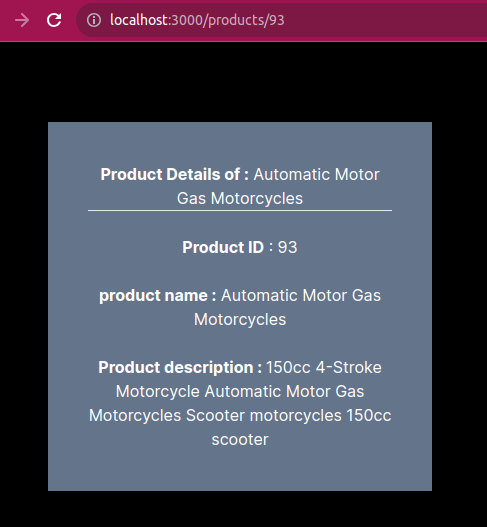
These examples vividly demonstrate the power of dynamic routes when combined with API calls, displaying specific product details according to the ID provided.
Advanced Dynamic Routing in Next.Js
In addition to the dynamic parameters we’ve previously explored, Next.js offers powerful tools for handling various segments in your URLs. They consist of:
- Catch-All Segments
- Optional Catch-All Segments
Catch-All Segments
With Catch-All Segments you can create routes that match any number of dynamic segments, providing a flexible solution for unpredictable URL structures. The beauty lies in the simplicity of the syntax. Denoted by three dots (...) followed by the parameter name in square brackets ([...parameterName]), this combination empowers developers to capture a variable number of segments effortlessly.
Suppose you have a page with the following dynamic route, /products/[...categories]. Whether a user navigates to /products/electronics, /products/electronics/laptops, /products/electronics/laptops/hp, or even /products/clothing/shoes/sneakers, Catch-All Segments dynamically capture and adapt to the varying depth of the nested categories.
Optional Catch-All Segments
With this syntax, parameters enclosed in double square brackets ([[...parameterName]]), become optional, allowing routes to accommodate both the presence and absence of the parameter.
Consider the dynamic route /products/[[...categories]]. In this scenario, a user may navigate to /products/categories, /products/categories/phones, /products/clothing, or even /products (without any nested route).
The categories parameter is optional. Users may provide one, multiple, or no categories at all, and the Optional Catch-All Segments will offer a solution for diverse routing needs.
The difference between Catch-All and Optional Catch-All Segments is that with optional, the route without the parameter is also matched (/products in the example above).
Your Next.js dynamic routing toolkit becomes much more versatile when you include Catch-All and Optional Catch-All Segments. This lets you build web apps that can smoothly adapt to the unpredictable nature of user inputs and dynamic paths.
Conclusion
In conclusion, mastering dynamic routes brings paramount benefits to the world of web development. Throughout this article, we’ve explored the significance of dynamic routes, such as enhancing flexibility in web development.
We’ve created dynamic routes from scratch and explored how to extract dynamic parameters from the dynamic routes and use them to fetch data from an API endpoint. We’ve also touched on advanced features like Catch-All and Optional Catch-All Segments.
As you explore Next.js dynamic routes’ capabilities and adaptability, I urge you to implement them in your applications. Dynamic routes are not merely a feature, but a fundamental change in the way we approach web development. I appreciate you taking the time to learn about the aspects of Next.js' dynamic routes. Happy coding!
Scale Seamlessly with OpenReplay Cloud
Maximize front-end efficiency with OpenReplay Cloud: Session replay, performance monitoring and issue resolution, all with the simplicity of a cloud-based service.
Start with Cloud