How to Lint Your CSS with Stylelint
Stylelint CSS linting setup, config, and commands for catching errors, enforcing rules, and integrating with Prettier and CI.

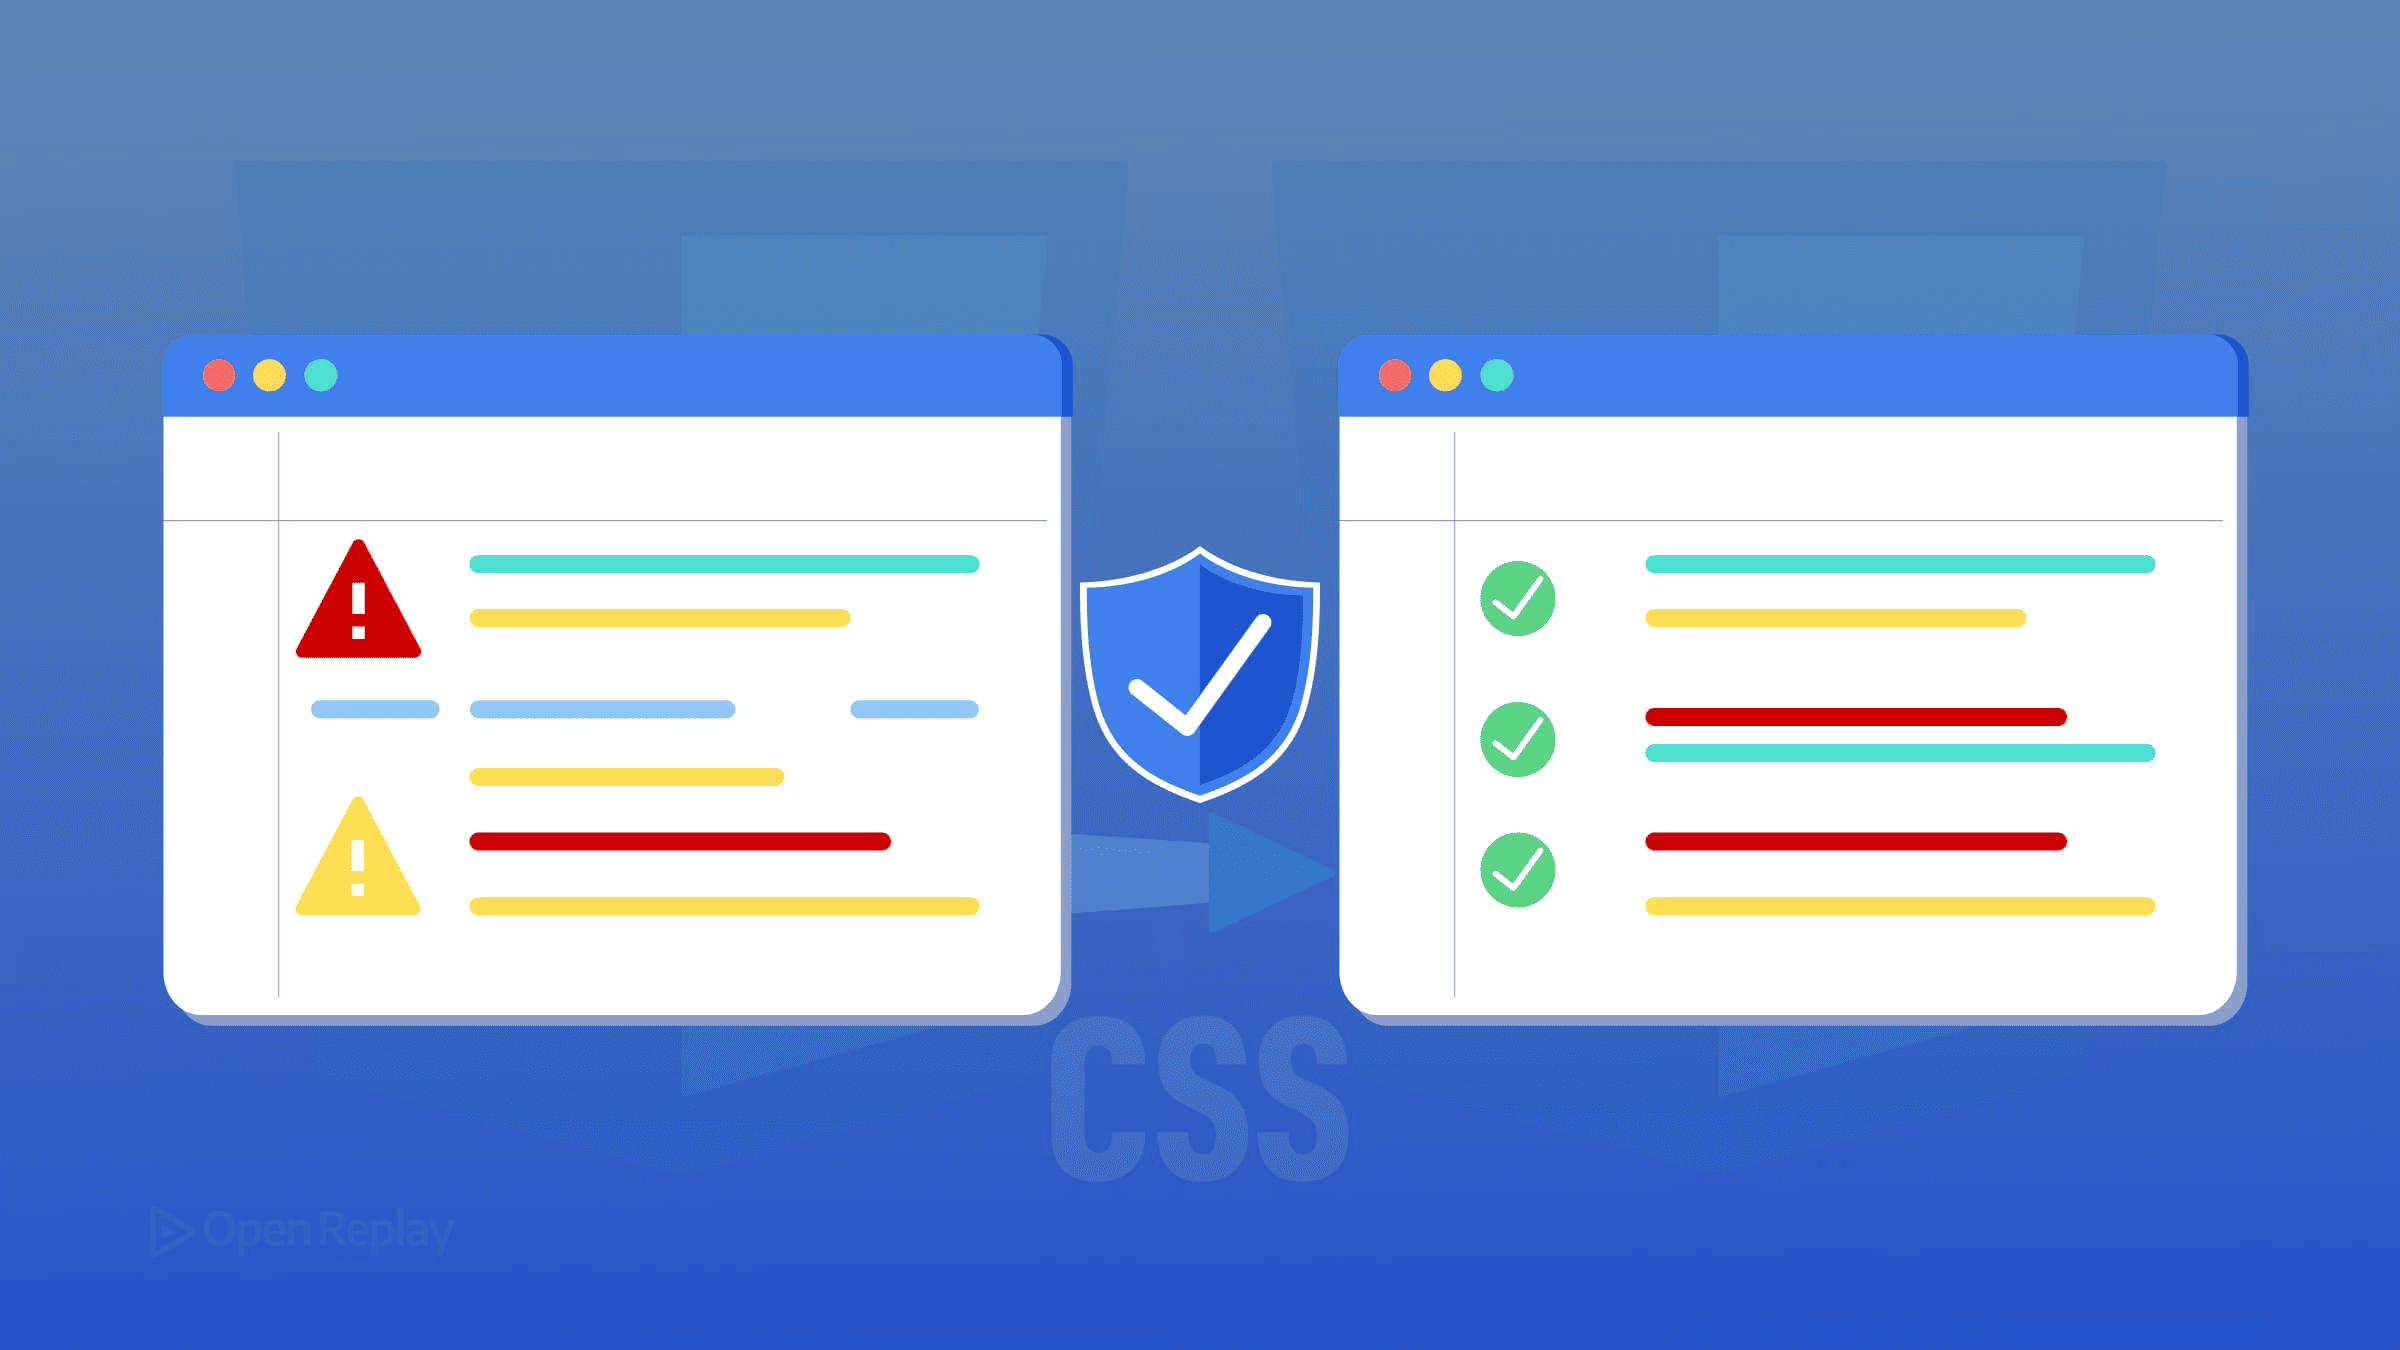
Messy CSS is easy to write and hard to maintain. Misspelled properties, duplicate selectors, and inconsistent conventions slip through code review and accumulate into technical debt. Stylelint solves this by catching errors and enforcing standards automatically — before they reach production.
This guide covers everything you need to get Stylelint CSS linting working in your project today.
Key Takeaways
- Stylelint catches CSS errors and enforces conventions through static analysis, with over 100 built-in rules.
- It handles code quality, not formatting, so it pairs naturally with Prettier rather than competing with it.
- The fastest setup is
npm create stylelint@latest, which scaffolds a config and installsstylelint-config-standard. - Rules can be enabled, disabled, or downgraded to warnings — useful when adopting Stylelint on existing codebases.
- Wire it into an npm script and CI pipeline to ensure linting actually runs.
What Is Stylelint and Why Does It Belong in Your Workflow?
Stylelint is a CSS linter with over 100 built-in rules, trusted by teams at Google and GitHub. It statically analyzes your CSS files and reports problems — invalid syntax, unknown properties, duplicate selectors, and convention violations — without running the code.
One important distinction: Stylelint handles code quality, not formatting. It won’t fight with Prettier over spacing or semicolons. The two tools are complementary. Prettier formats, while Stylelint enforces correctness and consistency. Use both.
Installing Stylelint: Two Ways to Get Started
Stylelint requires a modern Node.js version (Node 20.19.0 or newer in recent releases), so make sure your environment is up to date.
Option 1: Automated Setup (Recommended)
The fastest way to lint CSS with Stylelint is the create command:
npm create stylelint@latestThis scaffolds a config file and installs stylelint-config-standard automatically. It also works with pnpm, Yarn, and Bun:
pnpm create stylelint
bun create stylelint
Option 2: Manual Stylelint Setup
If you prefer full control, install the dependencies yourself:
npm add -D stylelint stylelint-config-standardThen create a stylelint.config.mjs file in your project root:
/** @type {import('stylelint').Config} */
export default {
  extends: ["stylelint-config-standard"]
};
The .mjs extension uses ESM — the modern module format. Stylelint supports ESM configuration, which is the recommended approach in current setups.
Running Stylelint on Your CSS Files
Once installed, run Stylelint across all CSS files:
npx stylelint "**/*.css"You’ll see output like this for any violations:
src/main.css
  12:3  ✖  Unexpected duplicate selector ".btn"   no-duplicate-selectors
  24:5  ✖  Unknown property "colour"              property-no-unknown
To automatically fix what can be fixed, add the --fix flag:
npx stylelint "**/*.css" --fixNot every rule supports auto-fix, but many do. The --fix flag applies safe fixes where possible, but it won’t resolve every issue.

Discover how at OpenReplay.com.
Configuring Stylelint CSS Linting Rules
stylelint-config-standard is a solid baseline. You can extend it and override specific rules in your config:
/** @type {import('stylelint').Config} */
export default {
  extends: ["stylelint-config-standard"],
  rules: {
    "color-no-invalid-hex": true,
    "unit-no-unknown": true,
    "selector-id-pattern": null  // disable a rule
  }
};
Rules accept true to enable, null to disable, or an array to configure severity:
"color-no-invalid-hex": [true, { severity: "warning" }]This is useful when introducing Stylelint to an existing codebase — warnings let you audit problems without blocking builds immediately.
Adding a Lint Script to package.json
Wire Stylelint into your workflow with an npm script:
{
  "scripts": {
    "lint:css": "stylelint \"**/*.css\""
  }
}
Run it with npm run lint:css. From here, you can integrate it into your CI pipeline or pre-commit hooks using lint-staged and Husky.
CSS Linting Best Practices
- Start with
stylelint-config-standard— it reflects current CSS best practices and is actively maintained. - Use warnings before errors when adopting Stylelint on legacy code.
- Ignore generated files by adding a
.stylelintignorefile (similar to.gitignore). - Pair with Prettier — don’t try to use Stylelint for formatting.
- Run in CI — linting only on local machines gets skipped.
Conclusion
Stylelint takes about five minutes to set up and pays back immediately in caught errors and consistent code. Install it, extend stylelint-config-standard, add a script, and run it. That’s the whole setup. Everything else — custom rules, SCSS support, IDE integration — builds on this foundation.
FAQs
Does Stylelint work with SCSS, Less, or CSS-in-JS?
Yes. Stylelint supports SCSS, Less, and other CSS-like syntaxes through custom syntaxes such as `postcss-scss` or `postcss-less`. Support for CSS-in-JS depends on the specific library and requires the appropriate custom syntax package configured via the `customSyntax` option.
Should I use Stylelint if I already use Prettier?
Yes, they solve different problems. Prettier formats your code, handling whitespace, line breaks, and quote style. Stylelint catches code quality issues like invalid properties, duplicate selectors, and convention violations. Modern Stylelint removed its stylistic rules specifically to avoid overlap with Prettier, so the two tools work together without conflicts.
How do I run Stylelint only on changed files in a pre-commit hook?
Use lint-staged with Husky. Configure lint-staged in package.json to run stylelint --fix on staged CSS files, then add a Husky pre-commit hook that calls lint-staged. This lints only files about to be committed, keeping the hook fast even in large repositories while preventing problematic CSS from reaching the main branch.
Can Stylelint integrate with my editor for real-time feedback?
Yes. VS Code has an official Stylelint extension that highlights issues as you type and can fix them on save. WebStorm and other JetBrains IDEs include built-in Stylelint support. Other editors may have community-supported integrations. Editor integration shortens the feedback loop significantly compared to running the CLI manually.
Complete picture for complete understanding
Capture every clue your frontend is leaving so you can instantly get to the root cause of any issue with OpenReplay — the open-source session replay tool for developers. Self-host it in minutes, and have complete control over your customer data.
Star on GitHub12k