Testing with Playwright: A Tutorial Guide With Examples
An introduction to the Playwright testing tool


In modern software development, particularly with agile methodology, software testing is a paramount process in the Software Development Lifecycle (SDLC). It is the practice of analyzing and verifying that a software application performs as intended, and this article will focus on Playwright, the testing tool, and see how to apply it and why.

Discover how at OpenReplay.com.
Software testing ensures that organizations deliver high-quality software products. As a software developer or a software tester, software testing is crucial because it ensures that the software works properly, enables you to identify and fix bugs, and improves the overall quality of your application. Testers ensure that the program does what it is supposed to do by employing various testing techniques and types. Software testers use various test automation tools to carry out these tests. Some of these automation testing tools include Playwright, WebdriverIO, Puppeteer, Cypress, etc. Playwright is a Node.js test automation framework developed by Microsoft in 2020. It offers a high-level API for easily automating modern web apps, and it supports all modern web browsers. It automates web tests by simulating user interactions such as clicks, scrolls, and keyboard inputs and performing complex actions such as filling out forms and navigating between pages. Playwright also has built-in support for waiting for specific page elements to load before proceeding with the automated test, which helps to make tests more stable and less prone to flakiness. Automated testing finds more relevance, especially in Continuous Integration workflows, as it ensures the application works as expected. In this article, you will learn how to start writing your tests using Playwright on Visual Studio Code.
Main features of Playwright
The Playwright framework supports multiple programming languages. This allows for greater flexibility while working with the framework. The supported languages include NodeJS, Python, C#, JavaScript, TypeScript, and Java. As to browsers, one of the top features that set Playwright apart from its test automation framework counterpart is its support for different browsers. These browsers include all Chromium-based rendering engines: Google Chrome (Chrome 66 and above), Firefox (76 and above), and all WebKit-based rendering engines such as Safari. As of when I wrote this article, Playwright does not support IE 11. The simple Playwright API lets you automate all major web browsers without the hassle of configuring tests for specific browsers. Here are a few reasons why you should consider using Playwright for your test automation:
-
Auto-Waits: Playwright auto-waiting feature allows you, as a tester, to perform some checks on elements before carrying out actions to prevent flakiness. This ensures that your tests run smoothly even when dynamic elements are loading on the page.
-
Cross-Browser Testing: Playwright allows you to effortlessly test your application across multiple browsers, such as Chrome, Firefox, Internet Explorer, and Safari, ensuring consistent behavior and appearance.
-
Tracing and Debugging: Playwright provides detailed traces of your test executions, allowing you to trace every step and uncover the reason of failed tests in form of traces using its trace viewer. This allows you to visually review what transpired during the tests. It’s like having a time-traveling assistant that lets you see exactly what happened, step by step, helping you diagnose issues and understand the test execution flow. See the following video:
-
Parallel Testing: Parallel testing entails executing multiple tests at the same time concurrently. This will help you obtain feedback much more quickly, which is critical when working with large and complex software applications. WebdriverIO, as an automation test framework, enables you to carry out parallel tests. Learn more about parallel testing on the official WebdriverIO documentation.
-
Speed and Reliability: Speed and reliability are like the twin pillars of Playwright. It’s designed for fast and dependable test automation. With its optimized engine, Playwright executes your tests swiftly.
-
Headless Execution: For a speedy test, run your tests using the headless browser mode in Playwright. A headless browser is essentially a browser without a UI. With headless execution, you can run tests without a visible browser interface, saving resources and allowing seamless integration into your CI/CD pipelines. If you want the UI mode, Playwright also has support for that with the
--uiflag, and you are seconds away from experiencing the UI mode. -
Video Recording: Playwright introduces a unique video recording feature that captures test runs, allowing replay for analysis. It offers multiple recording options, catering to various needs.
Why You Should Use Playwright
Beyond its aforementioned features, Playwright’s popularity has significantly grown, resulting in widespread adoption within the industry. Consider the following indicators:
- GitHub Stars: 53k+ (August, 2023)
- Weekly Downloads: Over 1.5M (August, 2023)
- Forks: 2.9k (August, 2023)
- License: Apache License 2.0
- Supportive Community: Active and responsive community
- Extensive Documentation: Yes
- Lightweight: Bundle size of 24.2 kB (v1.36.2)
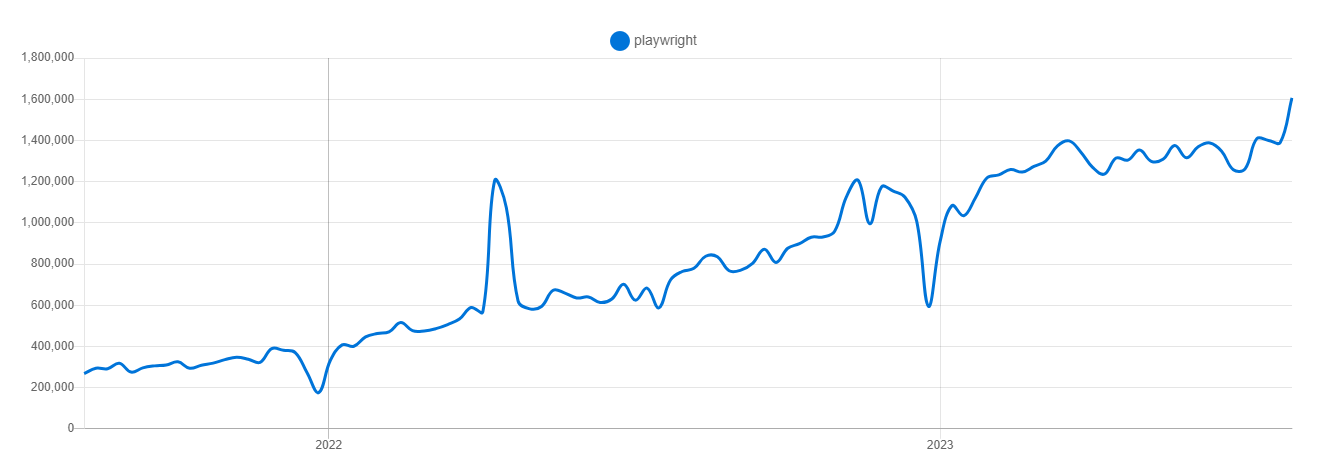
The following chart illustrates the download trends of Playwright over the past two years.
Setting Up Playwright in Your Project: Code Examples and Walk-Throughs
Before proceeding, make sure to meet the following requirements:
- Have the latest version of NodeJS installed on your local machine.
- Confirm Installation: Verify a successful Node.js installation by running
node -vin your terminal. You should observe output similar to the following:v18.15.0 - Confirm NPM installation: Verify a successful NPM installation by executing
npm -vin your terminal. Node.js installation includes NPM. - If you’re not already using it, download and install VSCode, a popular code editor.
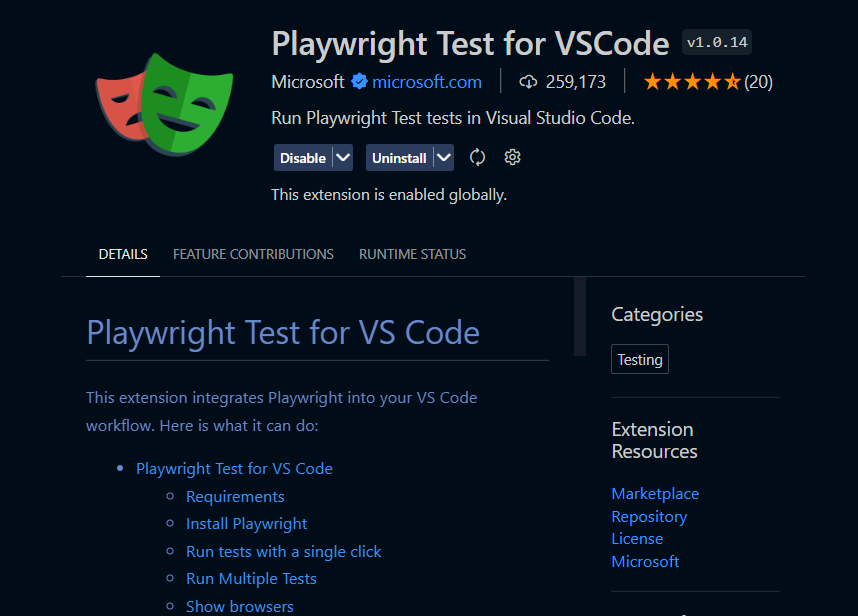
- Next, you will need to install the Playwright VSCode extension to make testing streamlined.
- Install Playwright:
Launch VSCode and use
CTRL + SHIFT + Pto access the command palette. TypeInstall Playwrightand hitEnter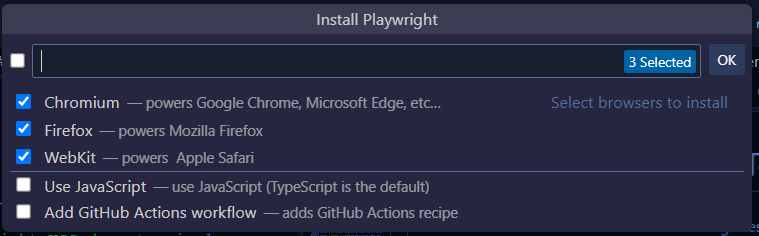
- Upon successful installation, your terminal should confirm Playwright’s installation:
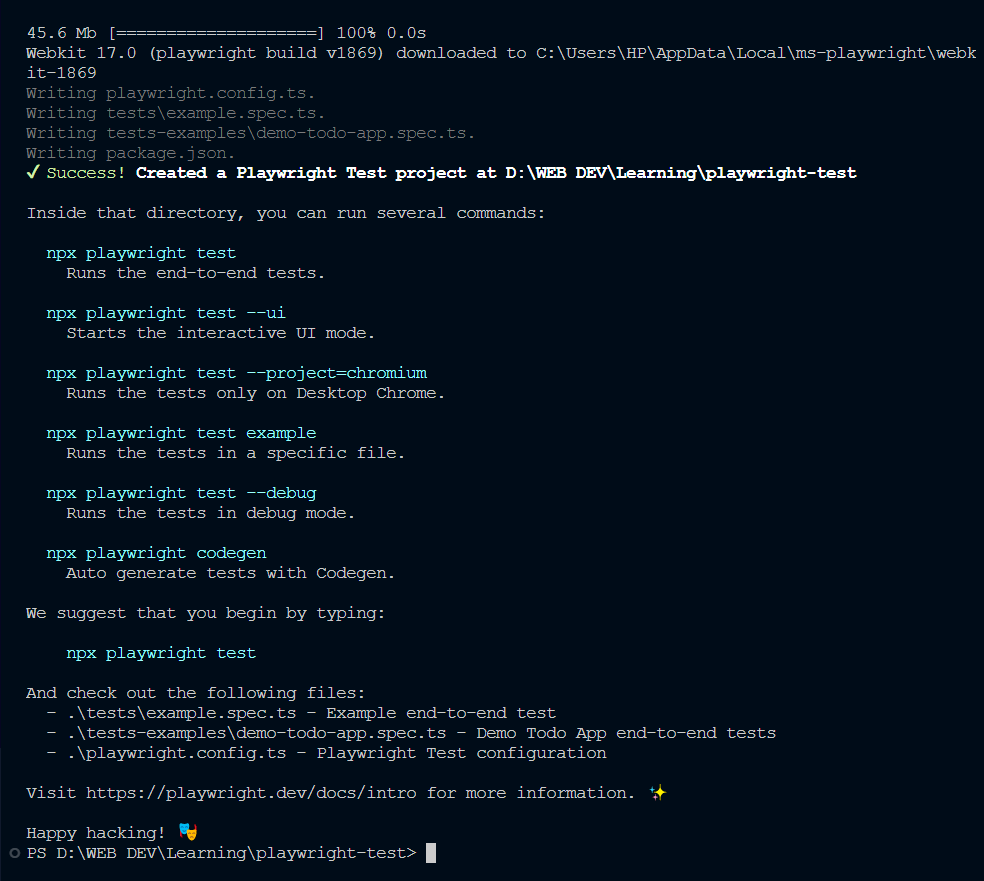
- This installation includes Chrome, Firefox, and WebKit browsers, along with sample test files located in the
testsfolder. In the subsequent steps, we will modify the default test file attests/example.spec.tsto conduct tests on the OpenReplay website.
Examples Tests with Playwright
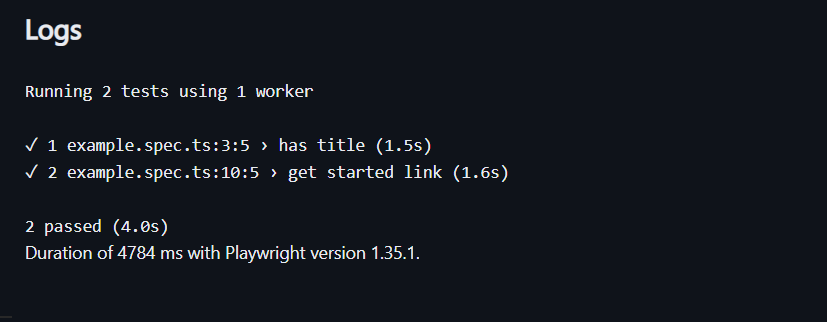
Below is a sample test that accomplishes the following:
- Navigate to the OpenReplay website and test that the title contains the string “OpenReplay”
- Click on “Get Started” on the navigation bar and verify that the URL contains the string “get-started”.
// tests/example.spec.ts
import { test, expect } from '@playwright/test';
test('has title', async ({ page }) => {
 await page.goto('https://openreplay.com/');
 // Expect a title "to contain" a substring => OpenReplay
 await expect(page).toHaveTitle(/OpenReplay/);
});
test('get started link', async ({ page }) => {
 await page.goto('https://openreplay.com/');
 // Click the "Get Started" button.
 await page.getByRole('button', { name: 'Get Started' }).click();
 // Expects the URL to contain "get-started"
 await expect(page).toHaveURL(/.*get-started/);
});
Writing Your Playwright Test: Code Snippet Examples
const playwright = require('playwright');
(async () => {
 for (const browserType of [playwright.chromium, playwright.firefox, playwright.webkit]) {
  const browser = await browserType.launch();
  const context = await browser.newContext();
  const page = await context.newPage();
  await page.goto('https://openreplay.com');
  await page.screenshot({ path: `example-${browserType.name()}.png` });
  await browser.close();
 }
})();
In this illustrative code snippet, Playwright navigates to https://openreplay.com using Chromium, Firefox, and WebKit browsers, capturing three screenshots named after the respective browsers.
 Note: You may use the Playwright Playground to play around with these tests.
Integrating Playwright with Other Test Frameworks
Playwright can be integrated with other third-party test frameworks that are based on the same protocol as Playwright. For example, frameworks such as Jest, Mocha, AVA, and Jasmine. Achieving this integration requires just a few lines of code.
Jest / Jasmine + Playwright
const {chromium} = require('playwright');
const expect = require('expect');
let browser;
let page;
beforeAll(async () => {
 browser = await chromium.launch();
});
afterAll(async () => {
 await browser.close();
});
beforeEach(async () => {
 page = await browser.newPage();
});
afterEach(async () => {
 await page.close();
});
it('should work', async () => {
 await page.goto('https://openreplay.com');
 expect(await page.title()).toBe('OpenReplay: Open-Source Session Replay & Analytics');
});
AVA + Playwright
const {chromium} = require('playwright');
const test = require('ava').default;
const browserPromise = chromium.launch();
async function pageMacro(t, callback) {
 const browser = await browserPromise;
 const page = await browser.newPage();
 try {
  await callback(t, page);
 } finally {
  await page.close();
 }
}
test('should work', pageMacro, async (t, page) => {
 await page.goto('https://openreplay.com');
 t.is(await page.title(), 'OpenReplay: Open-Source Session Replay & Analytics');
});
Mocha + Playwright
const {chromium} = require('playwright');
const assert = require('assert');
let browser;
before(async() => {
 browser = await chromium.launch();
});
after(async () => {
 await browser.close();
});
let page;
beforeEach(async() => {
 page = await browser.newPage();
});
afterEach(async () => {
 await page.close();
});
it('should work', async () => {
 await page.goto('https://openreplay.com');
 assert.equal(await page.title(), 'OpenReplay: Open-Source Session Replay & Analytics');
});
Conclusion
In this article, I started with the importance of testing software products as a software developer and tester and why it is an indispensable step in the SDLC. I walked you through the installation and setup of Playwright - a test automation framework. Finally, you learned how to carry out basic tests with Playwright. In a previous article, I wrote about how to carry out E2E tests using WebdriverIO test framework. Also, check out how OpenReplay can help you understand and surface issues in your web application. OpenReplay helps you spend less time debugging and empowers you to create delightful web experiences.
Gain control over your UX
See how users are using your site as if you were sitting next to them, learn and iterate faster with OpenReplay — the open-source session replay tool for developers. Self-host it in minutes, and have complete control over your customer data.
Star on GitHub12k