Add WebGPU Effects to Your UI with Shaders.com
Shaders.com adds WebGPU shader effects to React, Vue, Svelte, and Solid with 90+ composable presets, a visual editor, and fallbacks for browser support.


CSS gradients and box shadows have a ceiling. Once you hit it — hero sections that need to breathe, backgrounds that should respond to cursor position, textures that feel alive — you’re looking at GPU-powered rendering. The problem is that raw WebGPU requires you to manage adapters, pipelines, shader modules, and bind groups before a single pixel moves. Shaders.com skips all of that and gives you the effects directly as components.
Key Takeaways
- Shaders.com is a WebGPU component library shipping 90+ composable effects and hundreds of presets for React, Vue, Svelte, and Solid — no GLSL or WGSL required.
- Effects are layered declaratively inside a
<Shader>wrapper that handles canvas setup, context initialization, and the render loop internally. - A browser-based visual editor lets you compose effects visually and export framework-ready component code.
- WebGPU support is still incomplete across browsers, so treat these effects as progressive enhancement with proper fallbacks and motion sensitivity checks.
What the Shaders.com WebGPU Library Actually Provides
Shaders.com is a component library built on top of WebGPU. It ships more than 90 composable effect components and a large collection of presets — animated textures, distortions, iridescent gradients, light ray overlays — each one GPU-rendered and packaged for React, Vue, Svelte, or Solid.
Shaders.com abstracts the shader layer entirely. You work with declarative component APIs rather than writing shader code yourself. No GLSL. No WGSL. No render pipelines to configure manually.
It’s currently in public beta, so treat it as an emerging tool rather than a production standard — but it’s already usable for progressive enhancement scenarios.
Applying Interactive WebGPU Effects to UI Elements
The API is declarative and composable. You wrap effect primitives inside a <Shader> container and layer them:
import { Shader, RadialGradient, SineWave, Dither } from '@shaders/react'

export function HeroBackground() {
  return (
    <Shader style={{ width: '100%', height: '100vh' }}>
      <RadialGradient color="#6a0dad" radius={0.6} />
      <SineWave amplitude={0.03} frequency={2.4} />
      <Dither intensity={0.4} />
    </Shader>
  )
}
Each component accepts props that map to visual parameters — no shader math required. The <Shader> wrapper handles canvas setup, WebGPU context initialization, and the render loop internally.
Preset effects like Stainless Steel (brushed luminous texture), Chroma Chrome (iridescent surface), Pixel Beams (diagonal light rays), and Geogrid (perspective lattice with ambient glow) ship as named imports. You can use them directly or as starting points for customization through props.

Discover how at OpenReplay.com.
Using the Visual Editor to Generate Framework-Ready Code
Shaders.com includes a browser-based visual editor where you can compose effects visually, adjust parameters with sliders, and export clean component code for your framework of choice. This is particularly useful for design-to-code handoff — a designer builds the effect in the editor, and a developer drops the exported component into the codebase.
Browser Support and Fallback Strategy for WebGPU Effects
Shaders.com is built on top of WebGPU. Modern Chromium-based browsers shipped WebGPU starting with Chrome and Edge 113, and support has since expanded across major browsers, though availability can still vary depending on platform and hardware. You can check the current compatibility status on Can I Use.
Because of this variation, treat Shaders.com effects as progressive enhancement.
// Detect WebGPU support before rendering GPU effects
const supportsWebGPU = !!navigator.gpu

export function HeroSection() {
  return supportsWebGPU
    ? <HeroBackground />  // GPU-rendered effect
    : <StaticHeroFallback />  // CSS or image fallback
}
Also respect prefers-reduced-motion. GPU effects that animate continuously can cause discomfort for users with motion sensitivity:
@media (prefers-reduced-motion: reduce) {
  .shader-container { display: none; }
}
When This Approach Makes Sense
Shaders.com is the right tool when you want GPU-quality visuals in a standard frontend workflow without building WebGPU infrastructure. It fits landing pages, hero sections, interactive backgrounds, and UI overlays where the visual effect is the feature.
It’s not the right tool if you need DOM-synchronized shader planes that track scroll position, or if you need full control over the rendering pipeline for a complex 3D scene.
Conclusion
If your goal is to ship interactive WebGPU effects without writing a single line of WGSL, Shaders.com is the shortest path from npm install to something visually compelling on screen. The declarative API keeps the complexity behind the scenes, and the visual editor bridges the gap between design intent and production code. Just remember that WebGPU coverage is still growing — always pair these effects with solid CSS or image fallbacks so every user gets a functional experience.
FAQs
Does Shaders.com work with Next.js or other SSR frameworks?
Shaders.com relies on the WebGPU API, which is only available in the browser. In SSR frameworks like Next.js, you need to render the Shader components client-side only. Use dynamic imports with SSR disabled or wrap the component in a client-side check to avoid errors during server rendering.
How does Shaders.com affect page performance and load times?
GPU rendering helps move pixel-heavy work off the CPU, but the library itself still adds bundle weight and GPU effects consume video memory and battery on mobile devices. Profile with your browser DevTools and consider lazy-loading shader components so they initialize only when they scroll into view.
Can I combine Shaders.com effects with existing CSS animations?
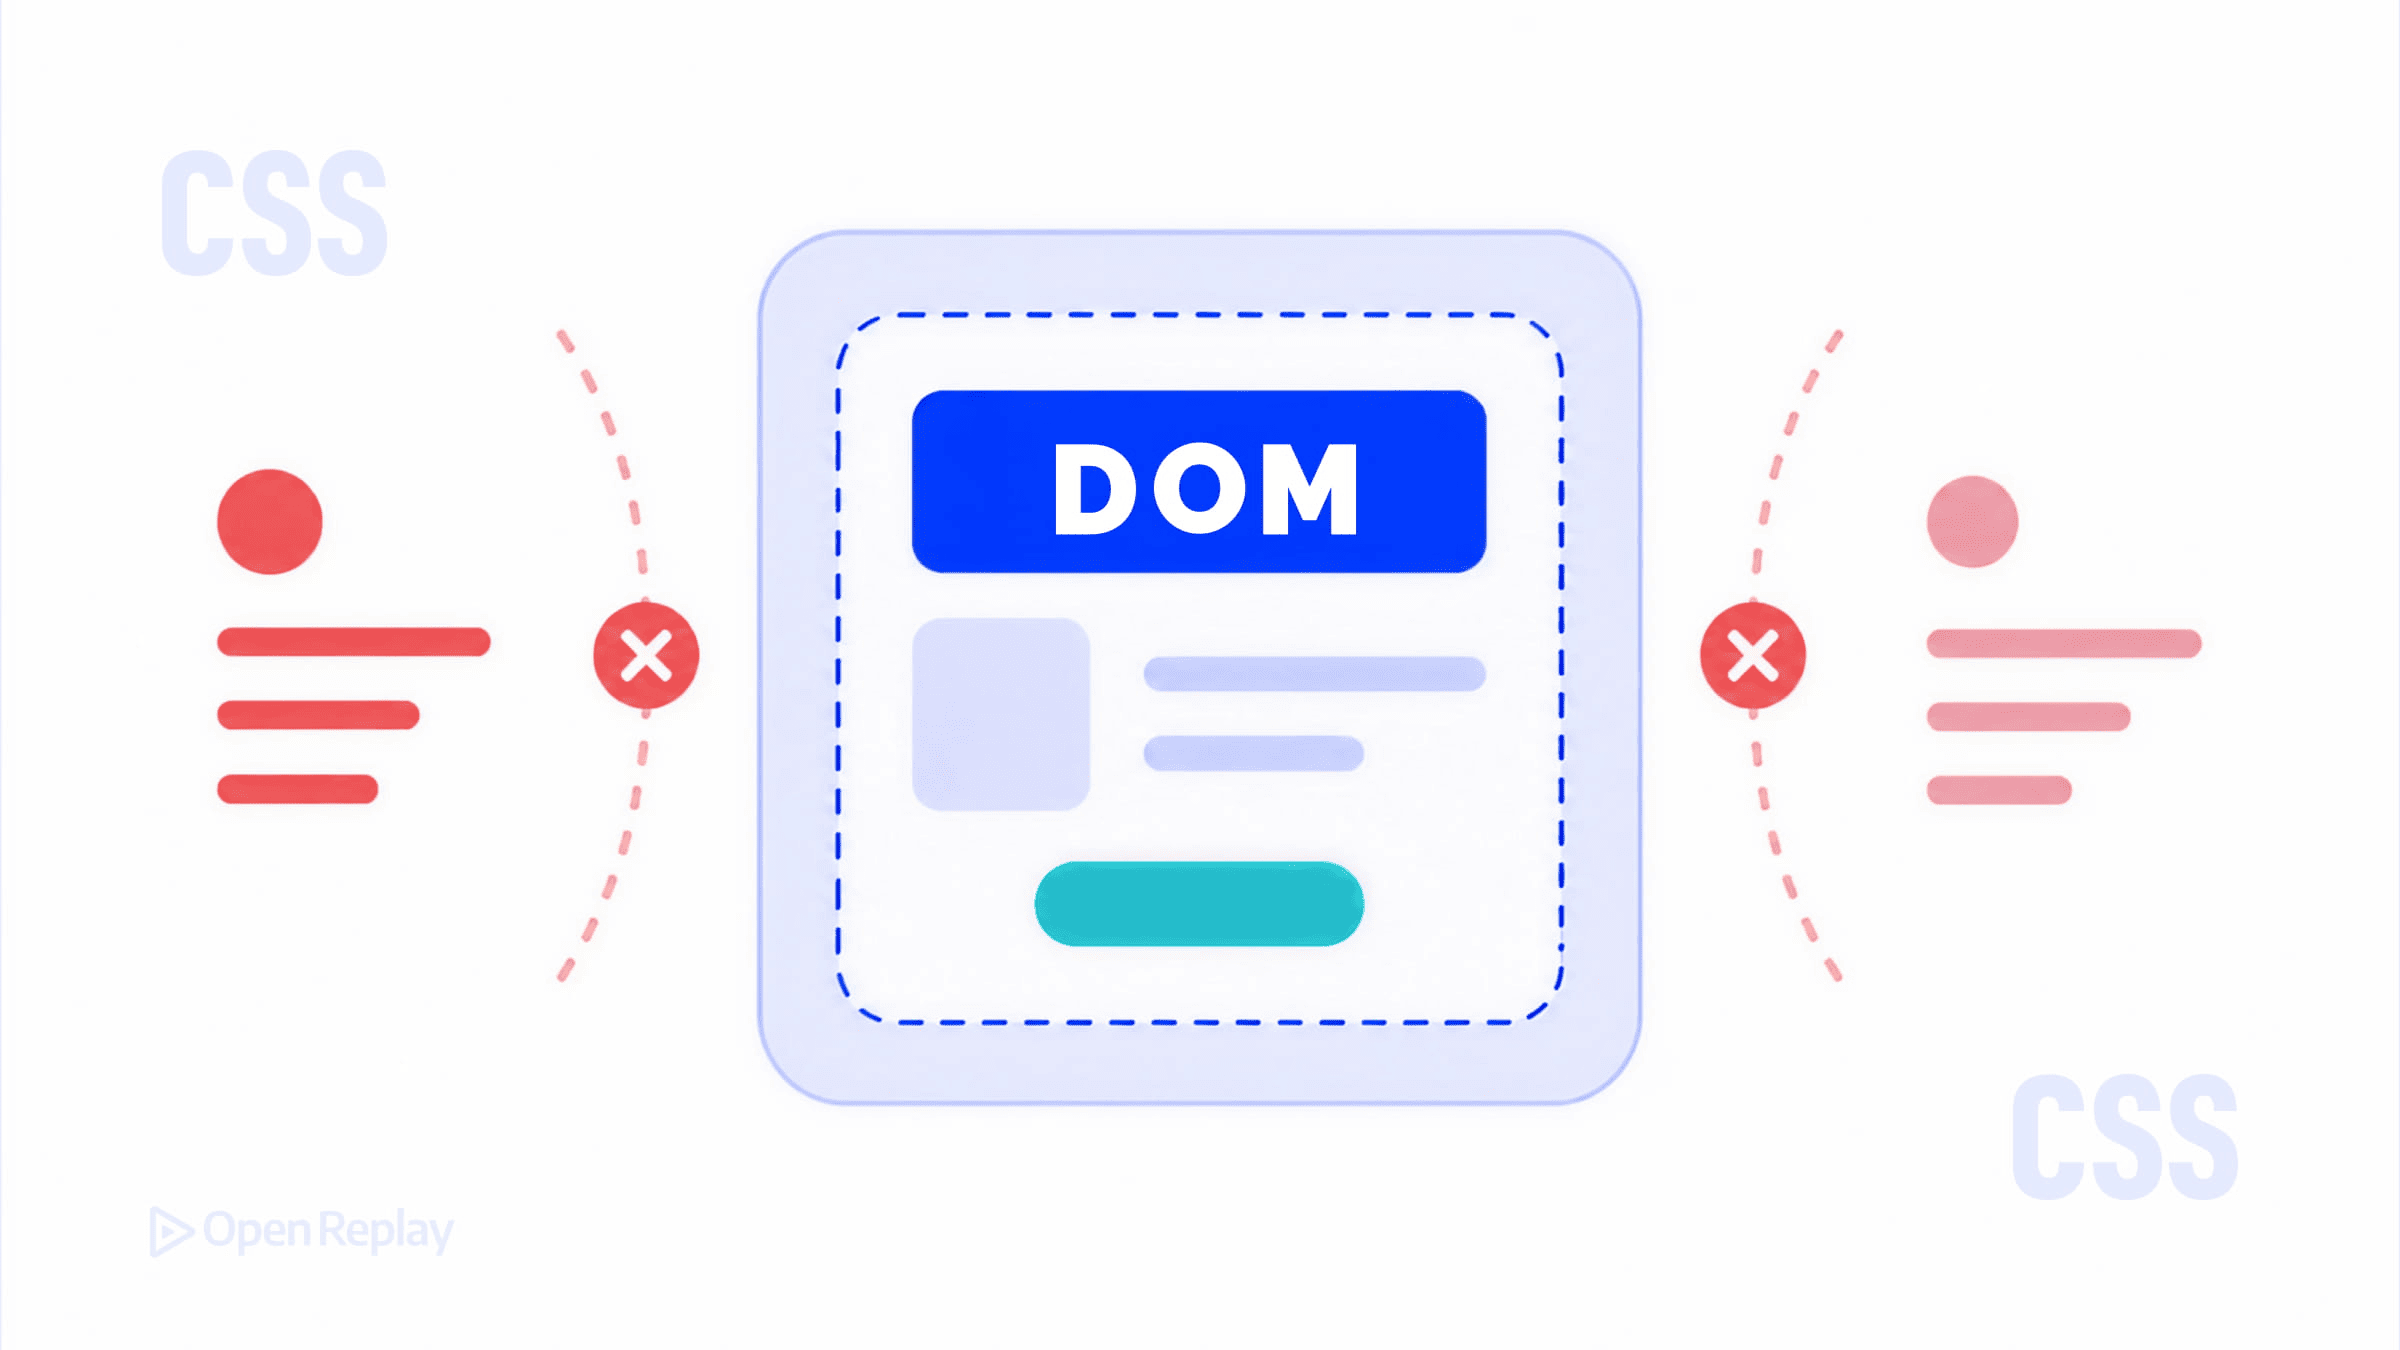
Yes. The Shader component renders to a canvas element that you can position and layer with standard CSS. You can place it behind other DOM elements using z-index, apply CSS transforms to the container, or overlay HTML content on top. The shader canvas and CSS layout remain independent of each other.
What happens if WebGPU support drops mid-session or the GPU device is lost?
If the GPU device is lost, rendering will stop until the device is recreated. A robust implementation should detect this situation and either reinitialize the shader renderer or swap in a CSS or image fallback so the UI remains functional.
Gain Debugging Superpowers
Unleash the power of session replay to reproduce bugs, track slowdowns and uncover frustrations in your app. Get complete visibility into your frontend with OpenReplay — the most advanced open-source session replay tool for developers.
Star on GitHub12k